LAND Manager
The Land Manager allows you to manage your LAND and Estate assets.
Access the Land manager at https://builder.decentraland.org/land .
The Land Manager allows you to:
- Name your parcels and Estates and give them a public description.
- Merge LAND parcels into an Estate.
- Dissolve an Estate into separate LAND parcels.
- Transfer your parcels and Estates to another user.
- Grant permissions to other users to edit the parcels you own.
Manage Your LAND #
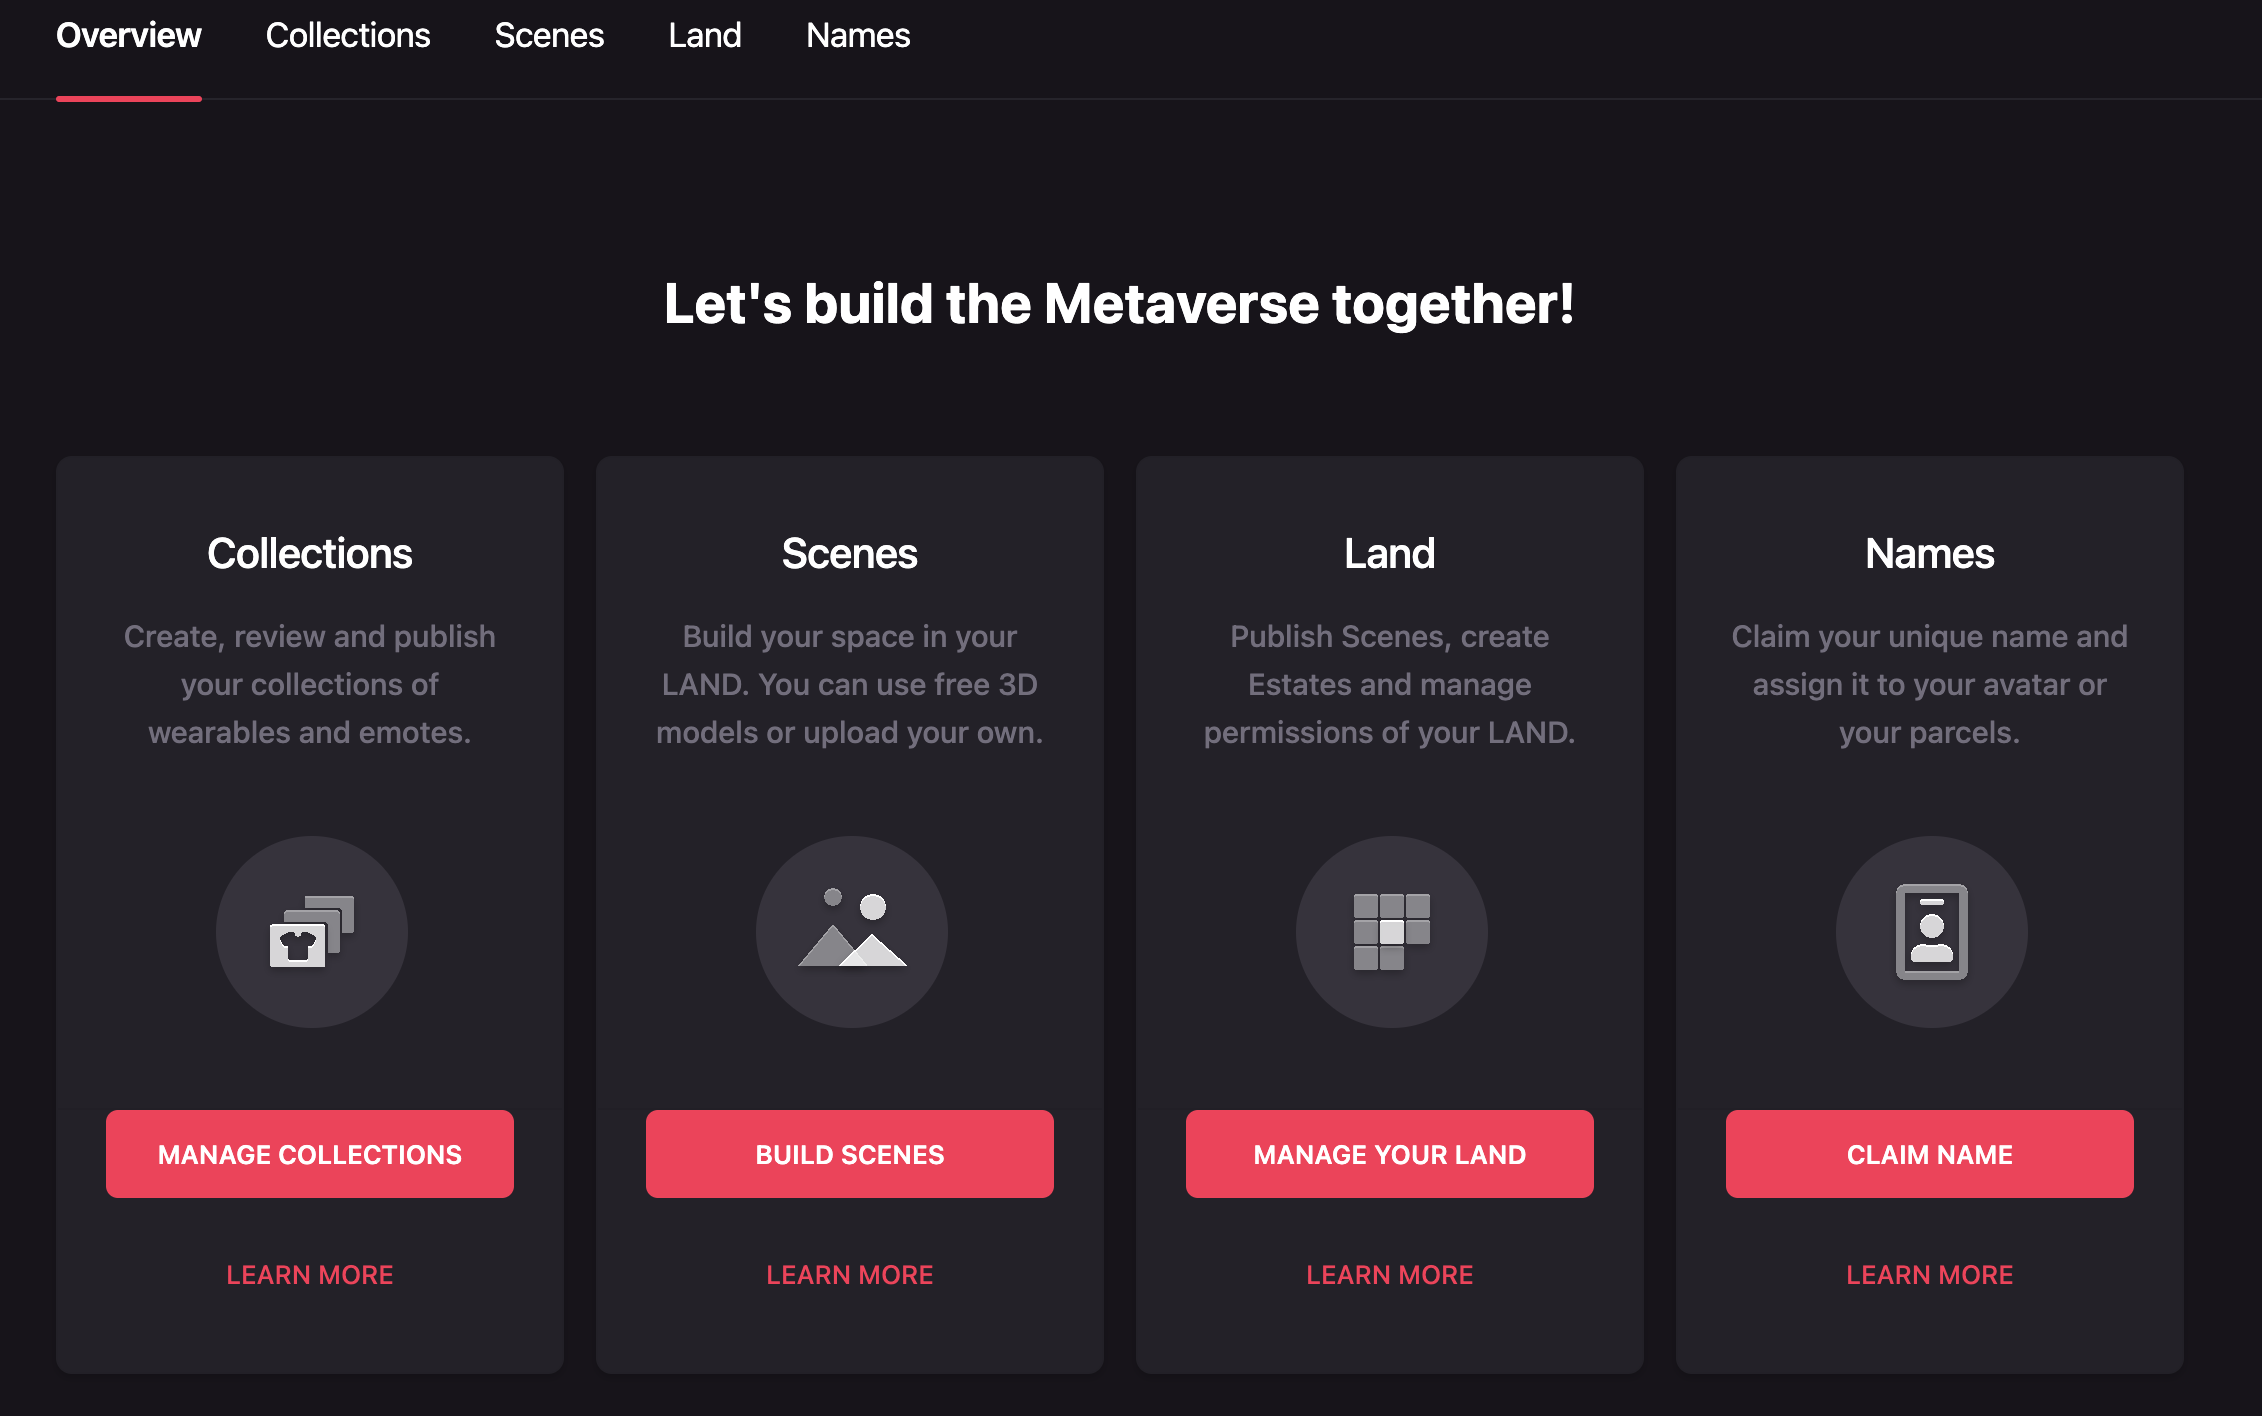
To view your LAND tokens, click Manage your LAND. Here you’ll find a list of all of your parcels and Estates, including any parcels that you have listed for sale.
By clicking on one of the parcels or Estates listed under Land, you can edit its name, description, set an operator, or transfer it directly to another wallet address.
Create an Estate #
LAND Estates make it possible to associate two or more directly adjacent parcels of LAND to make it easier to manage your larger LAND holdings. Estates are especially useful when building larger scenes that span more than one parcel.
Parcels in an Estate must be directly adjacent, and cannot be separated by a road, plaza, or any other parcel.
To create your first Estate, you need to own two or more adjacent LAND parcels.
-
Open My LAND and select one of the parcels you’d like to add to the Estate.
-
In the parcel’s details page, click Create Estate.
-
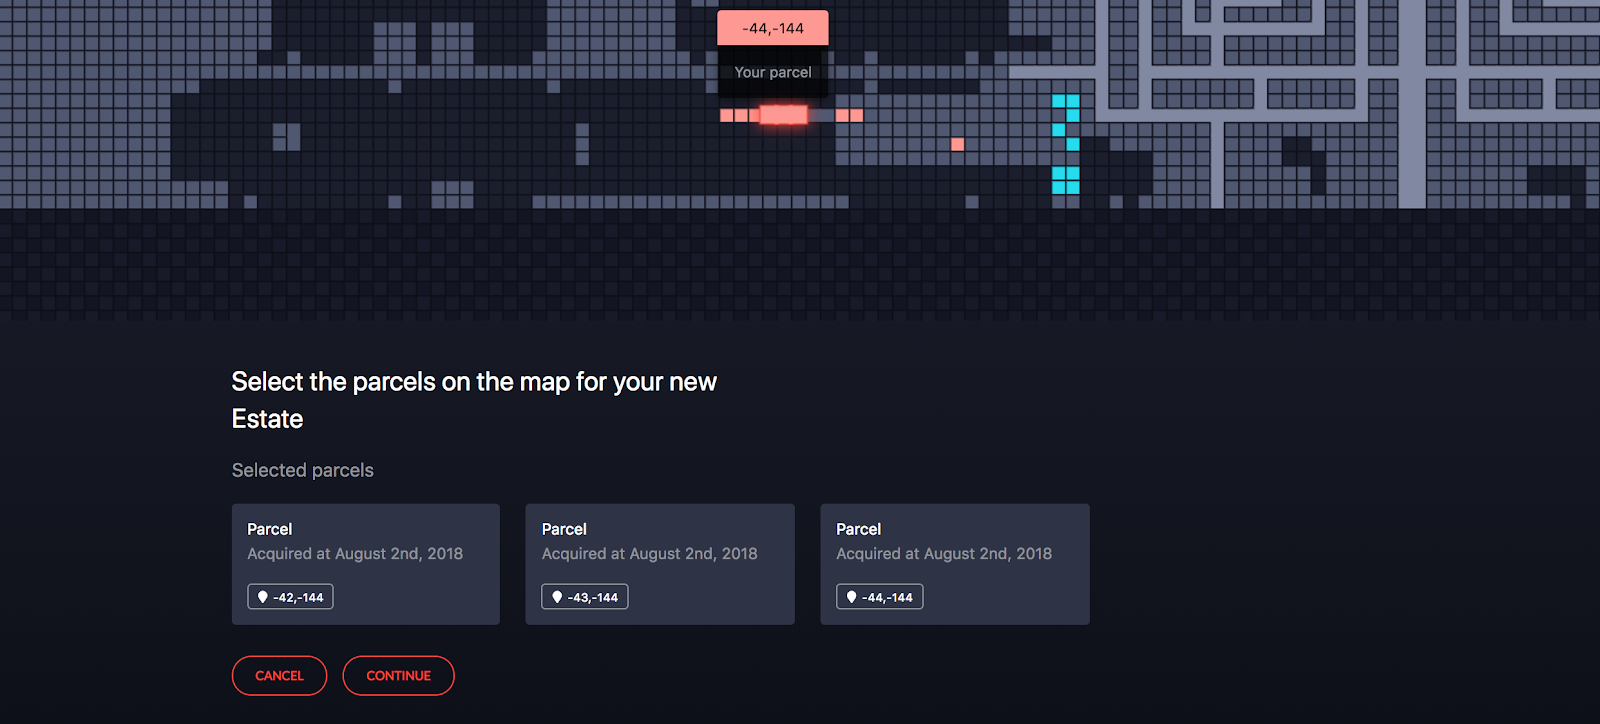
You will be shown a view of the Atlas centered on the parcel you selected, with the remaining adjacent parcels you own highlighted. Select the different parcels you want to include in your Estate.
-
Click Continue.
-
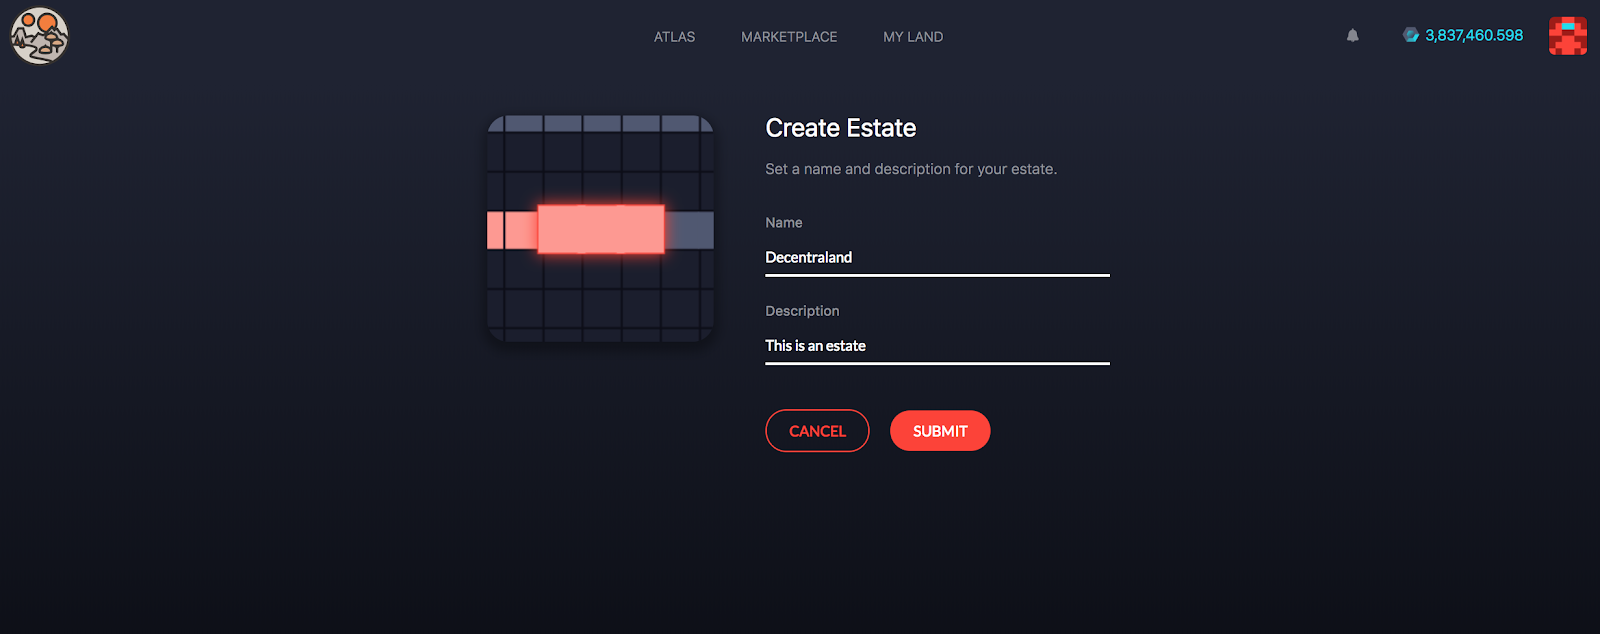
Enter a name and description for your Estate. These details will be publicly displayed in the Atlas, just like the name and description for any individual parcel.
-
Confirm this transaction on your Ethereum client and wait for the network to verify it.
Once you’ve created your first Estate, you will see a new tab titled Estates. From this page you can view and manage all of your Estates.
When you create a new Estate, you are effectively transferring your parcels to a new token. These Estates are represented by ERC721 tokens (like any other NFT). You will no longer see the individual parcels under My LAND, and they will not appear in MetaMask, Mist, Trezor, or Ledger wallets, nor on Etherscan under your address.
Edit parcels or Estates #
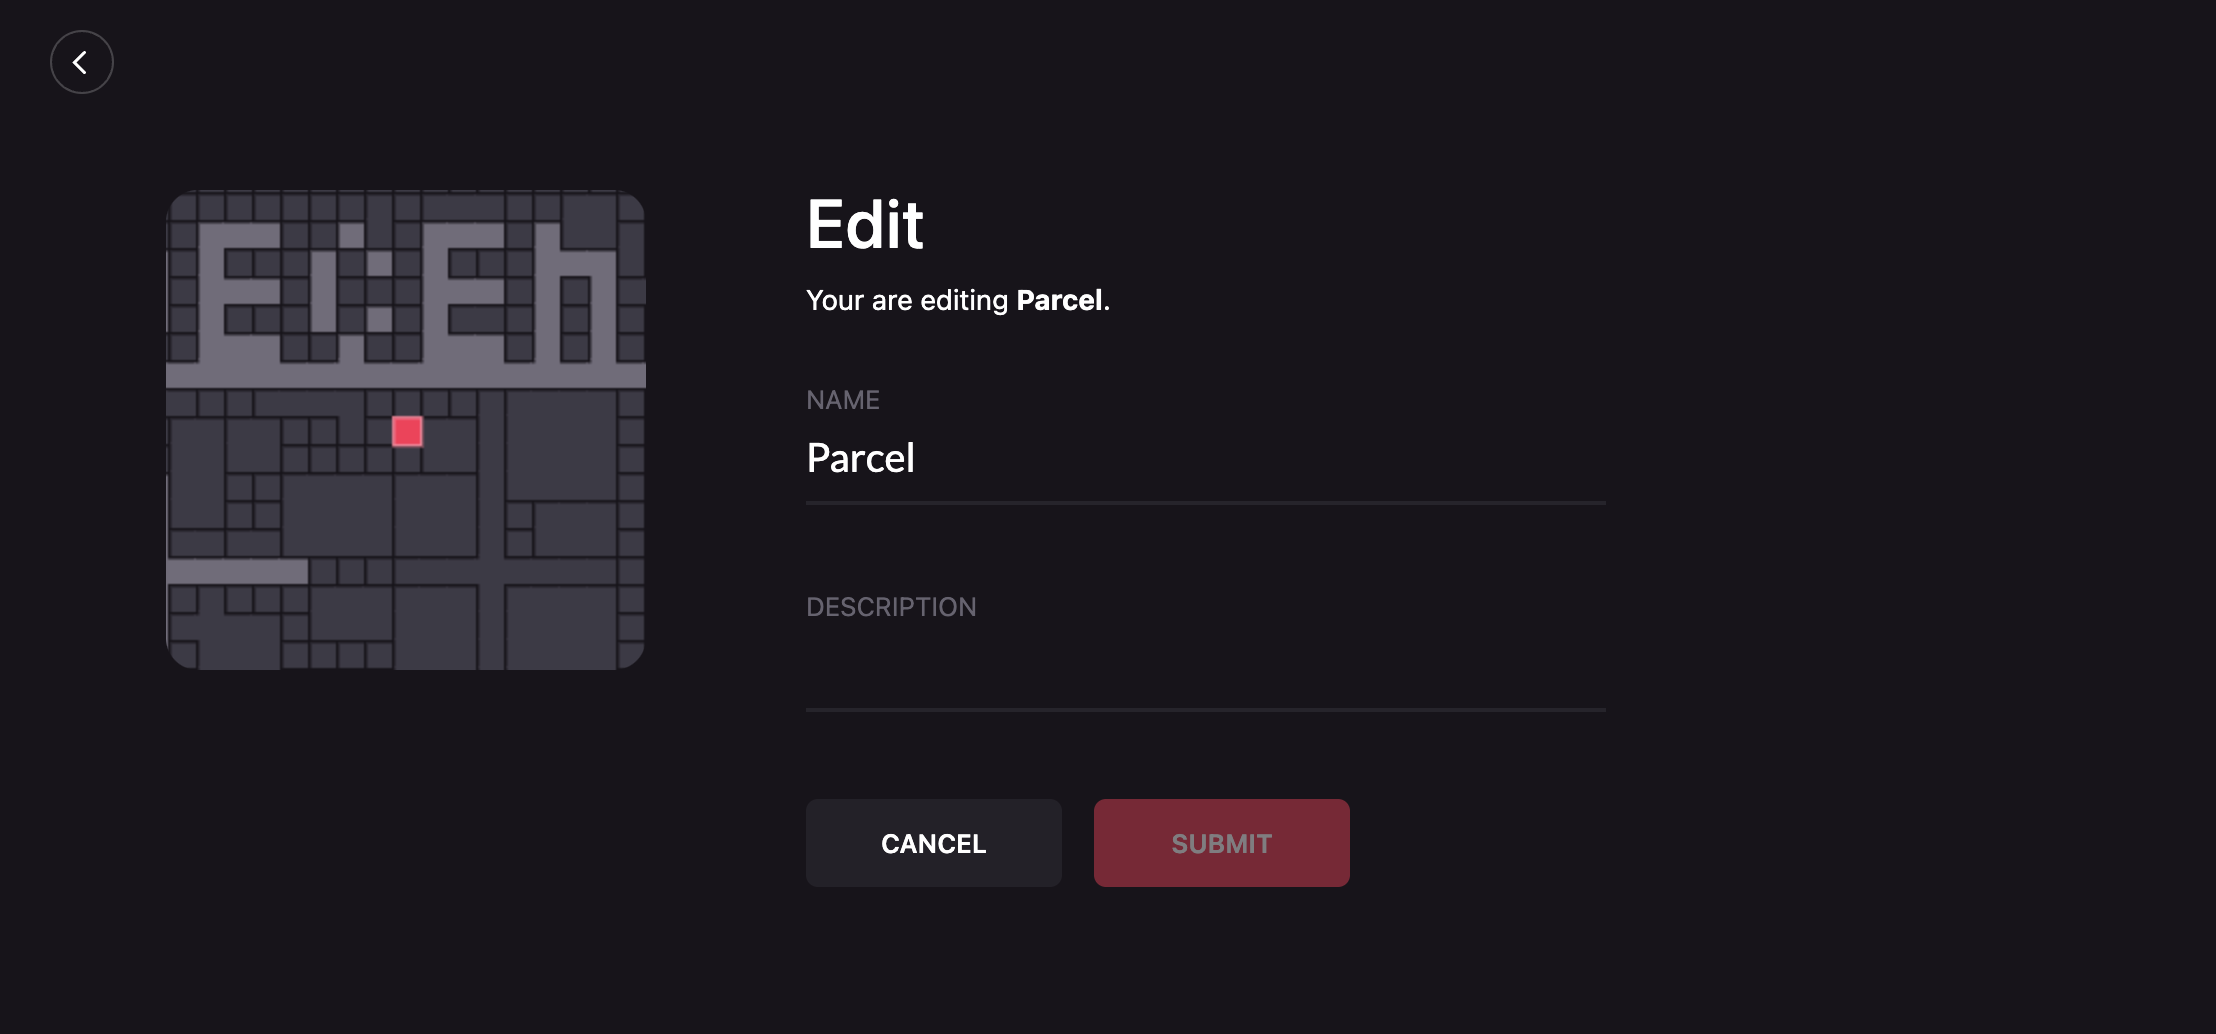
You can edit the name and description of any parcel or Estate that you own. These details will be publicly displayed in the Atlas.
To edit a parcel or Estate:
-
Navigate to the details page of the parcel or the Estate you’d like to edit and click Edit.
-
Click Submit.
-
Confirm this transaction on your Ethereum client and wait for the network to verify it.
Give permissions #
You can give another user permissions to edit the content in a parcel or Estate. This enables that user to deploy code to the scene, whilst not having the ability to sell the token.
The user given permission can also change the name or description in the Marketplace.
To grant permissions over your LAND:
-
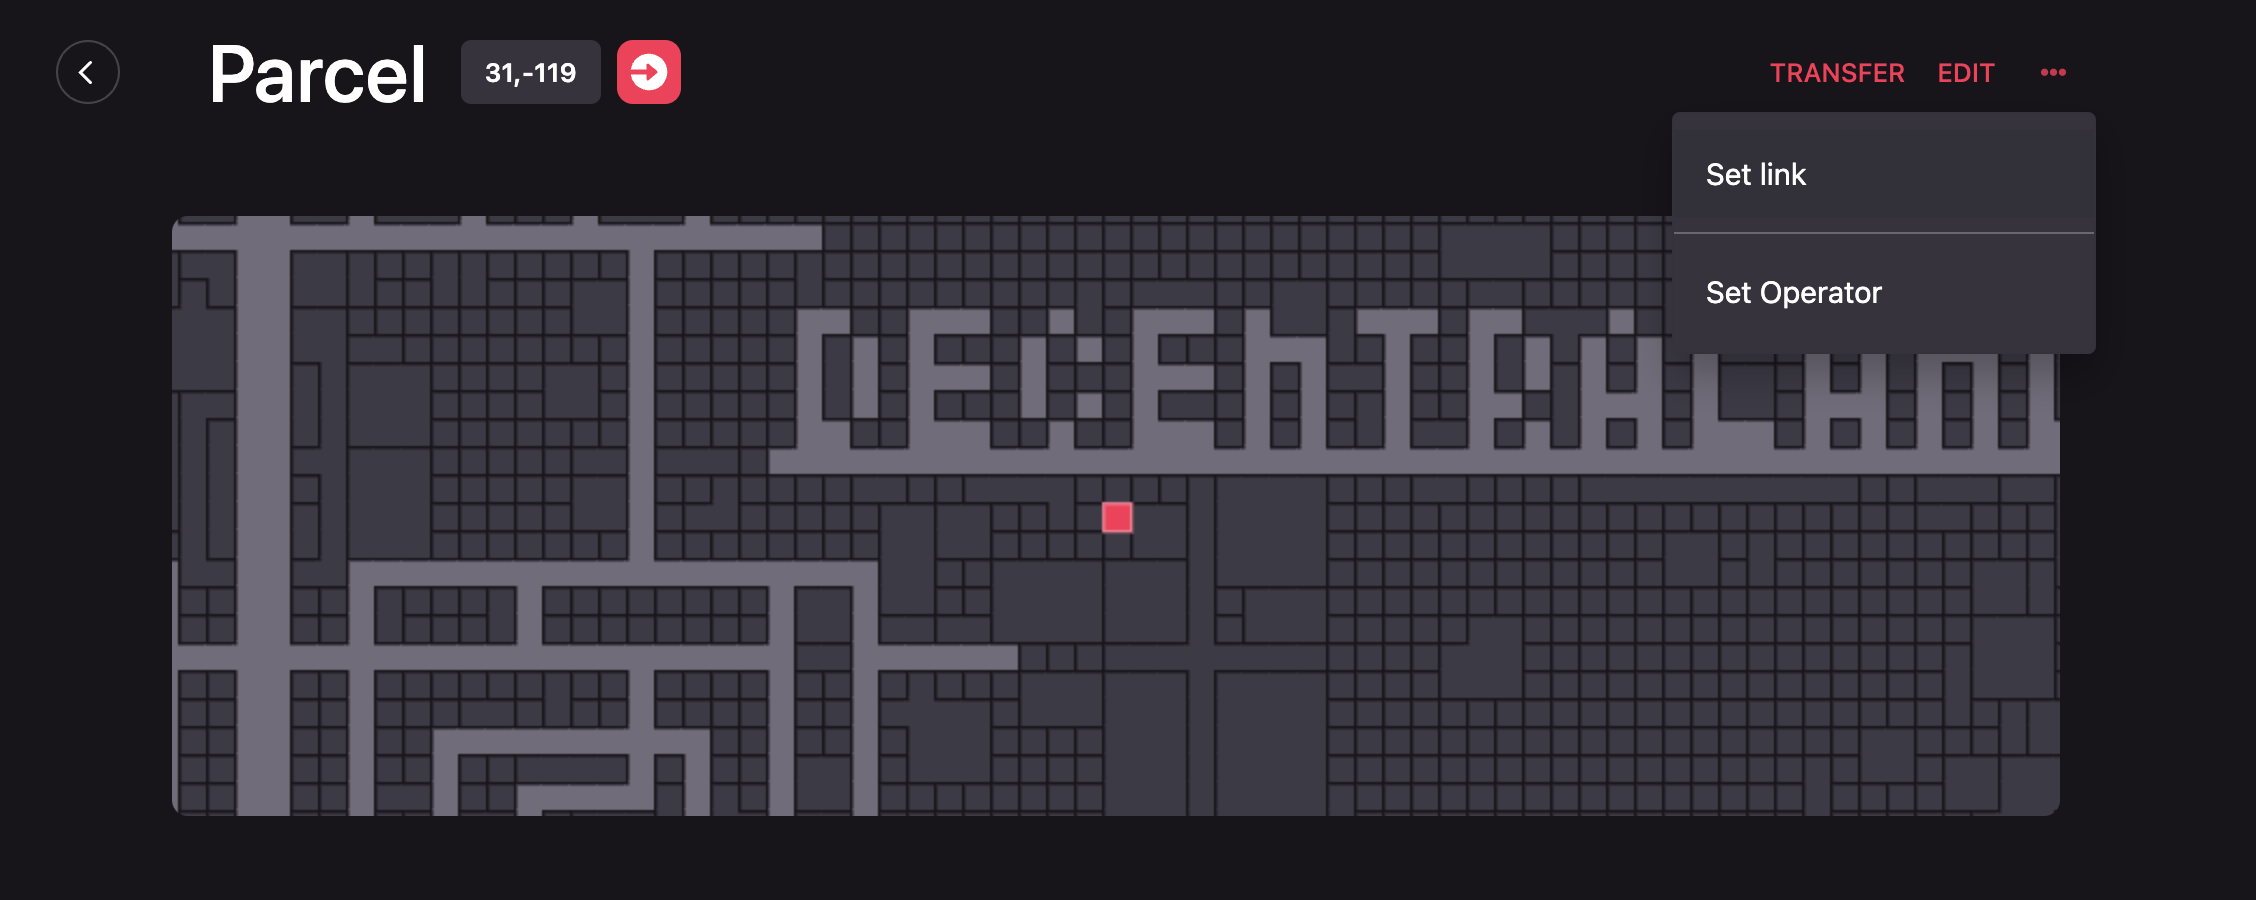
Navigate to the details page of the parcel or Estate and click on the three dots and then Set Operator.
-
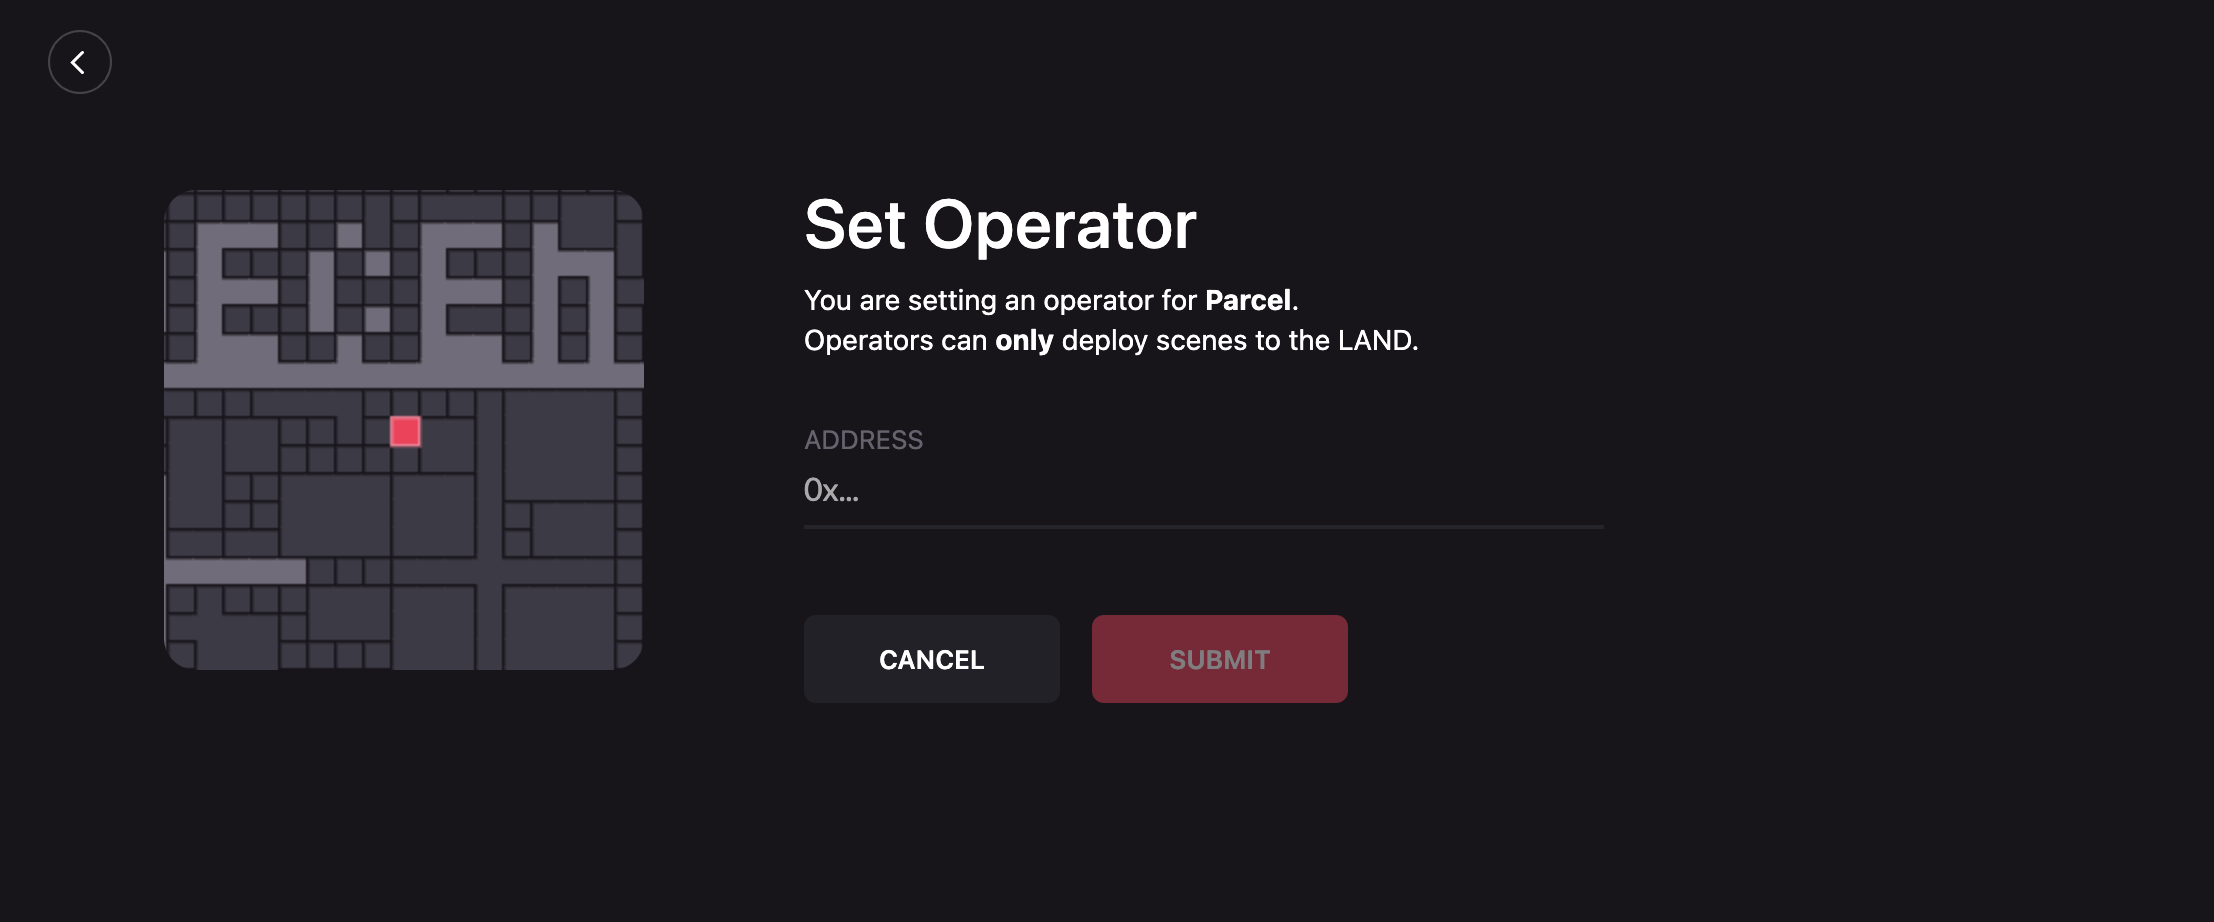
Fill the form with the desired info.
-
Click Submit.
-
Confirm this transaction on your Ethereum client and wait for the network to verify it.
See your activity history #
Open the notifications page by clicking the bell icon at the top of the screen.

The notifications page displays a list of all the recent transactions that you have carried out, together with their status.
Click a transaction to see more details about it on Etherscan.
Transfer LAND #
To transfer a LAND parcel or Estate to another user:
-
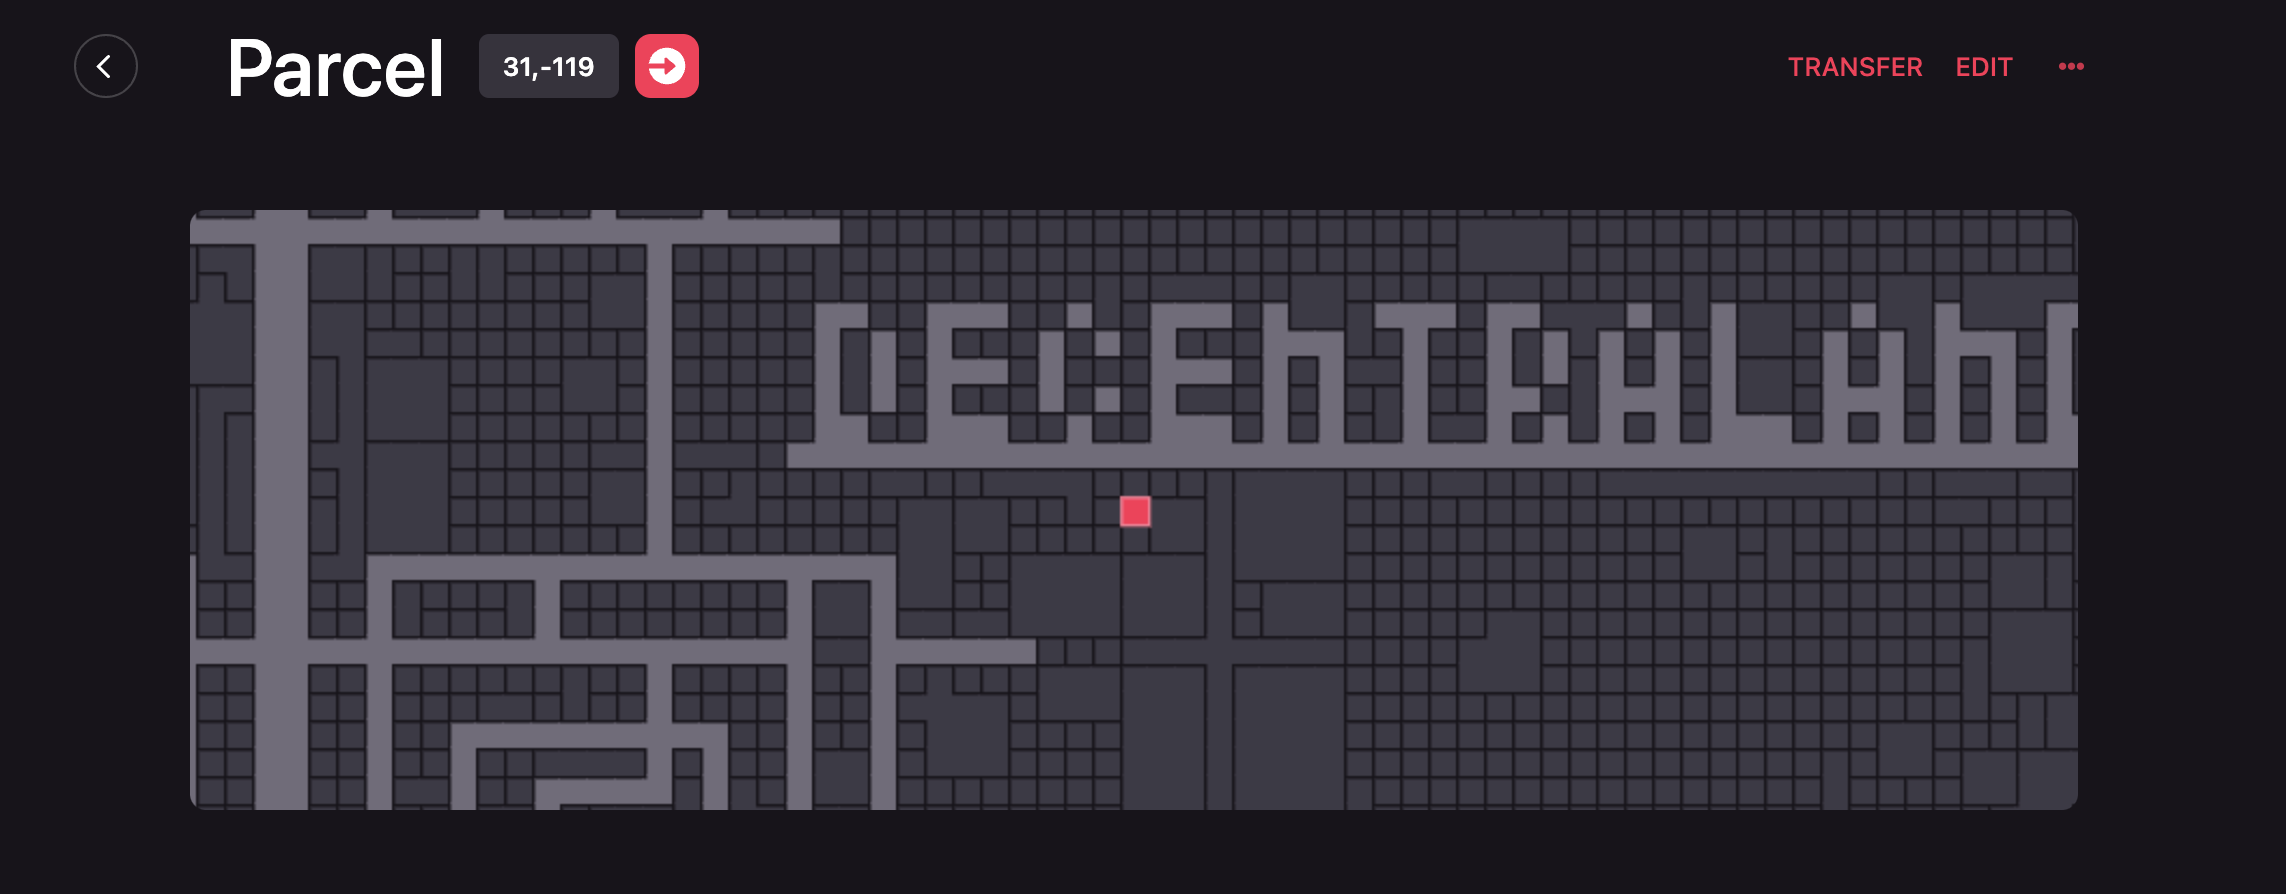
Navigate to the details page of the parcel or the Estate you’d like to transfer and click Transfer.
-
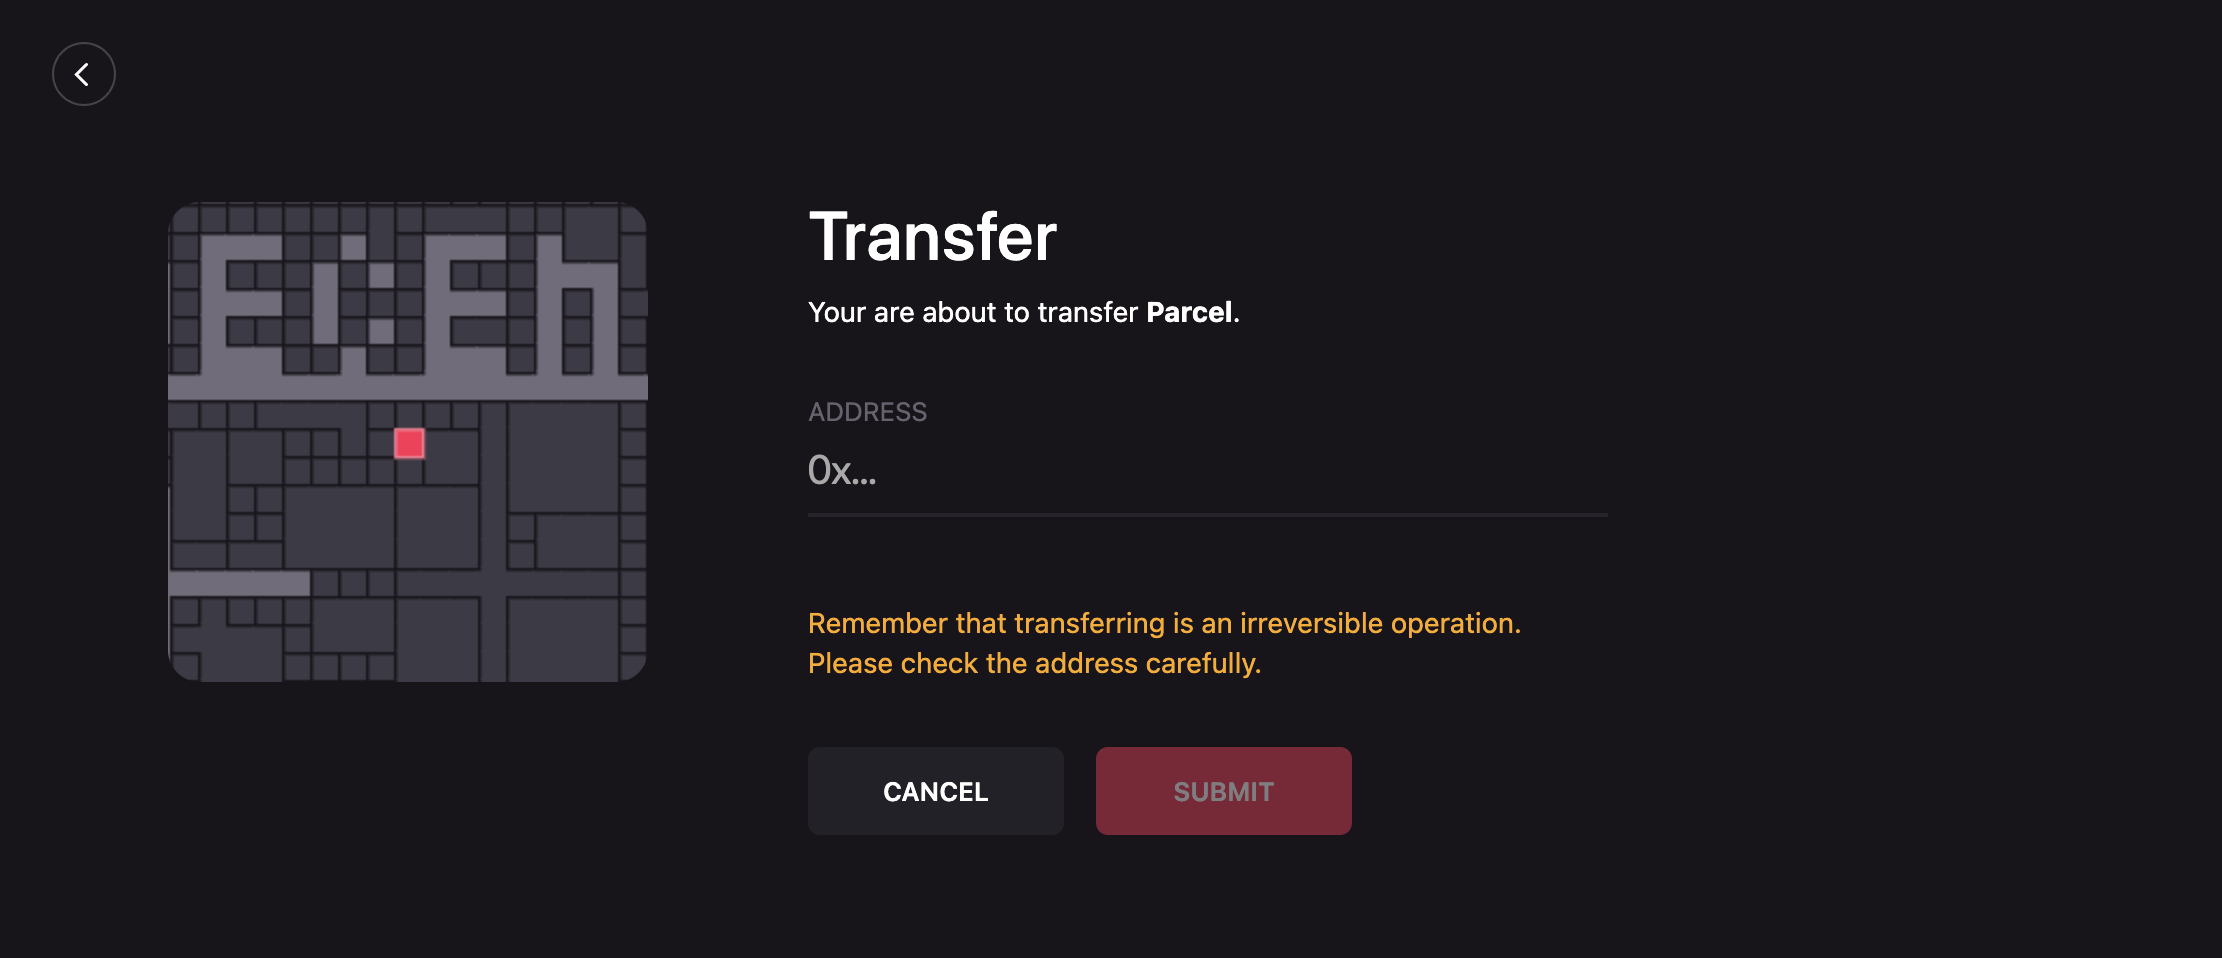
Enter the public address of the Ethereum wallet of the recipient.
📔 Note: Please double check this address, since you cannot cancel the operation. While the recipient could always transfer the LAND back to you, the original owner cannot reverse the action.
- Click Submit.
- Confirm this transaction on your Ethereum client and wait for the network to verify it.