Migrate into Creator Hub
If you have a scene created with other tools than the Creator Hub, you can easily migrate it to the Creator Hub.
The Creator Hub is the recommended tool for creating Decentraland scenes. It has a much more polished interface than the Web Editor and allows you to combine the easy drag-and-drop interface with the ability to customize further with code. It also allows you to run your scene preview using the latest desktop client.
Migrate from Web Editor #
To edit the code in a scene created with the Web Editor, you must export the scene to your machine and open it with the Creator Hub.
📔 Note: If you don’t have the Creator Hub installed, follow the steps in the following page before your start.
- Click the Download icon on the top menu of the Web Editor while editing the scene.

- This will download a .zip file, extract it.
- Open the Creator Hub, go into the Scene Editor section.
- Click the Import button and select the path to your exported project folder.

Once you’re done, you can keep working on your project inside the Creator Hub, with a visual interface that looks a lot like the Web Editor, but much more polished.
You can also edit the files under the /src folder to add behavior with code to your scene. See
Combine with code
for how to edit the code of your scene.
Migrate a code-only project #
You can import any code-only project into the Creator Hub. To do this,
- Open the Creator Hub, go into the Scene Editor section.
- Click the Import button and select the path to your exported project folder.

Once done, you can start working on your project inside the Creator Hub, this doesn’t prevent you from still using your favorite code editor to edit the code of your scene, or use the command line to run or deploy your scene.
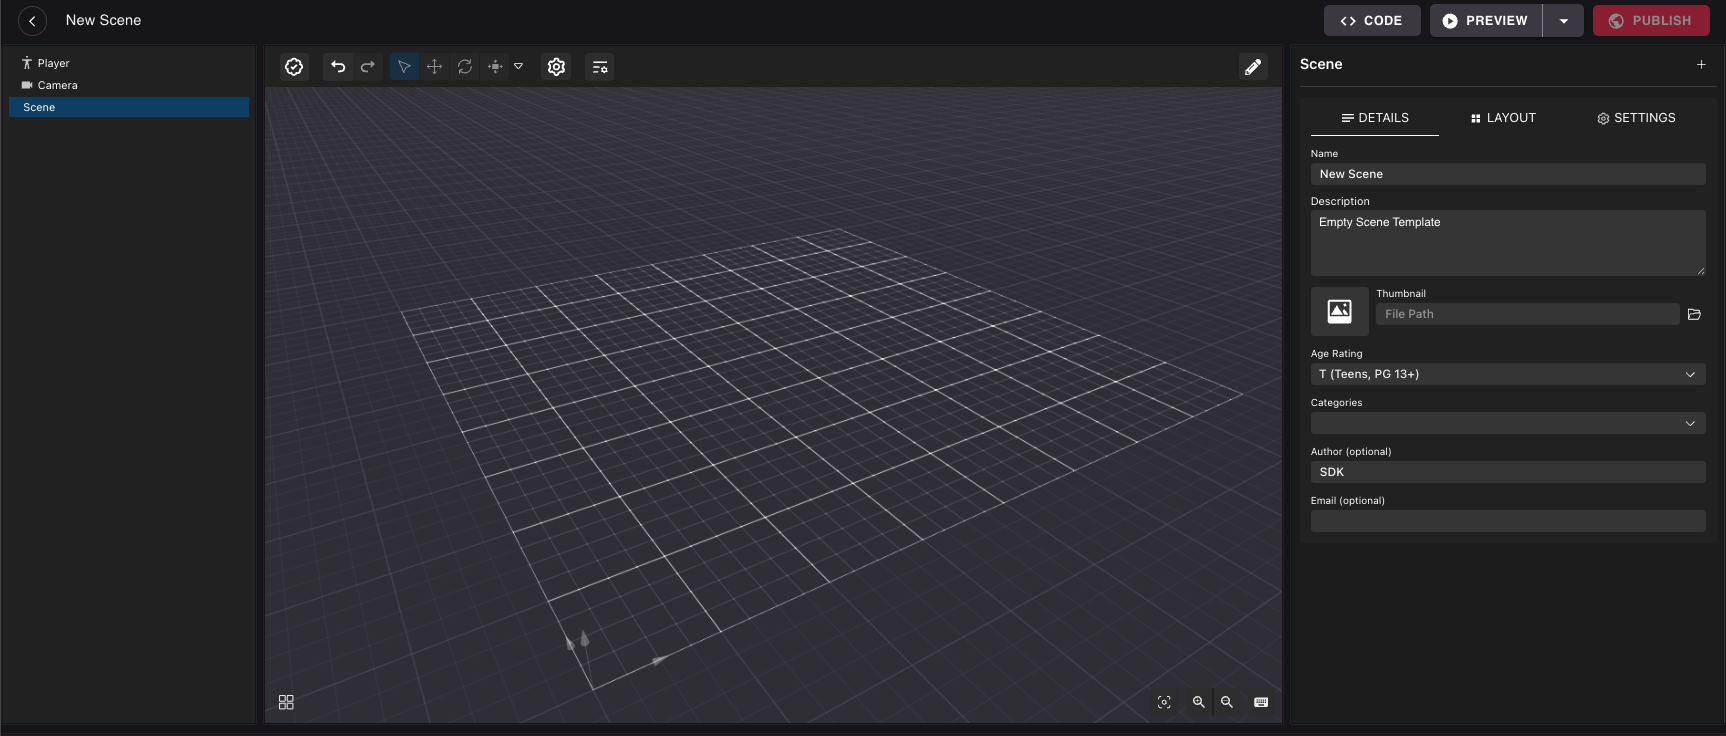
After importing your project, any content that is created via code will not be visible or editable on the Creator Hub canvas, which can make it challenging to place and align new items. You will initially see your scene as an empty grid.

Instead of manually adding your content to the canvas from scratch, you can run a command to automatically add it for you. To do this, make sure you have the latest version of the SDK installed and run the following command in your terminal:
npx sdk-commands code-to-composite
❗Warning: Make sure you have a backup of your project before running this command.
This command will overwrite the
main.compositefile with the new snapshot. It will also comment out all the code in the.tsfiles in thesrcfolder. You will need to uncomment the code to make it run again.
This command runs your scene and takes a snapshot of the content that is created via code on the first frame. This snapshot is saved in the main.composite file, which the Creator Hub uses to display the content of your scene. The code in your scene is commented out, to avoid having duplicates of all entities.
Note that this command only captures entities and the components that can be represented on the Creator Hub UI. It does not replicate custom components, or reproduce code that carries out logic, or UI elements that are created via code. To add back any behavior that was commented out, you will need to edit the code in the .ts files in the src folder and uncomment the lines you need.
You may also want to rewrite part of the code so that instead of creating new entities, it references existing entities by name or by tags to give them behavior. See Combine with code for how to fetch these entities from your code.