Move entities
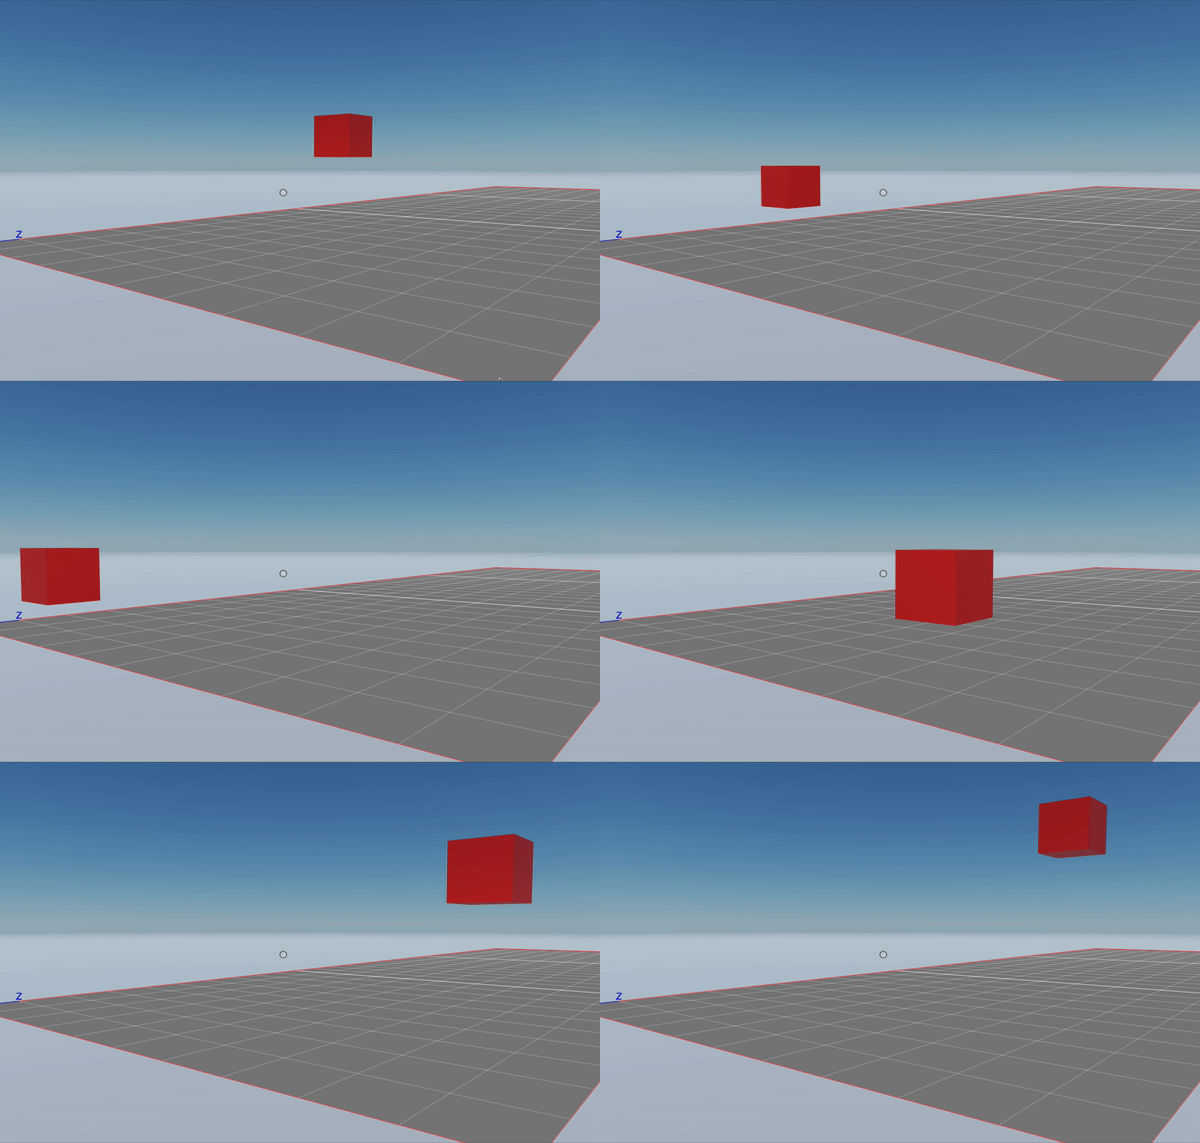
To move, rotate or resize an entity in your scene over a period of time, use the Tween component. The engine carries out the desired transformation smoothly, showing updates on every frame until the specified duration is over. Also the Transform component values of the affected entity gets updated in real time in case it’s needed to make proximity checks in the scene code.
💡 Tip: In the Scene Editor , you can move entities in a no-code way via Actions, see Make any item smart .
Move between two points #
To move an entity between two points, create a Tween component with its mode set to Tween.Mode.Move.
const myEntity = engine.addEntity()
Transform.create(myEntity, {
	position: Vector3.create(4, 1, 4),
})
MeshRenderer.setBox(myEntity)

Tween.create(myEntity, {
	mode: Tween.Mode.Move({
		start: Vector3.create(1, 1, 1),
		end: Vector3.create(8, 1, 8),
	}),
	duration: 2000,
	easingFunction: EasingFunction.EF_LINEAR,
})
The movement tween takes the following information:
start: A Vector3 for the starting positionend: A Vector3 for the ending positionfaceDirection(optional): If true, the entity is rotated to face in the direction of the movement.
Also, all tweens include the following required properties:
duration: How many milliseconds it takes to move between the two positionseasingFunction: What easing function to use. See Non-linear tweens
Rotate between two directions #
To rotate an entity between two points, create a Tween component with its mode set to Tween.Mode.Rotate.
const myEntity = engine.addEntity()
Transform.create(myEntity, {
	position: Vector3.create(4, 1, 4),
})
MeshRenderer.setBox(myEntity)

Tween.create(myEntity, {
	mode: Tween.Mode.Rotate({
		start: Quaternion.fromEulerDegrees(0, 0, 0),
		end: Quaternion.fromEulerDegrees(0, 170, 0),
	}),
	duration: 700,
	easingFunction: EasingFunction.EF_LINEAR,
})
The rotate tween takes the following information:
start: A Quaternion for the starting rotationend: A Quaternion for the ending rotation
Also, all tweens include the following required properties:
duration: How many milliseconds it takes to move between the two positionseasingFunction: What easing function to use. See Non-linear tweens
Rotate with a pivot point #
When rotating an entity, the rotation is always in reference to the entity’s center coordinate. To rotate an entity using another set of coordinates as a pivot point, create a second (invisible) entity with the pivot point as its position and make it a parent of the entity you want to rotate.
When rotating the parent entity, its children will be all rotated using the parent’s position as a pivot point. Note that the position of the child entity is in reference to that of the parent entity.
const pivotEntity = engine.addEntity()
Transform.create(pivotEntity, {
	position: Vector3.create(4, 1, 4),
})

const childEntity = engine.addEntity()
Transform.create(childEntity, {
	position: Vector3.create(1, 0, 0),
	parent: pivotEntity,
})
MeshRenderer.setBox(myEntity)

Tween.create(pivotEntity, {
	mode: Tween.Mode.Rotate({
		start: Quaternion.fromEulerDegrees(0, 0, 0),
		end: Quaternion.fromEulerDegrees(0, 170, 0),
	}),
	duration: 700,
	easingFunction: EasingFunction.EF_LINEAR,
})
Note that in this example, the system is rotating the pivotEntity entity, that’s a parent of the childEntity entity.
Scale between two sizes #
To change the scale of an entity between two sizes, create a Tween component with its mode set to Tween.Mode.Scale.
const myEntity = engine.addEntity()
Transform.create(myEntity, {
	position: Vector3.create(4, 1, 4),
})
MeshRenderer.setBox(myEntity)

Tween.create(myEntity, {
	mode: Tween.Mode.Scale({
		start: Vector3.create(1, 1, 1),
		end: Vector3.create(4, 4, 4),
	}),
	duration: 2000,
	easingFunction: EasingFunction.EF_LINEAR,
})
The scale tween takes the following information:
start: A Vector3 for the starting sizeend: A Vector3 for the ending size
Also, all tweens include the following required properties:
duration: How many milliseconds it takes to move between the two positionseasingFunction: What easing function to use. See Non-linear tweens
Non-linear tweens #
Tweens can follow different Easing Functions that affect the rate of change over time. A linear function, means that the speed of the change is constant from start to finish. There are plenty of options to chose, that draw differently shaped curves depending on if the beginning and/or end start slow, and how much. An easeinexpo curve starts slow and ends fast, increasing speed exponentially, on the contrary an easeoutexpo curve starts fast and ends slow.

💡 Tip: Experiment with different movement curves. The differences are often subtle, but we subconsciously interpret information from how things move, like weight, friction, or even personality.
Tween.create(myEntity, {
	mode: Tween.Mode.Scale({
		start: Vector3.create(1, 1, 1),
		end: Vector3.create(4, 4, 4),
	}),
	duration: 2000,
	easingFunction: EasingFunction.EF_EASEOUTBOUNCE,
	playing: true,
})
The easingFunction field takes its value from the EasingFunction enum, that offers the following options:
EF_EASEBACKEF_EASEBOUNCEEF_EASECIRCEF_EASECUBICEF_EASEELASTICEF_EASEEXPOEF_EASEINBACKEF_EASEINBOUNCEEF_EASEINCIRCEF_EASEINCUBICEF_EASEINELASTICEF_EASEINEXPOEF_EASEINQUADEF_EASEINQUARTEF_EASEINQUINTEF_EASEINSINEEF_EASEOUTBACKEF_EASEOUTBOUNCEEF_EASEOUTCIRCEF_EASEOUTCUBICEF_EASEOUTELASTICEF_EASEOUTEXPOEF_EASEOUTQUADEF_EASEOUTQUARTEF_EASEOUTQUINTEF_EASEOUTSINEEF_EASEQUADEF_EASEQUARTEF_EASEQUINTEF_EASESINEEF_LINEAR
Tween sequences #
To make an entity play a series of tweens in sequence, use the TweenSequence component. This component requires two fields:
sequence: An array with multiple tween definitions, that will be carried out sequentially. The array can be empty, in which case it only plays the current tween.loop(optional): If not provided, the sequence is only played once. If the field is present, the value must be a value of theTweenLoopenum. Accepted values are:TL_RESTART: When the sequence ends, it restarts. If the last state doesn’t match the first state, the entity instantly jumps from one to the other.TL_YOYO: When the sequence ends, the it goes backwards, doing all tweens in reverse until it reaches the start again. Then it begins once more.
Move back and forth #
To make a platform move constantly back and forth between two positions, leave the sequence array empty, and set loop to TweenLoop.TL_YOYO
const myEntity = engine.addEntity()
Transform.create(myEntity, {
	position: Vector3.create(4, 1, 4),
})
MeshRenderer.setBox(myEntity)

Tween.create(myEntity, {
	mode: Tween.Mode.Move({
		start: Vector3.create(1, 1, 1),
		end: Vector3.create(8, 1, 8),
	}),
	duration: 2000,
	easingFunction: EasingFunction.EF_LINEAR,
})

TweenSequence.create(myEntity, { sequence: [], loop: TweenLoop.TL_YOYO })
The entity will move back and forth between the start point and the end point, with the same duration and the same easing function in both directions.
Follow a path #
To make an entity follow a more complex path with multiple points, provide a list of tween definitions in the sequence of a TweenSequence component.
const myEntity = engine.addEntity()
Transform.create(myEntity, {
	position: Vector3.create(4, 1, 4),
})
MeshRenderer.setBox(myEntity)

Tween.create(myEntity, {
	duration: 4000,
	easingFunction: EasingFunction.EF_LINEAR,
	currentTime: 0,
	playing: true,
	mode: Tween.Mode.Move({
		start: Vector3.create(6.5, 7, 4),
		end: Vector3.create(6.5, 7, 12),
	}),
})

TweenSequence.create(myEntity, {
	sequence: [
		{
			duration: 2000,
			easingFunction: EasingFunction.EF_LINEAR,
			mode: Tween.Mode.Move({
				start: Vector3.create(6.5, 7, 12),
				end: Vector3.create(6.5, 10.5, 12),
			}),
		},
		{
			duration: 3000,
			easingFunction: EasingFunction.EF_LINEAR,
			mode: Tween.Mode.Move({
				start: Vector3.create(6.5, 10.5, 12),
				end: Vector3.create(6.5, 10.5, 4),
			}),
		},
		{
			duration: 3000,
			easingFunction: EasingFunction.EF_LINEAR,
			mode: Tween.Mode.Move({
				start: Vector3.create(6.5, 10.5, 4),
				end: Vector3.create(6.5, 7, 4),
			}),
		},
	],
	loop: TweenLoop.TL_RESTART,
})
Keep spinning #
A basic “constant rotation” can be achieved with the TweenSequence component as well.
const myEntity = engine.addEntity()
Transform.create(myEntity, {
	position: Vector3.create(8, 1, 8),
})
MeshRenderer.setBox(myEntity)
Tween.create(myEntity, {
	mode: Tween.Mode.Rotate({
		start: Quaternion.fromEulerDegrees(0, 0, 0),
		end: Quaternion.fromEulerDegrees(0, 180, 0),
	}),
	duration: 700,
	easingFunction: EasingFunction.EF_LINEAR,
})
TweenSequence.create(myEntity, {
	loop: TweenLoop.TL_RESTART,
	sequence: [
		{
			mode: Tween.Mode.Rotate({
				start: Quaternion.fromEulerDegrees(0, 180, 0),
				end: Quaternion.fromEulerDegrees(0, 360, 0),
			}),
			duration: 700,
			easingFunction: EasingFunction.EF_LINEAR,
		},
	],
})
On tween finished #
Use tweenSystem.tweenCompleted to detect when a tween has finished. This can be useful to perform actions when a tween ends, for example to open an elevator door.
engine.addSystem(() => {
	const tweenCompleted = tweenSystem.tweenCompleted(myEntity)
	if (tweenCompleted) {
		//play sound
	}
})
Simultaneous tweens #
An entity can only have one Tween component, and each tween component can only perform one transformation at a time. For example, you can´t make an entity move sideways and also rotate at the same time. As a workaround, you can use parented entities. For example, you can have an invisible parent entity that moves sideways, with a visible child that rotates.
In the following snippet, a parent entity rotates while a child scales up.
const parentEntity = engine.addEntity()
Transform.create(parentEntity, {
	position: Vector3.create(4, 1, 4),
})
MeshRenderer.setBox(parentEntity)
Tween.create(parentEntity, {
	mode: Tween.Mode.Rotate({
		start: Quaternion.fromEulerDegrees(0, 0, 0),
		end: Quaternion.fromEulerDegrees(0, 170, 0),
	}),
	duration: 5000,
	easingFunction: EasingFunction.EF_LINEAR,
})

const childEntity = engine.addEntity()
Transform.create(childEntity, {
	position: Vector3.create(0, 0, 0),
	parent: parentEntity,
})
MeshRenderer.setBox(childEntity)

Tween.create(childEntity, {
	mode: Tween.Mode.Scale({
		start: Vector3.create(1, 1, 1),
		end: Vector3.create(4, 4, 4),
	}),
	duration: 5000,
	easingFunction: EasingFunction.EF_LINEAR,
})
Pause a tween #
To pause a tween, change the playing property to false. To resume it, change it back to true.
pointerEventsSystem.onPointerDown(
	{
		entity: button,
		opts: { button: InputAction.IA_POINTER, hoverText: 'pause' },
	},
	() => {
		let tweenData = Tween.getMutable(myEntity)
		tweenData.playing = !tweenData.playing
	}
)
To end a tween that doesn’t need to be continued, delete the Tween component from the entity. If the entitiy was also using a TweenSequence component, delete that too.
pointerEventsSystem.onPointerDown(
	{
		entity: button,
		opts: { button: InputAction.IA_POINTER, hoverText: 'pause' },
	},
	() => {
		if( Tween.has(myEntity)){
			Tween.deleteFrom(myEntity)
		}
		if( TweenSequence.has(myEntity)){
			TweenSequence.deleteFrom(myEntity)
		}
	}
)
Tweens based on a system #
Instead of using the Tween component and letting the engine handle the transformation, you may prefer to do this transition incrementally, frame by frame, via a system in your scene. By moving the entity a small amount each time the function runs.
On one hand, this gives you more control for re-calculating movements on every frame. On the other hand, the code is more complicated, and players with less performant machines might experience the tween as laggy, noticing each increment.
Move via system #
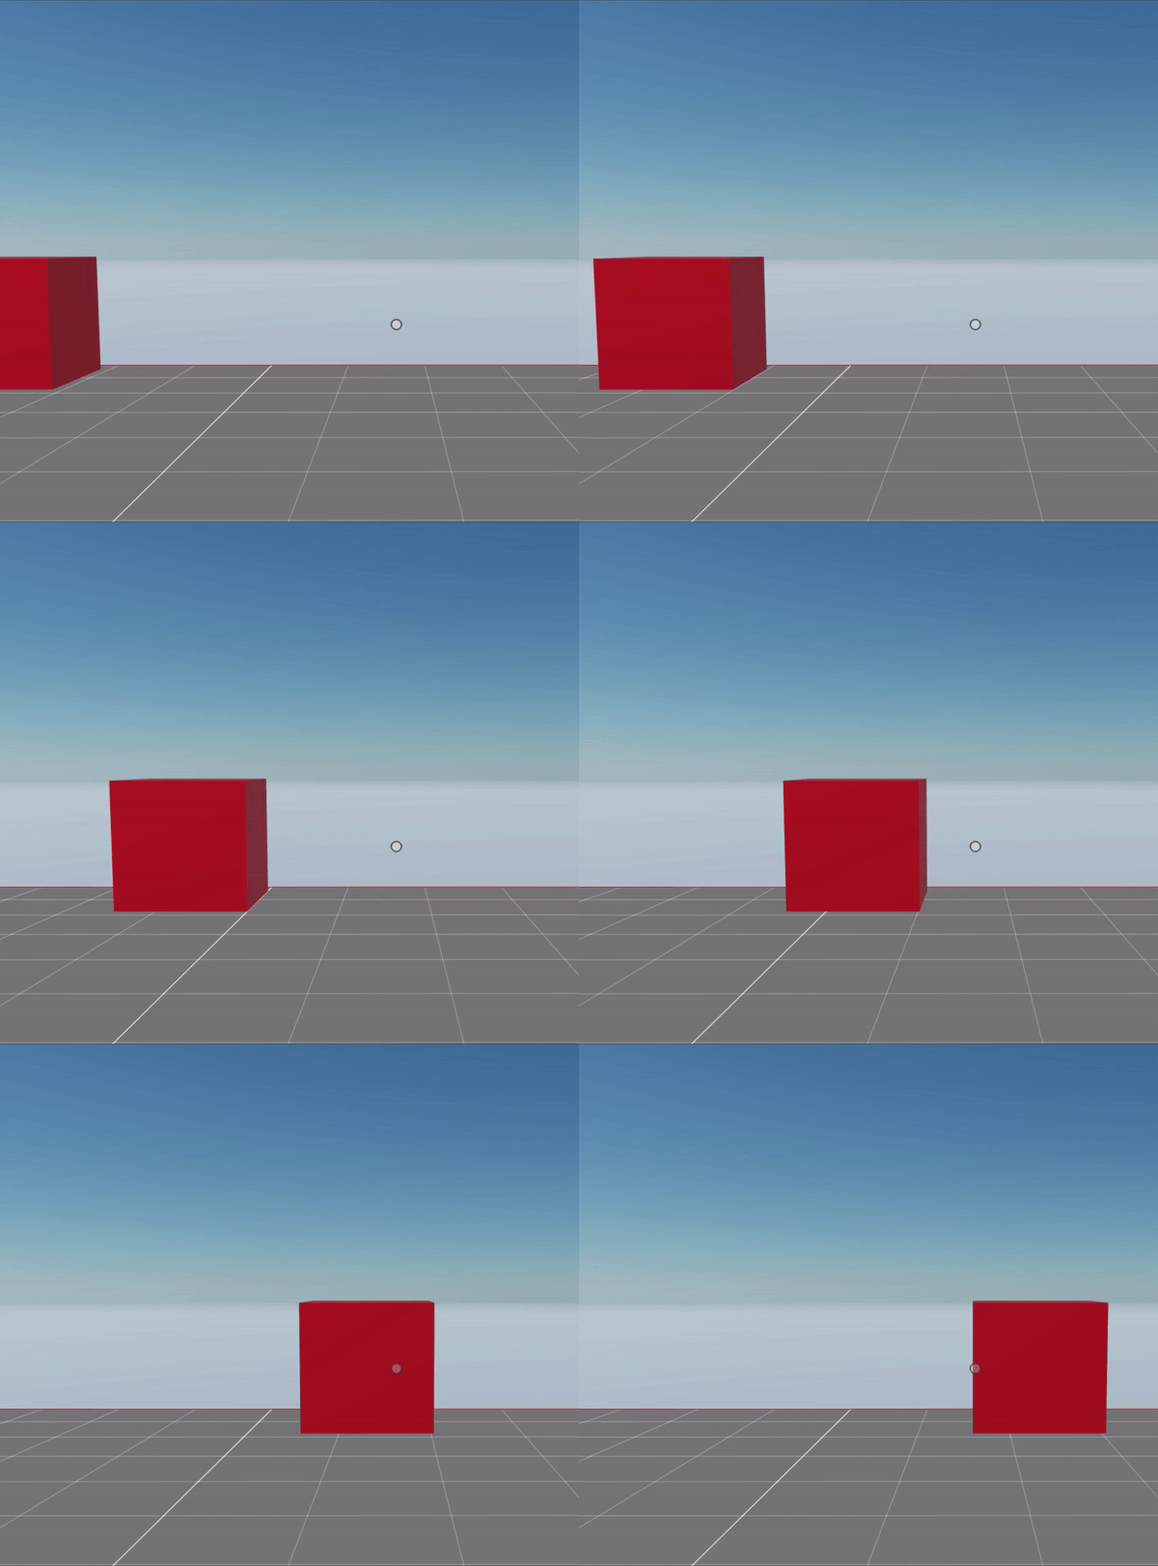
The easiest way to move an entity is to gradually modify the position value stored in the Transform component.
function SimpleMove() {
	let transform = Transform.getMutable(myEntity)
	transform.position = Vector3.add(
		transform.position,
		Vector3.scale(Vector3.Forward(), 0.05)
	)
}

engine.addSystem(SimpleMove)

const myEntity = engine.addEntity()
Transform.create(myEntity, {
	position: Vector3.create(4, 1, 4),
})
MeshRenderer.setBox(myEntity)
In this example we’re moving an entity by 0.1 meters per tick of the game loop.
Vector3.Forward() returns a vector that faces forward and measures 1 meter in length. In this example we’re then scaling this vector down to 1/10 of its length with Vector3.scale(). If our scene has 30 frames per second, the entity is moving at 3 meters per second in speed.
Rotate via system #
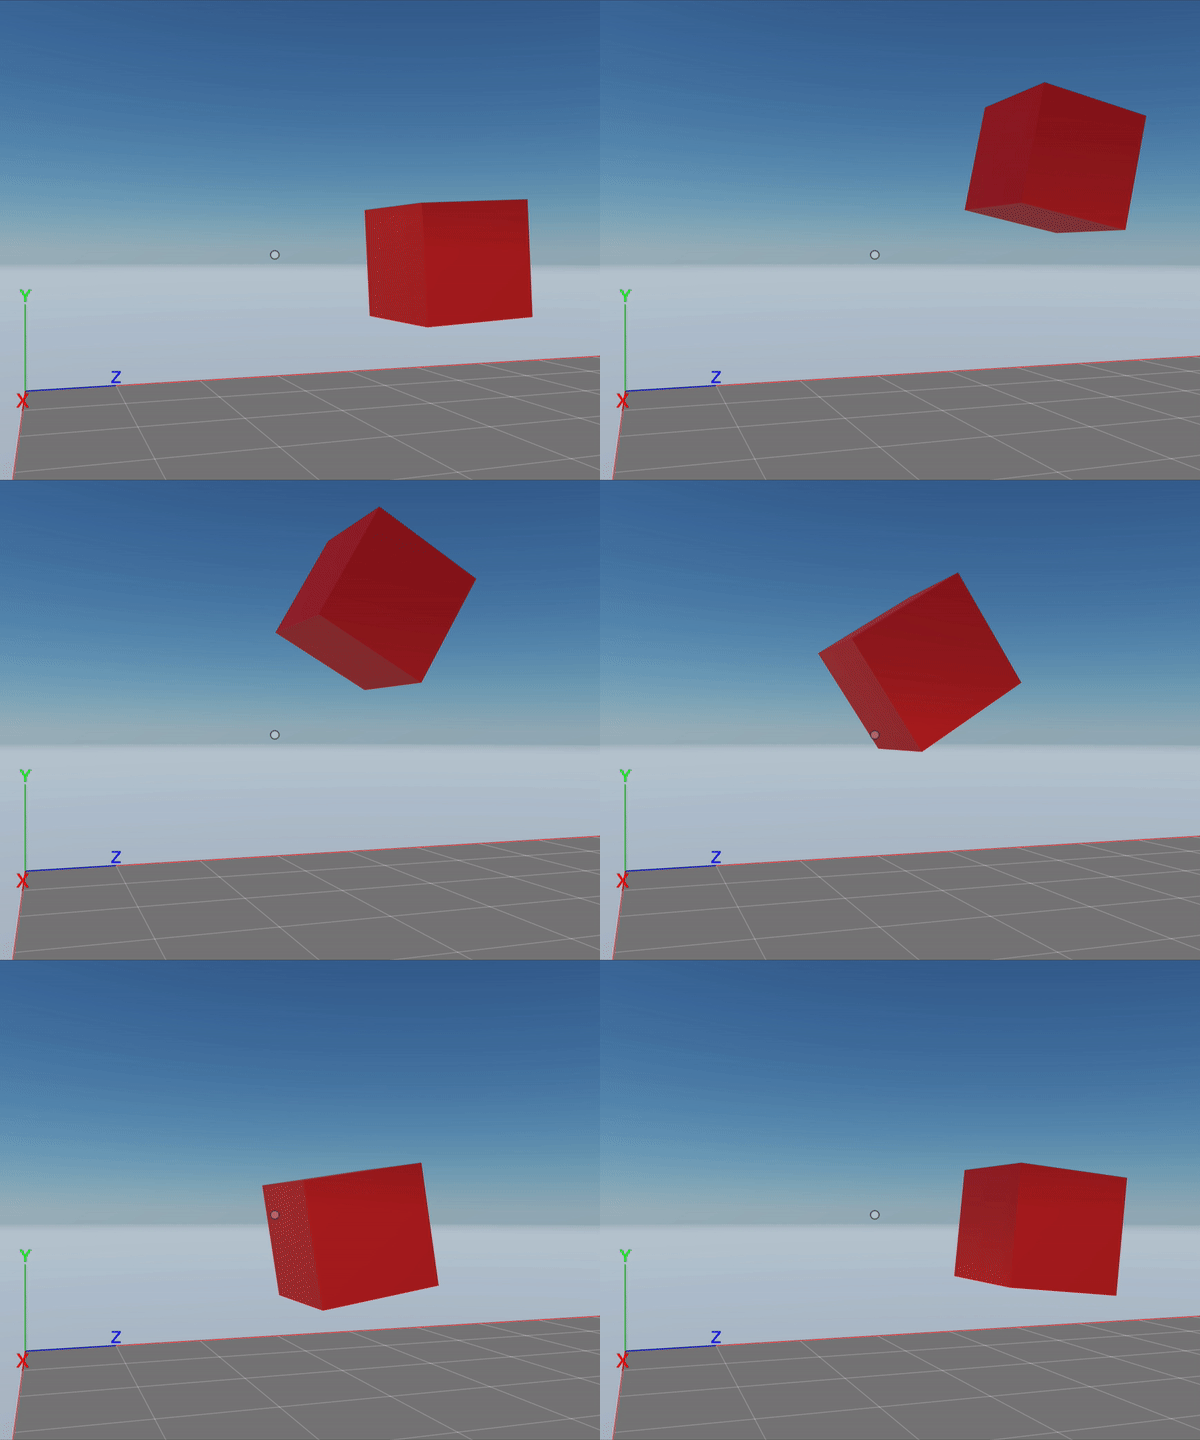
The easiest way to rotate an entity is to gradually change the values in the Transform component incrementally, and run this as part of a system’s function of a system.
function SimpleRotate() {
	let transform = Transform.getMutable(myEntity)
	transform.rotation = Quaternion.multiply(
		transform.rotation,
		Quaternion.fromAngleAxis(1, Vector3.Up())
	)
}

engine.addSystem(SimpleRotate)

const myEntity = engine.addEntity()
Transform.create(myEntity, {
	position: Vector3.create(4, 1, 4),
})
MeshRenderer.setBox(myEntity)
Note that in order to combine the current rotation with each increment, we’re using Quaternion.multiply. In quaternion math, you combine two rotations by multiplying them, NOT by adding them. The resulting rotation of multiplying one quaternion by another will be the equivalent final rotation after first performing one rotation and then the other.
In this example, we’re rotating the entity by 1 degree in an upwards direction in each tick of the game loop.
💡 Tip: To make an entity always rotate to face the player, you can add a
Billboard component
.

Rotate via system over a pivot point #
When rotating an entity, the rotation is always in reference to the entity’s center coordinate. To rotate an entity using another set of coordinates as a pivot point, create a second (invisible) entity with the pivot point as its position and make it a parent of the entity you want to rotate.
When rotating the parent entity, its children will be all rotated using the parent’s position as a pivot point. Note that the position of the child entity is in reference to that of the parent entity.
function SimpleRotate() {
	let transform = Transform.getMutable(pivotEntity)
	transform.rotation = Quaternion.multiply(
		transform.rotation,
		Quaternion.fromAngleAxis(1, Vector3.Up())
	)
}

engine.addSystem(SimpleRotate)

const pivotEntity = engine.addEntity()
Transform.create(pivotEntity, {
	position: Vector3.create(4, 1, 4),
})

const childEntity = engine.addEntity()
Transform.create(childEntity, {
	position: Vector3.create(1, 0, 0),
	parent: pivotEntity,
})
MeshRenderer.setBox(myEntity)
Note that in this example, the system is rotating the pivotEntity entity, that’s a parent of the childEntity entity.
Adjust movement to delay time #
Suppose that the player visiting your scene is struggling to keep up with the pace of the frame rate. That could result in the movement appearing jumpy, as not all frames are evenly timed but each moves the entity in the same amount.
You can compensate for this uneven timing by using the dt parameter to adjust the scale the movement.
function SimpleMove(dt: number) {
	let transform = Transform.getMutable(myEntity)
	transform.position = Vector3.add(
		transform.position,
		Vector3.scale(Vector3.Forward(), dt)
	)
}

engine.addSystem(SimpleMove)

const myEntity = engine.addEntity()
Transform.create(myEntity, {
	position: Vector3.create(4, 1, 4),
})
MeshRenderer.setBox(myEntity)
The example above keeps movement at approximately the same speed as the movement example above, even if the frame rate drops. When running at 30 frames per second, the value of dt is 1/30.
You can also smoothen rotations in the same way by multiplying the rotation amount by dt.
Move between two points via system #
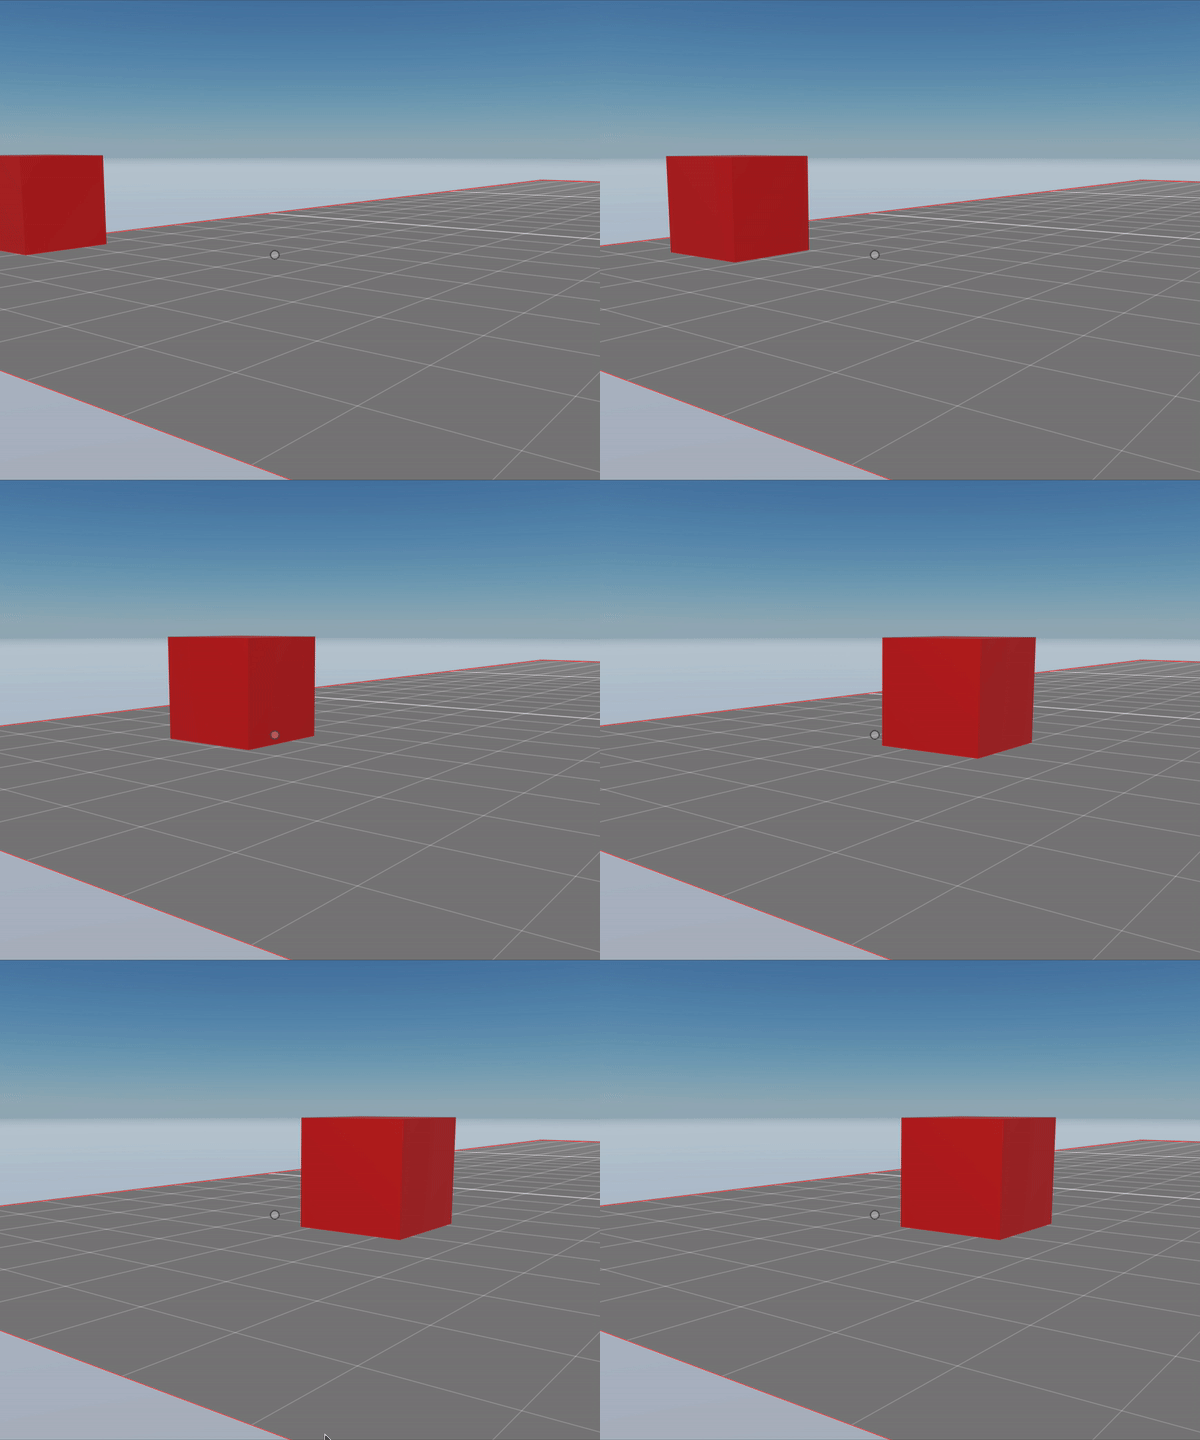
If you want an entity to move smoothly between two points, use the lerp (linear interpolation) algorithm. This algorithm is very well known in game development, as it’s really useful.
The lerp() function takes three parameters:
- The vector for the origin position
- The vector for the target position
- The amount, a value from 0 to 1 that represents what fraction of the translation to do.
const originVector = Vector3.Zero()
const targetVector = Vector3.Forward()

let newPos = Vector3.lerp(originVector, targetVector, 0.6)
The linear interpolation algorithm finds an intermediate point in the path between both vectors that matches the provided amount.
For example, if the origin vector is (0, 0, 0) and the target vector is (10, 0, 10):
- Using an amount of 0 would return (0, 0, 0)
- Using an amount of 0.3 would return (3, 0, 3)
- Using an amount of 1 would return (10, 0, 10)
To implement this lerp() in your scene, we recommend creating a
custom component
to store the necessary information. You also need to define a system that implements the gradual movement in each frame.
// define custom component
const MoveTransportData = {
	start: Schemas.Vector3,
	end: Schemas.Vector3,
	fraction: Schemas.Float,
	speed: Schemas.Float,
}

export const LerpTransformComponent = engine.defineComponent(
	'LerpTransformComponent',
	MoveTransportData
)

// define system
function LerpMove(dt: number) {
	let transform = Transform.getMutable(myEntity)
	let lerp = LerpTransformComponent.getMutable(myEntity)
	if (lerp.fraction < 1) {
		lerp.fraction += dt * lerp.speed
		transform.position = Vector3.lerp(lerp.start, lerp.end, lerp.fraction)
	}
}

engine.addSystem(LerpMove)

// create entity
const myEntity = engine.addEntity()

Transform.create(myEntity, {
	position: Vector3.create(4, 1, 4),
})

MeshRenderer.setBox(myEntity)

LerpTransformComponent.create(myEntity, {
	start: Vector3.create(4, 1, 4),
	end: Vector3.create(8, 1, 8),
	fraction: 0,
	speed: 1,
})
Rotate between two angles via system #
To rotate smoothly between two angles, use the slerp (spherical linear interpolation) algorithm. This algorithm is very similar to a lerp, but it handles quaternion rotations.
The slerp() function takes three parameters:
- The quaternion angle for the origin rotation
- The quaternion angle for the target rotation
- The amount, a value from 0 to 1 that represents what fraction of the translation to do.
💡 Tip: You can pass rotation values in
euler
degrees (from 0 to 360) by using Quaternion.fromEulerDegrees().
const originRotation = Quaternion.fromEulerDegrees(0, 90, 0)
const targetRotation = Quaternion.fromEulerDegrees(0, 0, 0)

let newRotation = Quaternion.slerp(originRotation, targetRotation, 0.6)
To implement this in your scene, we recommend storing the data that goes into the Slerp() function in a
custom component
. You also need to define a system that implements the gradual rotation in each frame.
// define custom component
const RotateSlerpData = {
	start: Schemas.Quaternion,
	end: Schemas.Quaternion,
	fraction: Schemas.Float,
	speed: Schemas.Float,
}

export const SlerpData = engine.defineComponent('SlerpData', RotateSlerpData)

// define system
function SlerpRotate(dt: number) {
	let transform = Transform.getMutable(myEntity)
	let slerpData = SlerpData.getMutable(myEntity)
	if (slerpData.fraction < 1) {
		slerpData.fraction += dt * slerpData.speed
		transform.rotation = Quaternion.slerp(
			slerpData.start,
			slerpData.end,
			slerpData.fraction
		)
	}
}

engine.addSystem(SlerpRotate)

// create entity
const myEntity = engine.addEntity()

Transform.create(myEntity, {
	position: Vector3.create(4, 1, 4),
})

MeshRenderer.setBox(myEntity)

SlerpData.create(myEntity, {
	start: Quaternion.fromEulerDegrees(0, 0, 0),
	end: Quaternion.fromEulerDegrees(0, 180, 0),
	fraction: 0,
	speed: 0.3,
})
📔 Note: You could instead represent the rotation with euler angles asVector3values and use aLerp()function, but that would imply a conversion fromVector3toQuaternionon each frame. Rotation values are internally stored as quaternions in theTransformcomponent, so it’s more efficient for the scene to work with quaternions.
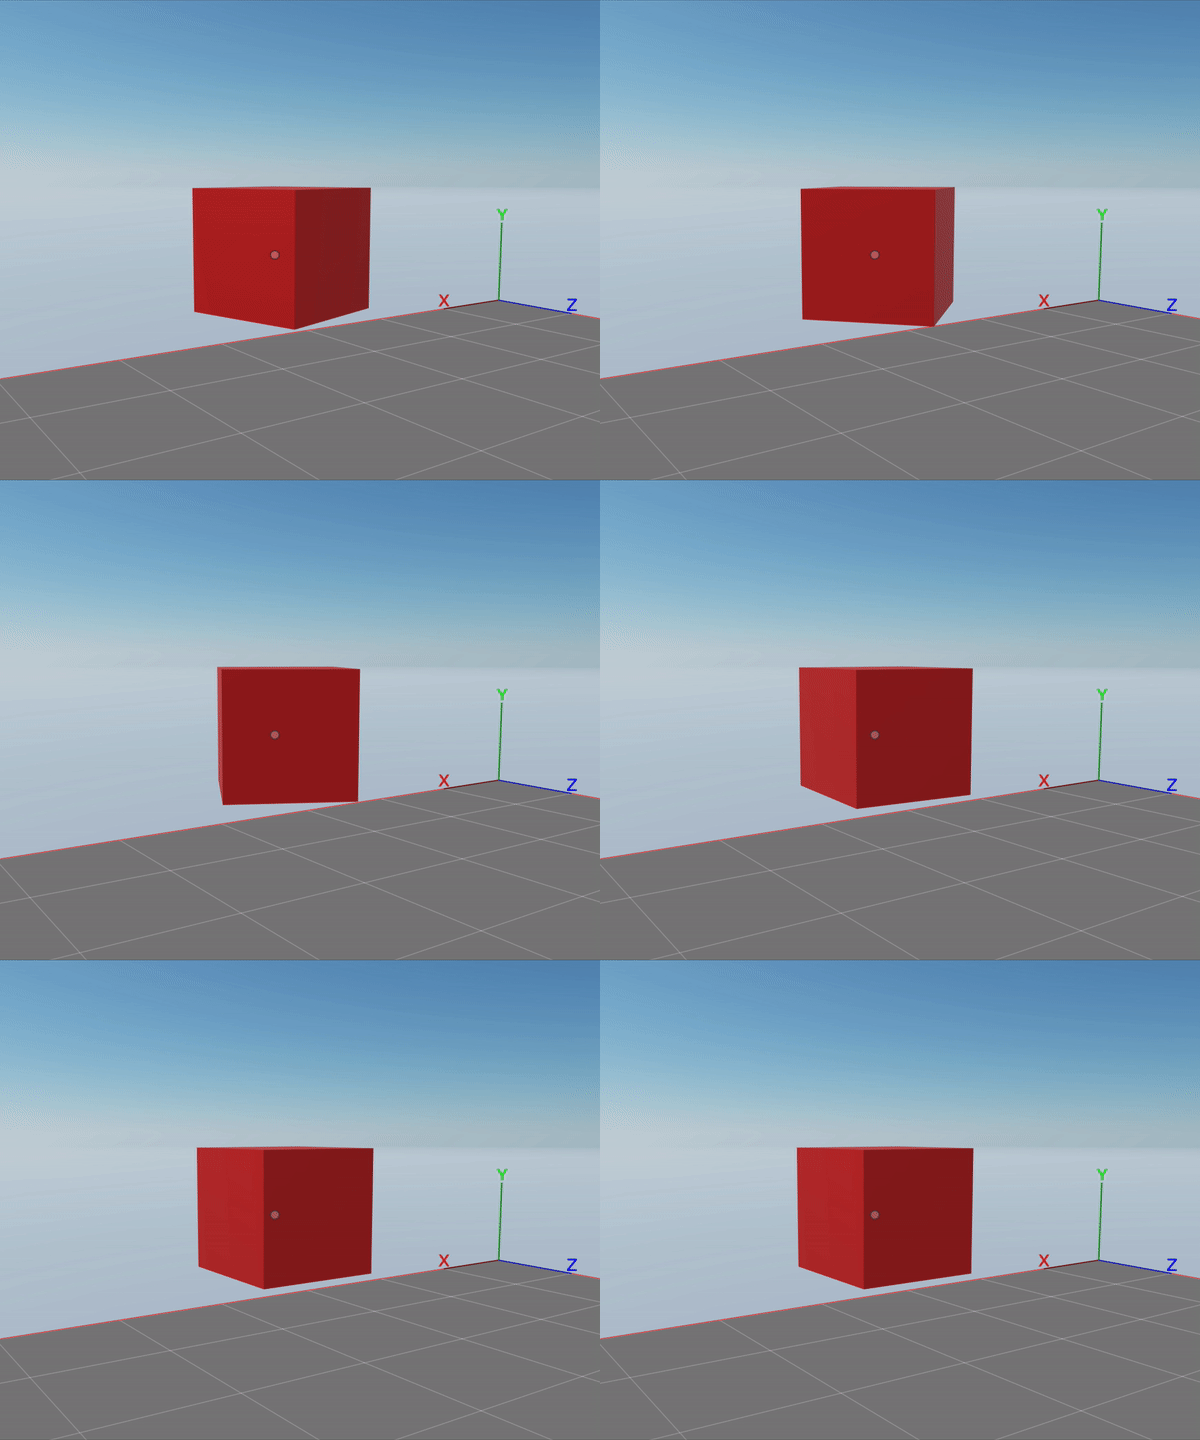
A simpler but less efficient approach to this takes advantage of the Quaternion.rotateTowards function, and avoids using any custom components.
function SimpleRotate(dt: number) {
	let transform = Transform.getMutable(myEntity)
	transform.rotation = Quaternion.rotateTowards(
		transform.rotation,
		Quaternion.fromEulerDegrees(90, 0, 0),
		dt * 10
	)
	if (transform.rotation === Quaternion.fromEulerDegrees(90, 0, 0)) {
		console.log('done')
		engine.removeSystem(this)
	}
}

const simpleRotateSystem = engine.addSystem(SimpleRotate)

const myEntity = engine.addEntity()
Transform.create(myEntity, {
	position: Vector3.create(4, 1, 4),
	rotation: Quaternion.fromEulerDegrees(0, 0, 90),
})

MeshRenderer.setBox(myEntity)
In the example above Quaternion.rotateTowards takes three arguments: the initial rotation, the final rotation that’s desired, and the maximum increment per frame. In this case, since the maximum increment is of dt * 10 degrees, the rotation will be carried out over a period of a couple of 9 seconds.
Note that the system also checks to see if the rotation is complete and if so it removes the system from the engine. Otherwise, the system would keep making calculations on every frame, even once the rotation is complete.
Change scale between two sizes via system #
If you want an entity to change size smoothly and without changing its proportions, use the lerp (linear interpolation) algorithm of the Scalar object.
Otherwise, if you want to change the axis in different proportions, use Vector3 to represent the origin scale and the target scale, and then use the lerp function of the Vector3.
The lerp() function of the Scalar object takes three parameters:
- A number for the origin scale
- A number for the target scale
- The amount, a value from 0 to 1 that represents what fraction of the scaling to do.
const originScale = 1
const targetScale = 10

let newScale = Scalar.Lerp(originScale, targetScale, 0.6)
To implement this lerp in your scene, we recommend creating a custom component to store the necessary information. You also need to define a system that implements the gradual scaling in each frame.
// define custom component
const ScaleTransportData = {
	start: Schemas.Number,
	end: Schemas.Number,
	fraction: Schemas.Float,
	speed: Schemas.Float,
}

export const ScaleTransformComponent = engine.defineComponent(
	'ScaleTransformComponent',
	ScaleTransportData
)

// define system
function LerpMove(dt: number) {
	let transform = Transform.getMutable(myEntity)
	let lerp = ScaleTransformComponent.getMutable(myEntity)
	if (lerp.fraction < 1) {
		lerp.fraction += dt * lerp.speed
		const newScale = Scalar.lerp(lerp.start, lerp.end, lerp.fraction)
		transform.scale = Vector3.create(newScale, newScale, newScale)
	}
}

engine.addSystem(LerpMove)

// create entity
const myEntity = engine.addEntity()

Transform.create(myEntity, {
	position: { x: 4, y: 1, z: 4 },
})

MeshRenderer.setBox(myEntity)

ScaleTransformComponent.create(myEntity, {
	start: 1,
	end: 2,
	fraction: 0,
	speed: 1,
})

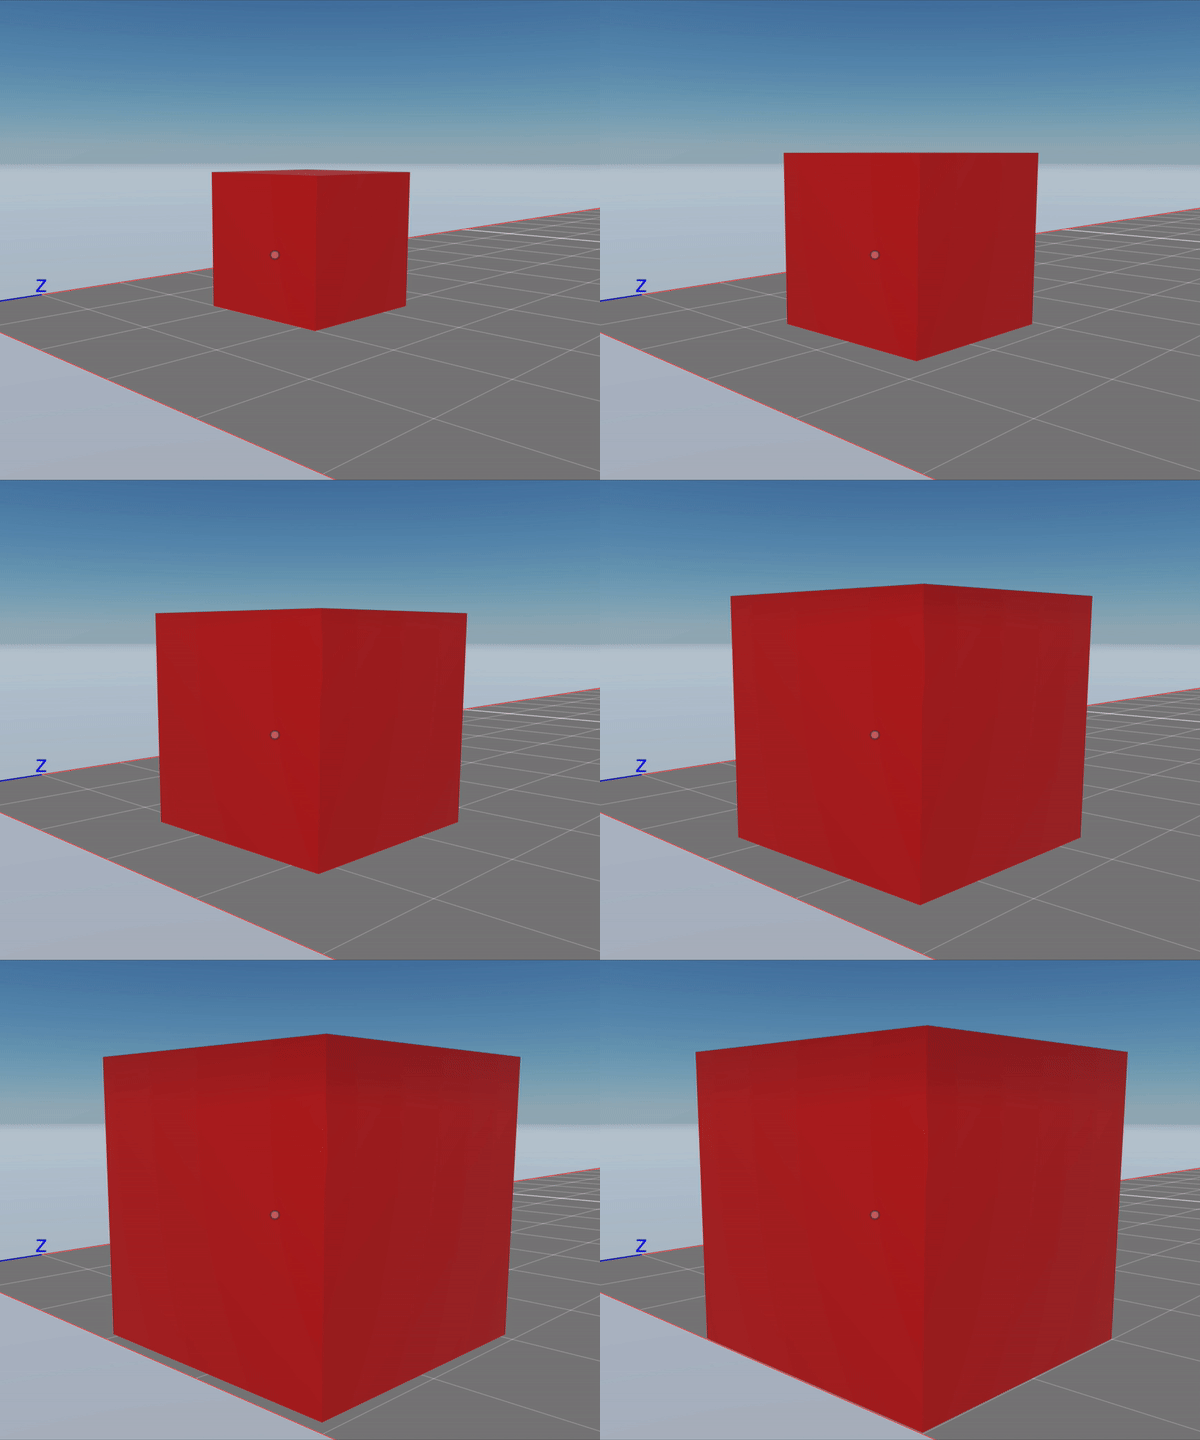
Vector3.create(1, 1, 1)
Move at irregular speeds between two points via system #
While using the lerp method, you can make the movement speed non-linear. In the previous example we increment the lerp amount by a given amount each frame, but we could also use a mathematical function to increase the number exponentially or in other measures that give you a different movement pace.
You could also use a function that gives recurring results, like a sine function, to describe a movement that comes and goes.
Often these non-linear transitions can breathe a lot of life into a scene. A movement that speeds up over a curve or slows down gradually can say a lot about the nature of an object or character. You could even take advantage of mathematical functions that add bouncy effects.
// define custom component
const MoveTransportData = {
	start: Schemas.Vector3,
	end: Schemas.Vector3,
	fraction: Schemas.Float,
	speed: Schemas.Float,
}

export const LerpTransformComponent = engine.defineComponent(
	'LerpTransformComponent',
	MoveTransportData
)

// define system
function LerpMove(dt: number) {
	let transform = Transform.getMutable(myEntity)
	let lerp = LerpTransformComponent.getMutable(myEntity)
	if (lerp.fraction < 1) {
		lerp.fraction += dt * lerp.speed
		const interpolatedValue = interpolate(lerp.fraction)
		transform.position = Vector3.lerp(lerp.start, lerp.end, interpolatedValue)
	}
}

// map the lerp fraction to an exponential curve
function interpolate(t: number) {
	return t * t
}

engine.addSystem(LerpMove)

// create entity
const myEntity = engine.addEntity()

Transform.create(myEntity, {
	position: { x: 4, y: 1, z: 4 },
})

MeshRenderer.setBox(myEntity)

LerpTransformComponent.create(myEntity, {
	start: Vector3.create(4, 1, 4),
	end: Vector3.create(8, 1, 8),
	fraction: 0,
	speed: 1,
})
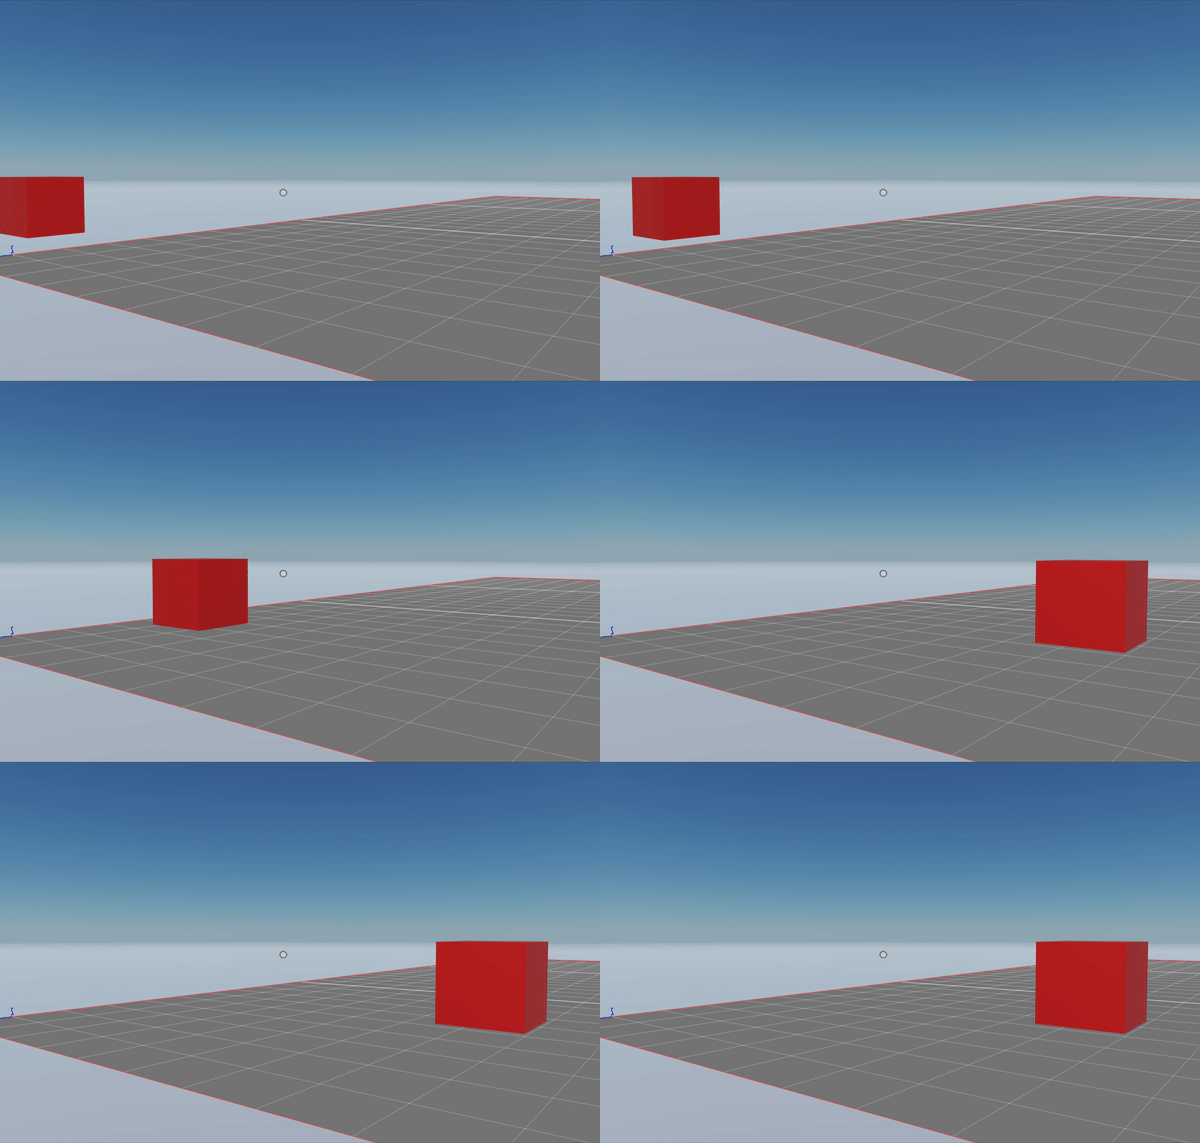
The example above is just like the linear lerp example we’ve shown before, but the fraction field mapped to a non-linear value on every tick. This non-linear value is used to calculate the lerp function, resulting in a movement that follows an exponential curve.
You can also map a transition in rotation or in scale in the same way as shown above, by mapping a linear transition to a curve.
Follow a path via system #
You can have an entity loop over an array of vectors, performing a lerp movement between each to follow a more complex path.
// define custom component
const PathTransportData = {
	path: Schemas.Array(Schemas.Vector3),
	start: Schemas.Vector3,
	end: Schemas.Vector3,
	fraction: Schemas.Float,
	speed: Schemas.Float,
	pathTargetIndex: Schemas.Int,
}

export const LerpTransformComponent = engine.defineComponent(
	'LerpTransformComponent',
	PathTransportData
)

// define system
function PathMove(dt: number) {
	let transform = Transform.getMutable(myEntity)
	let lerp = LerpTransformComponent.getMutable(myEntity)
	if (lerp.fraction < 1) {
		lerp.fraction += dt * lerp.speed
		transform.position = Vector3.lerp(lerp.start, lerp.end, lerp.fraction)
	} else {
		lerp.pathTargetIndex += 1
		if (lerp.pathTargetIndex >= lerp.path.length) {
			lerp.pathTargetIndex = 0
		}
		lerp.start = lerp.end
		lerp.end = lerp.path[lerp.pathTargetIndex]
		lerp.fraction = 0
	}
}

engine.addSystem(PathMove)

// create entity
const myEntity = engine.addEntity()

Transform.create(myEntity, {
	position: Vector3.create(1, 1, 1),
})

MeshRenderer.setBox(myEntity)

const point1 = Vector3.create(1, 1, 1)
const point2 = Vector3.create(8, 1, 3)
const point3 = Vector3.create(8, 4, 7)
const point4 = Vector3.create(1, 1, 7)

const myPath = [point1, point2, point3, point4]

LerpTransformComponent.create(myEntity, {
	path: myPath,
	start: Vector3.create(4, 1, 4),
	end: Vector3.create(8, 1, 8),
	fraction: 0,
	speed: 1,
	pathTargetIndex: 1,
})
The example above defines a 3D path that’s made up of four 3D vectors. The PathTransportData custom component holds the same data used by the custom component in the lerp example above, but adds a path array, with all of the points in our path, and a pathTargetIndex field to keep track of what segment of the path is currently in use.
The system is very similar to the system in the lerp example, but when a lerp action is completed, it sets the target and origin fields to new values. If we reach the end of the path, we return to the first value in the path.
