Linked wearables
Table of Contents #
Introduction #
About #
In accordance with the initial DAO proposal for Linked Wearables (previously called: Third Party Wearables), the Draft Proposal with final definitions and the Linked Wearables Redesign proposal , this document will serve as documentation to cover all the relevant details around the Linked Wearables feature.
This document is mostly oriented for representatives of NFT communities that want to give their users the ability to represent their NFTs as wearables when strolling through Decentraland.
What are Linked Wearables? #
Linked Wearables are 3D representations of NFTs that originate from outside Decentraland that can be used as wearables in-world, can be equipped on the avatar, and are found in the backpack. They are not regular wearables . They look the same, and follow the regular wearables guidelines but carry a completely different meaning.
Linked Wearables do not exist inside traditional wearable collections (they belong to a special type of collection), have no rarity, and can not be sold in primary or secondary markets. They are only in-world representations linked to external NFTs.
Imagine that you have an NFT project called ‘Cryptojackets’ where every NFT is a different kind of 2D jacket and you want your users to have a 3D representation of their jacket in their Decentraland backpack. Linked Wearables allows you to submit 3D representations of your NFTs as wearables in Decentraland. There is no need to mint a new token, and your current NFT project will have a new out-of-the-box feature to offer!
All Linked Wearables are defined inside of a Linked Wearable Collection. We’ll see how to create one further down into the article.
How do Linked Wearables represent NFTs? #
Wearables are linked to your NFTs by creating a Linked Wearable Collection in the Builder site and setting how your NFTs will be represented at the time of creating the wearables.
We support 4 mechanisms to link your wearables to NFTs. All of these mechanisms use the token id of the NFTs to match them.
The following table shows the mentioned mechanisms:
| Match | |
|---|---|
| All NFTs | A user owning any of the NFTs of the collection will own the wearable |
| Single NFT | A user owning an NFT specified by TOKEN ID will own the wearable. e.g. 123456. The user will own the wearable if they own the NFT with TOKEN ID: 123456 |
| Multiple NFTs | A user owning one of many NFTs specified by TOKEN IDs, described as separated by a comma will own the wearable. e.g. 123456, 123457, 123458. The user will own the wearable if they own the NFT with TOKEN ID: 123456 or 123457 or 123458 |
| Range of NFTs | A user owning one of many NFTs specified in the range of TOKEN IDs will own the wearable. e.g. [1, 1000]. The user will own the wearable if they own the NFT with TOKEN ID 1 or 2 or 3 or 4 or 5 … or 100 |
Types of Linked Wearables Collections #
Usually there are two types of NFT collections:
- Hand crafted: where each token asset is tailored made, or made by hand, without any automatization process.
- Programmatic: where each token asset was not crafted individually by hand, but automatically generated with code, many times from traits that were previously designed and modeled. For example: CryptoPunks and BAYC are examples of 2D pfp NFT Collections that were created programmatically.
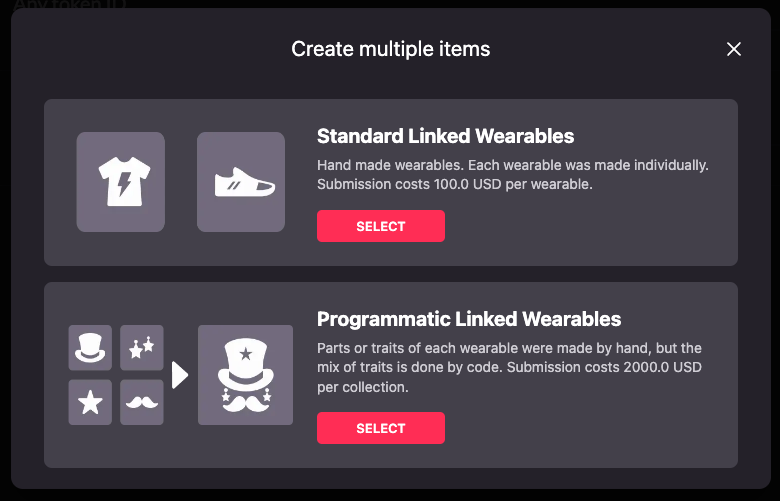
We follow the same principle in Decentraland with the Linked Wearables Collections as well, there can be Standard Linked Wearable Collections for the hand crafted collections and Programmatic Linked Wearable Collections for the automatically generated ones. Both collections differ in the costs of publishing publishing fees the wearable have. Check the Costs section for more information about the publishing fees.
Creating Linked Wearables #
Creating a Linked Wearable Collection #
Creating a Linked Wearable collection is the first step into creating our Linked Wearables.
Linked Wearables are grouped in collections that can be created, edited and deleted by their owners. Each collection can contain an arbitrary number of Linked Wearables. Each collection will be linked to an NFT collection, for that reason, an NFT contract (ERC721 or ERC1155 compatible) is required to create a Linked Wearable Collection.
To create a new Linked Wearable follow these steps:
-
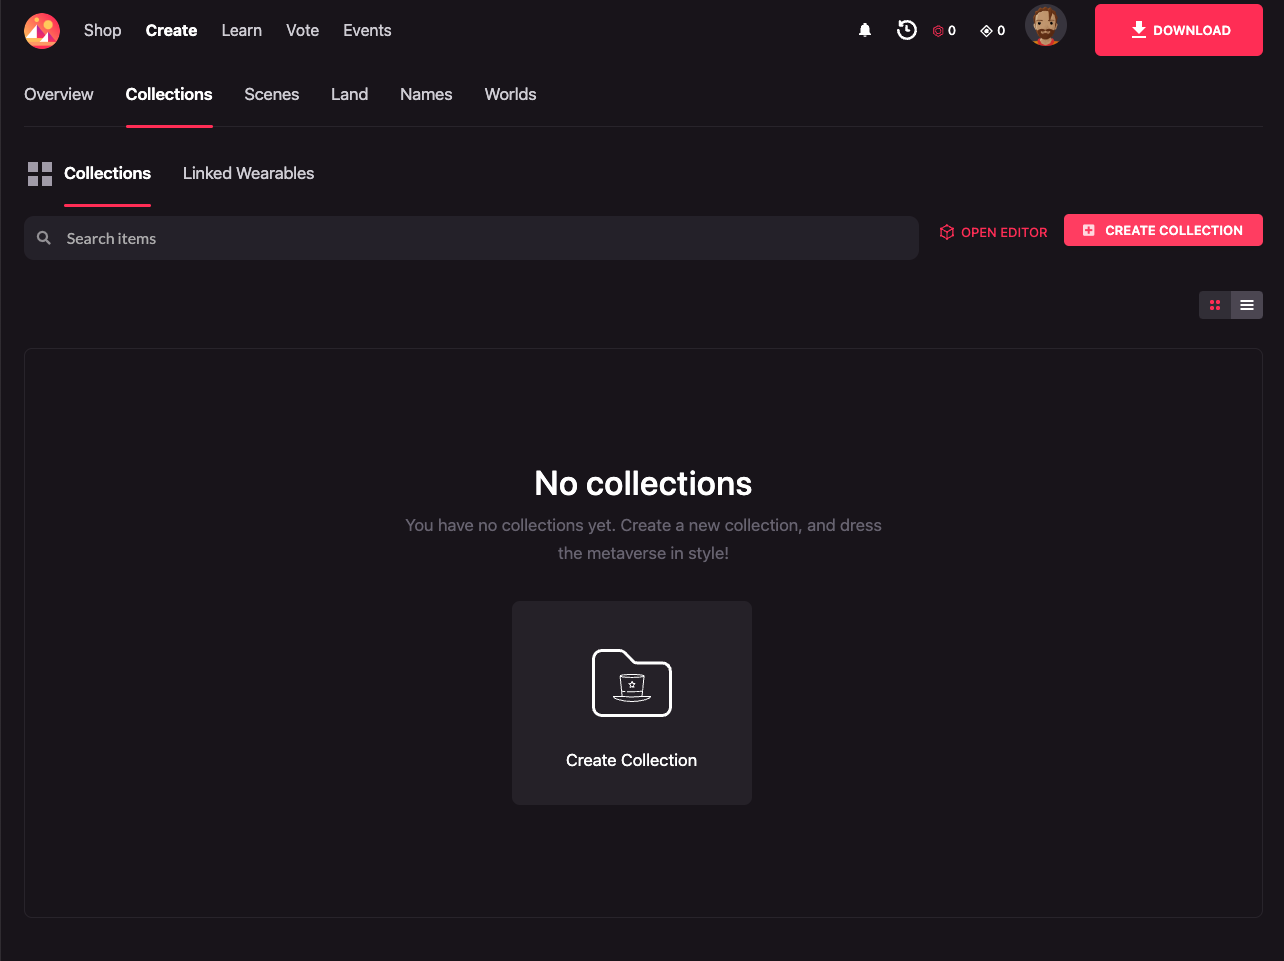
In the Collection’s section, click on the Create Collection button.
-
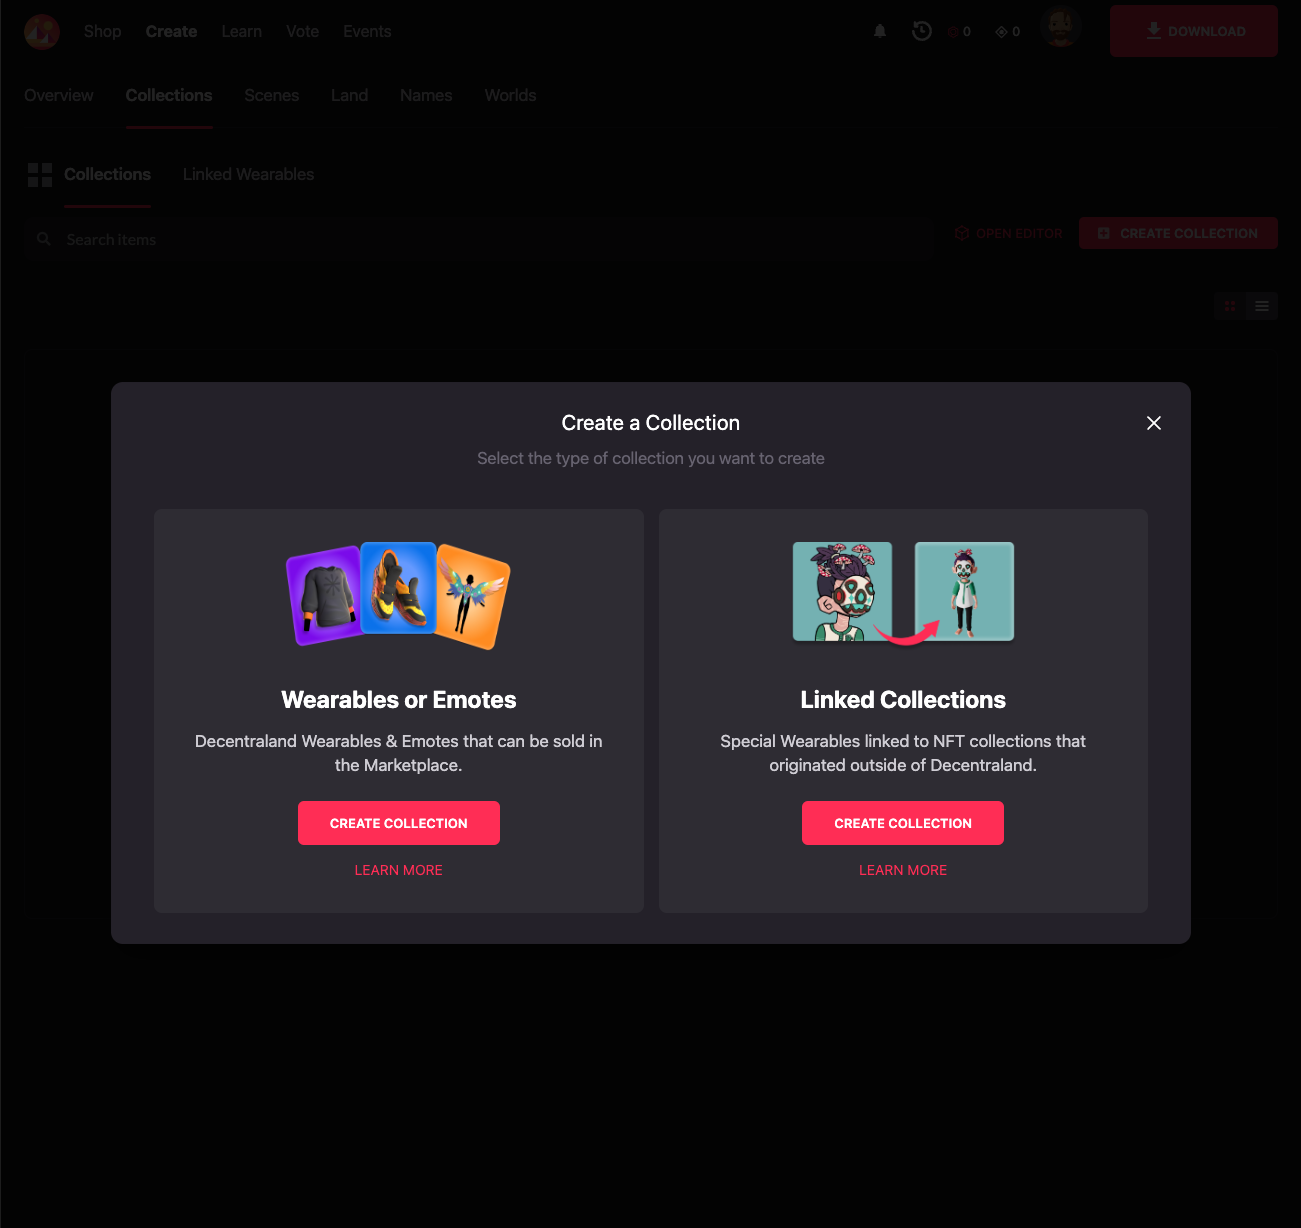
Select the Linked Wearable Collection option by click on the Create Collection button under the Linked Collections section.
-
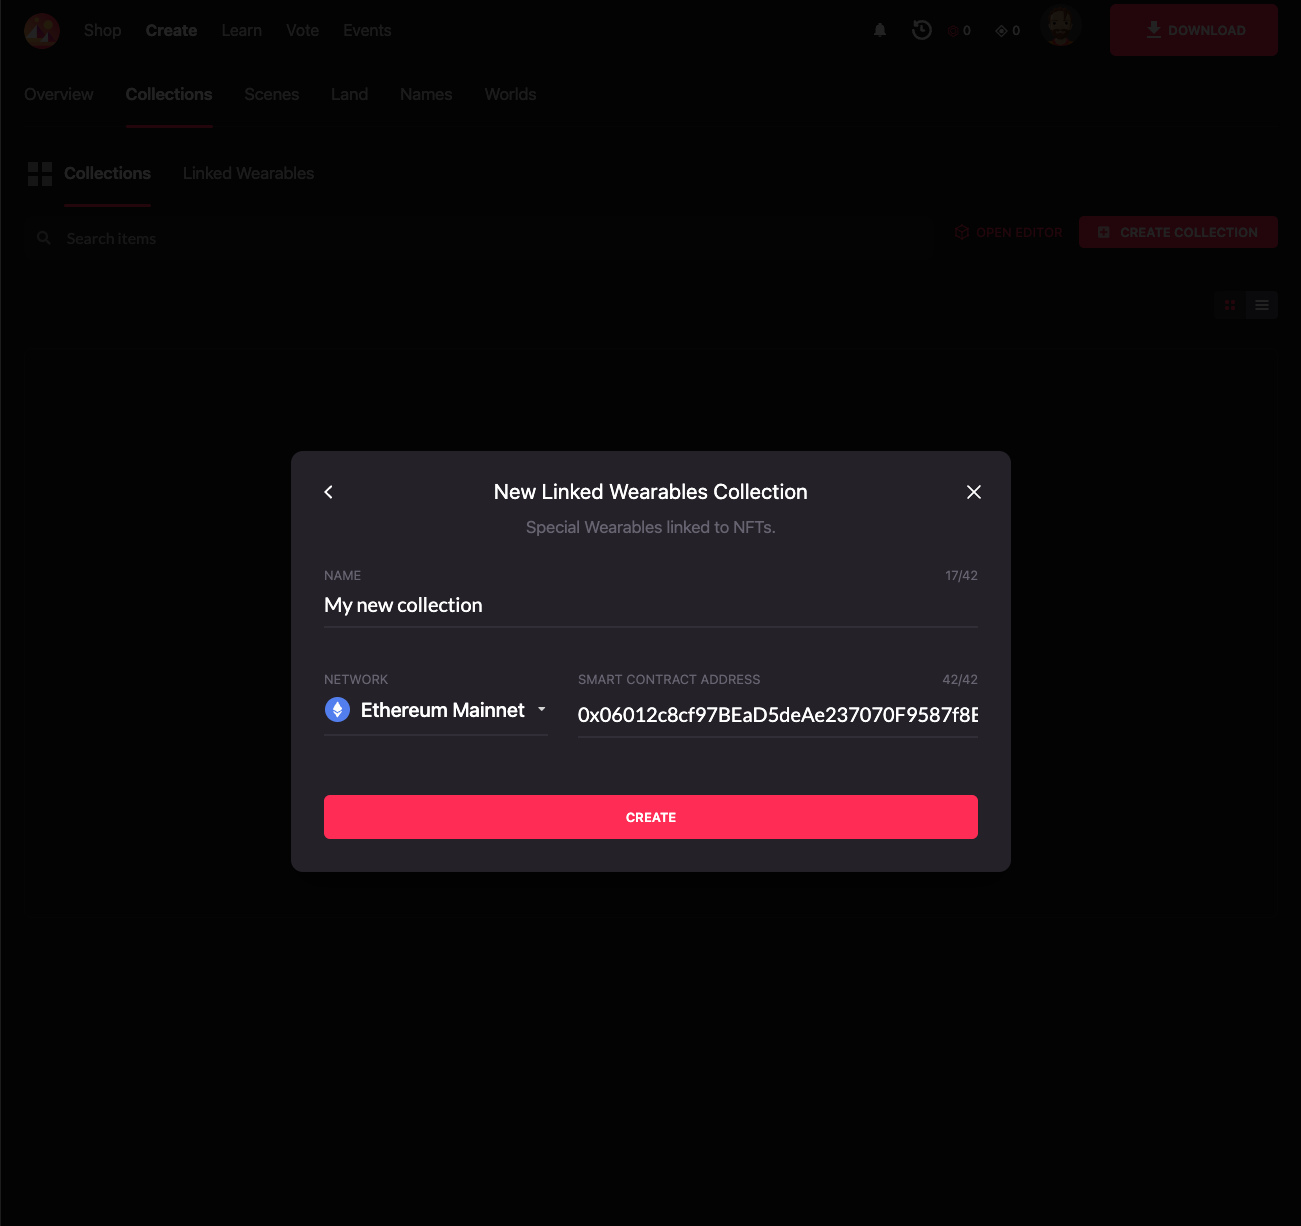
Choose a name for the collection and link the collection to your NFT collection by setting its contract address and the network it is in. The contract will be validated to be sure it complies with the NFT contracts standards.
-
Click on the Create button to create the collection.
Adding Wearables to the Linked Wearables Collection - One by One #
It’s possible to, as it already happens with standard wearables, upload your wearables’ 3D models one by one.
To do so, follow these steps:
-
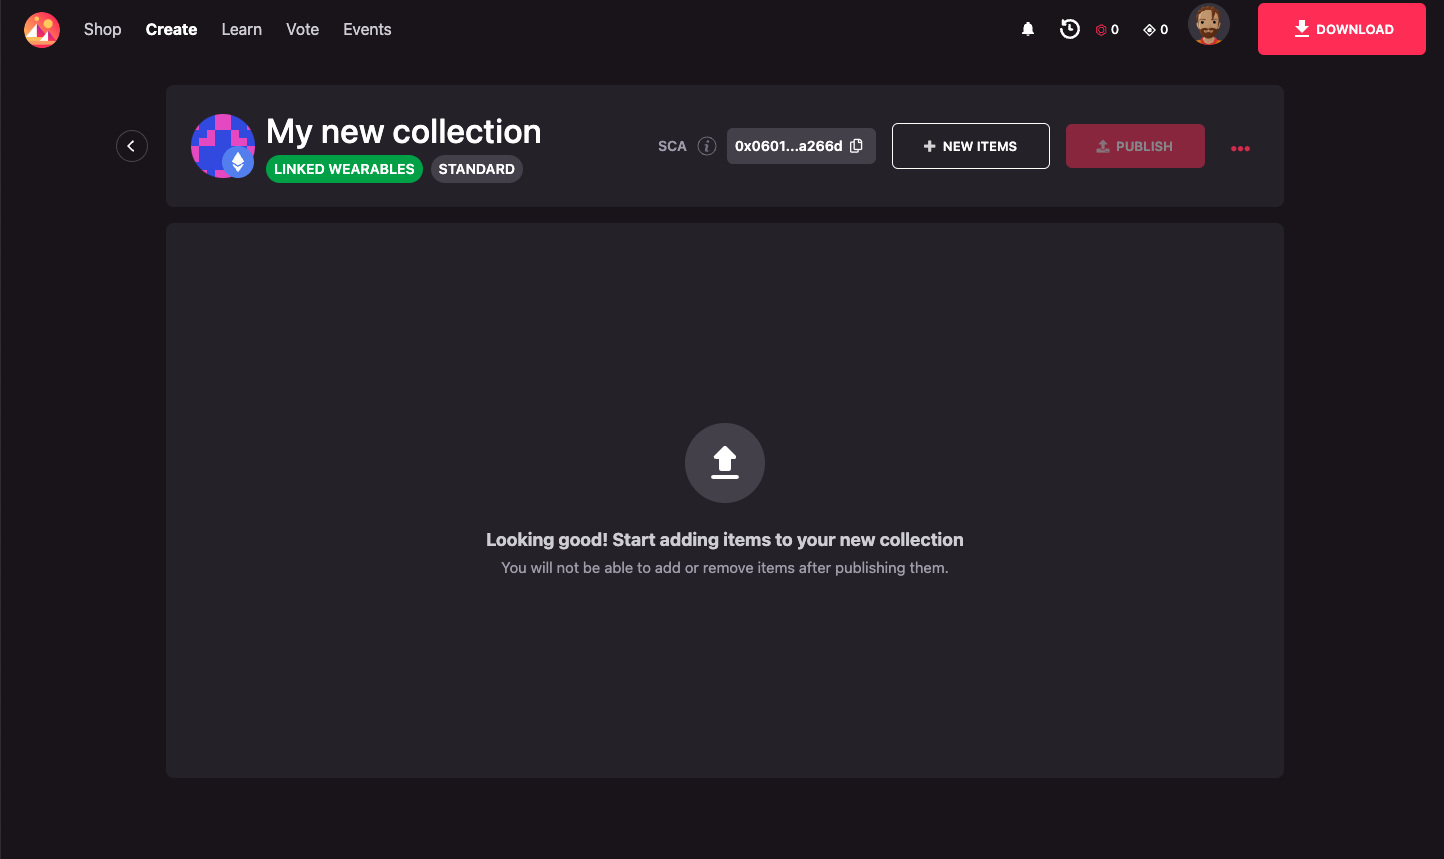
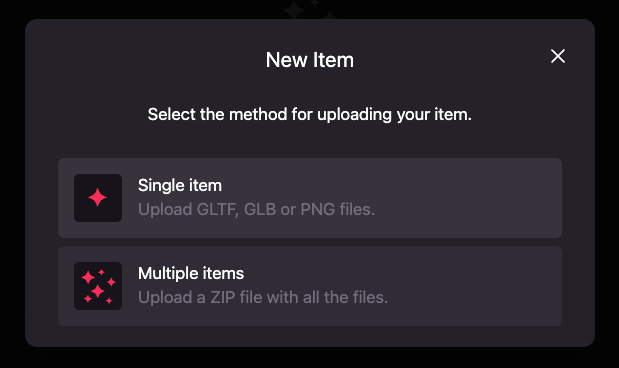
Click on the New items button.
-
Select the Singe items option.
-
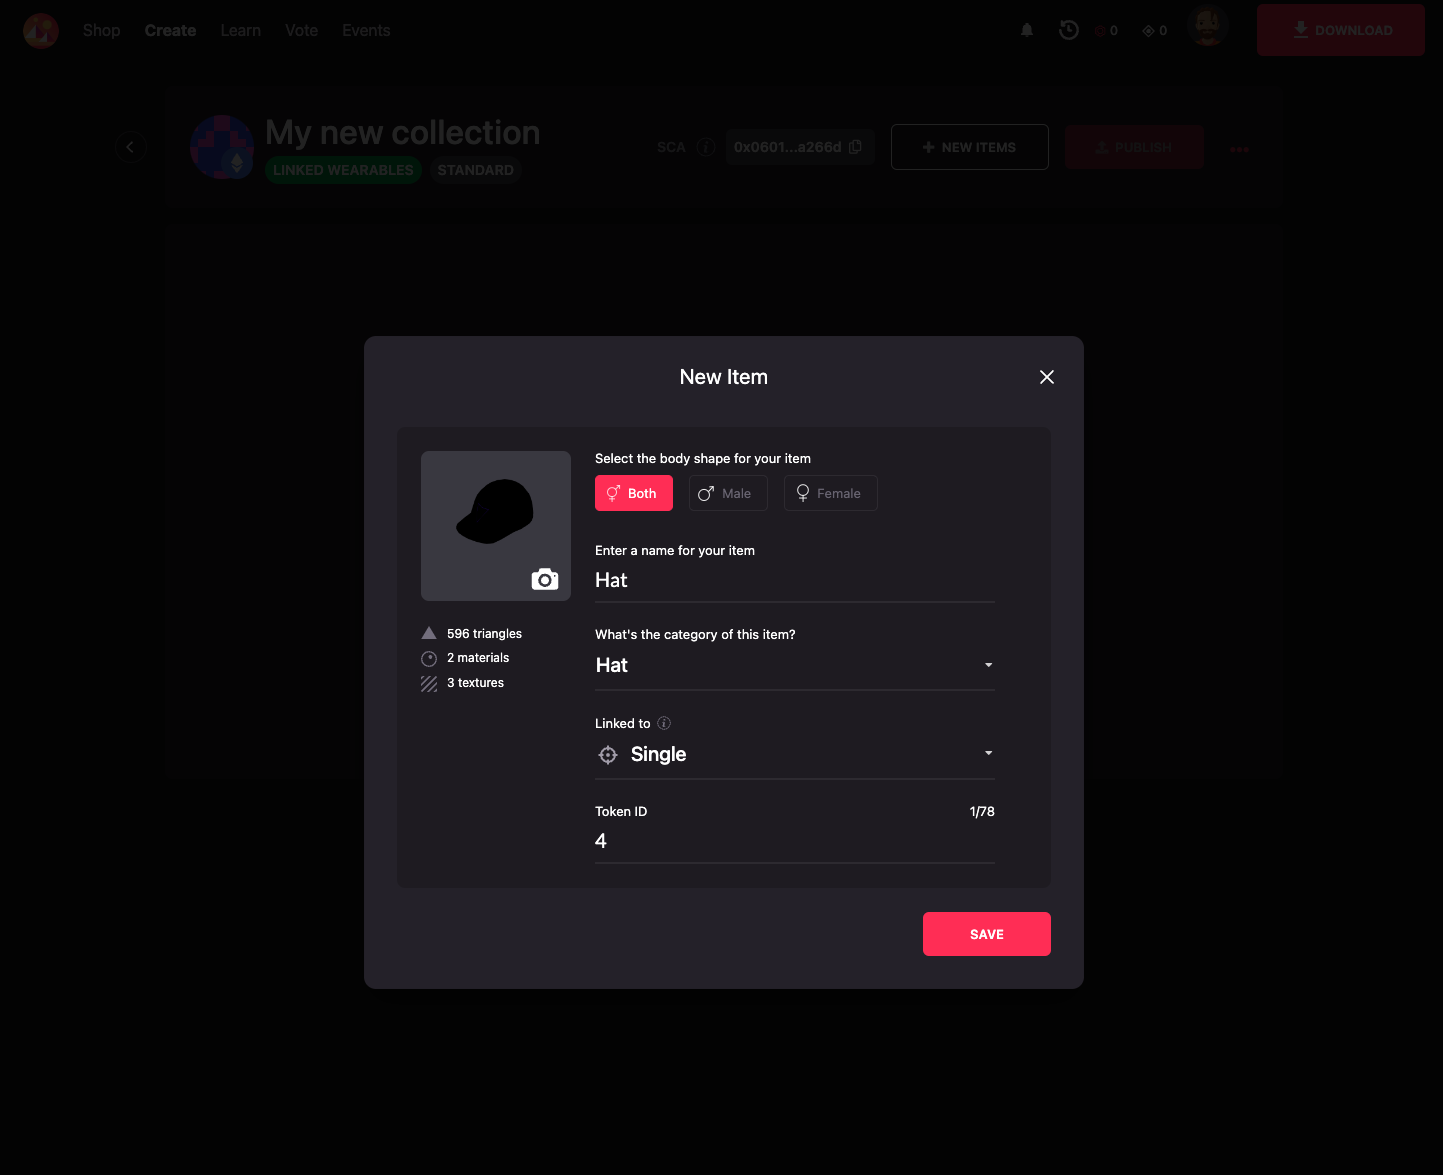
Follow the steps to upload and configure your wearable as it is described in the creating wearables guidelines and configure how it will be linked to your NFTs. Check the “ How do Linked Wearables represent NFTs? ” section for more information on how to configure it.
Adding Wearables to the Linked Wearables Collection - In Bulk #
As Linked Wearable collections can contain a big number of items, it is possible to upload the 3D models and the information of the wearables in bulk. This process involves creating a zip file with all the assets an item needs for each of the items. Uploading wearables in bulk is recommended only for programmatic collections.
Building the Wearable ZIP #
Each item will require a ZIP file to be built including the following assets:
- The required 3D model files of the wearable (GLB, GLTFs, texture files, etc).
- A required
wearable.jsonfile containing the information of the wearable. - An optional
thumbnail.pngfile containing the thumbnail of the wearable that will be seen in the Builder and the world. If it is not provided, one will be generated using the 3D model.
The 3D models and the optional thumbnail.png follow the
Custom Thumbnails section
in the Uploading Wearables article on how to create a custom thumbnail.
The wearable.json accompanying the content of the wearables has the following format (typed as Typescript would):
type WearableConfiguration = {
  /** The URN of the wearable */
  id?: string
  /** Name of the wearable */
  name: string
  /** Description of the wearable */
  description?: string
  data: {
    /** Wearables to replace when equipping the wearable */
    replaces: WearableCategory[]
    /** Wearables to hide when equipping the wearable */
    hides: WearableCategory[]
    /** Tags to identify the wearable */
    tags: string[]
    /** Representations of the wearable */
    representations: WearableRepresentation[]
    /** Category of the wearable */
    category: WearableCategory
  },
  /** The mapping definition of the wearable with NFTs */
  mapping: Mapping
}

type WearableRepresentation = {
  /** Body shape of the representation */
  bodyShapes: BodyShape[];
  /** File path to the main file of the representation (GLB, GLTF, etc) */
  mainFile: string;
  /** A list of the file paths of the files that belong to the representation */
  contents: string[];
  /** Wearables to hide when equipping this representation */
  overrideHides: WearableCategory[];
  /** Wearables to replace when equipping this representation */
  overrideReplaces: WearableCategory[];
}

enum WearableCategory = {
  EYEBROWS = 'eyebrows',
  EYES = 'eyes',
  FACIAL_HAIR = 'facial_hair',
  HAIR = 'hair',
  HEAD = 'head',
  BODY_SHAPE = 'body_shape',
  MOUTH = 'mouth',
  UPPER_BODY = 'upper_body',
  LOWER_BODY = 'lower_body',
  FEET = 'feet',
  EARRING = 'earring',
  EYEWEAR = 'eyewear',
  HAT = 'hat',
  HELMET = 'helmet',
  MASK = 'mask',
  TIARA = 'tiara',
  TOP_HEAD = 'top_head',
  SKIN = 'skin'
}

enum WearableBodyShape {
  MALE = 'urn:decentraland:off-chain:base-avatars:BaseMale',
  FEMALE = 'urn:decentraland:off-chain:base-avatars:BaseFemale'
}

type Mapping = SingleMapping | AnyMapping | RangeMapping | MultipleMapping

enum MappingType {
  SINGLE = 'single',
  ANY = 'any',
  MULTIPLE = 'multiple',
  RANGE = 'range'
}

type SingleMapping = {
  type: MappingType.SINGLE
  id: string
}

type AnyMapping = {
  type: MappingType.ANY
}

type RangeMapping = {
  type: MappingType.RANGE
  from: string
  to: string
}

type MultipleMapping = {
  type: MappingType.MULTIPLE
  ids: string[]
}
The following is an example of a wearable.json file that contains a model for each body shape:
{
  "id": "urn:decentraland:matic:collections-thirdparty:my-third-party:my-collection:1",
  "name": "Special hat",
  "description": "A description of the wearable",
  "data": {
    "replaces": [],
    "hides": ["hair"],
    "tags": ["special", "new", "hat"],
    "representations": [
      {
        "bodyShapes": ["urn:decentraland:off-chain:base-avatars:BaseMale"],
        "mainFile": "aMaleModelFile.glb",
        "contents": ["aMaleModelFile.glb", "aTextureFile.png"],
        "overrideHides": [],
        "overrideReplaces": []
      },
      {
        "bodyShapes": ["urn:decentraland:off-chain:base-avatars:BaseFemale"],
        "mainFile": "aFemaleModelFile.glb",
        "contents": ["aFemaleModelFile.glb", "anotherTextureFile.png"],
        "overrideHides": [],
        "overrideReplaces": []
      }
    ],
    "category": "hat",
    "mapping": {
      "type": "single",
      "id": "123"
    }
  }
}
This file will be zipped alongside the aMaleModelFile.glb, aTextureFile.png, aFemaleModelFile.glb and anotherTextureFile.png.
To add a custom thumbnail to the wearable, you can add a thumbnail.png file.
Some things to consider about the wearable.json file:
- All the information about the wearable categories and which to choose can be found in the creating wearables guidelines .
- The representations array will contain the information about how each body shape will look like. Each wearable MUST contain at least one representation (it can have one or the two of them), that is, taking
into consideration the body shapes that we currently have, either
urn:decentraland:off-chain:base-avatars:BaseMaleorurn:decentraland:off-chain:base-avatars:BaseFemale. Each representation will describe which models will be used for each body shape. - The mapping object must be configured as one of the available mechanisms to link your NFT to your wearable, following the “ How do Linked Wearables represent NFTs? ” section.
Setting a custom ID or URN for the items #
The id field is optional and can be used to create a wearable with an specific ID to be updated in the future in Bulk (which is explained further in the
Editing wearables in bulk
section).
In case the id field is used, it must contain the whole ID of the wearable. The ID (or URN) of the wearable is written as urn:decentraland:matic:collections-thirdparty:third-party-id:collection-id:item-id. Where, urn:decentraland:matic:collections-thirdparty:third-party-id:collection-id can be retrieved from the collection page and the item-id is the custom identifier of the item you would like to use.
IDs or URNs follow a specific format, they accept:
- Lowercased characters, from the
ato thez. - All numbers.
- They can’t contain other type of characters or whitespaces. We suggest you replace whitespaces with the
-
You can retrieve the ID (or URN) from the collection page by following the next steps:
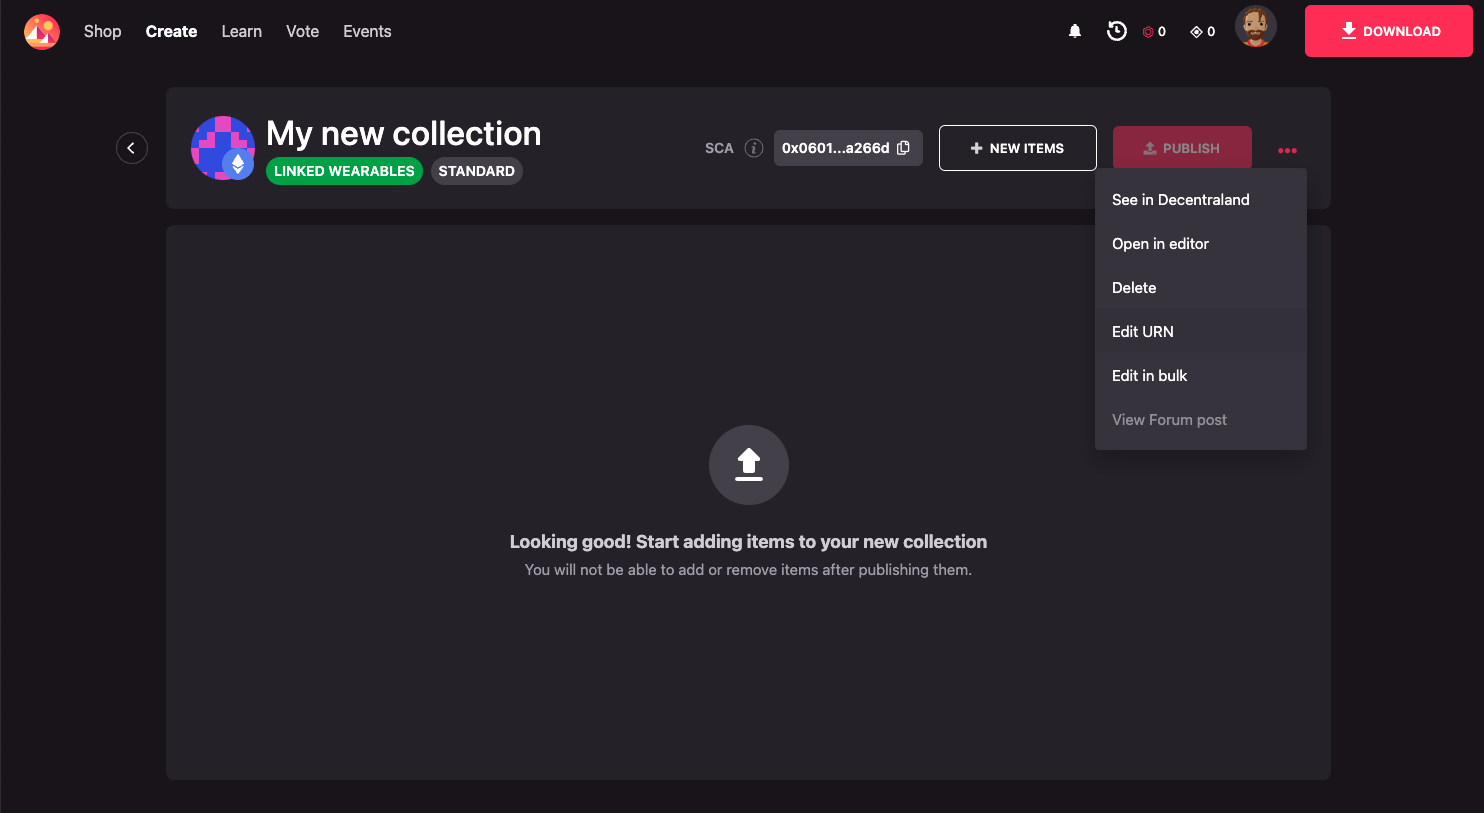
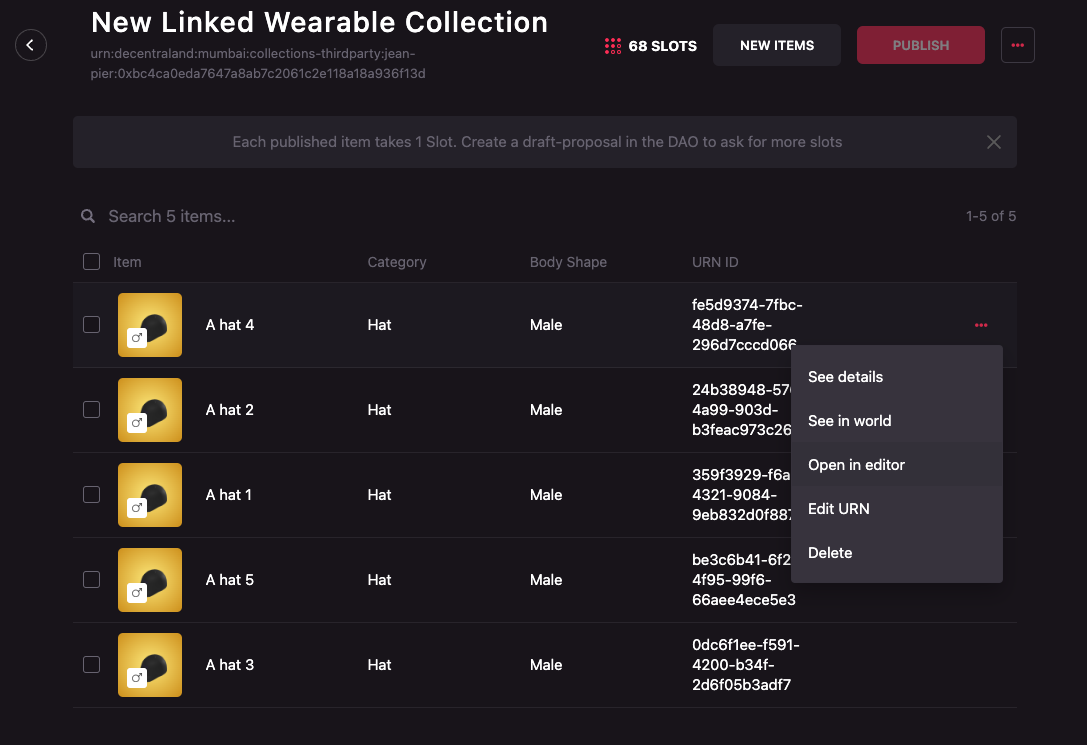
- Going into the collection view you want to copy the URN from and clicking the Edit URN option in the options menu:
- Copying the identifier that’s below the the text field:
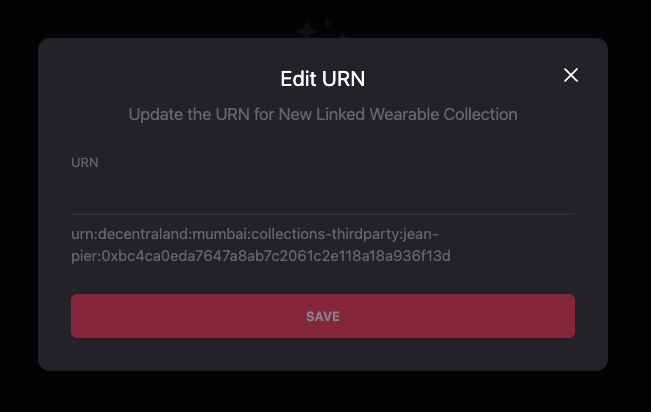
For example, if the URN or ID retrieved from the UI for the collection is urn:decentraland:matic:collections-thirdparty:my-third-party:my-collection and you’re identifying your wearables numerically, the URN for the example would be urn:decentraland:matic:collections-thirdparty:my-third-party:my-collection:1, being 1 the number of the wearable.
The upload process #
Once all the files are ready, to upload the wearables in bulk, follow these steps:
-
Click on the New items button.

-
Select the Multiple items option.

-
Click on the Browse yor computer link to open your file manager and select all the zips containing your wearables.
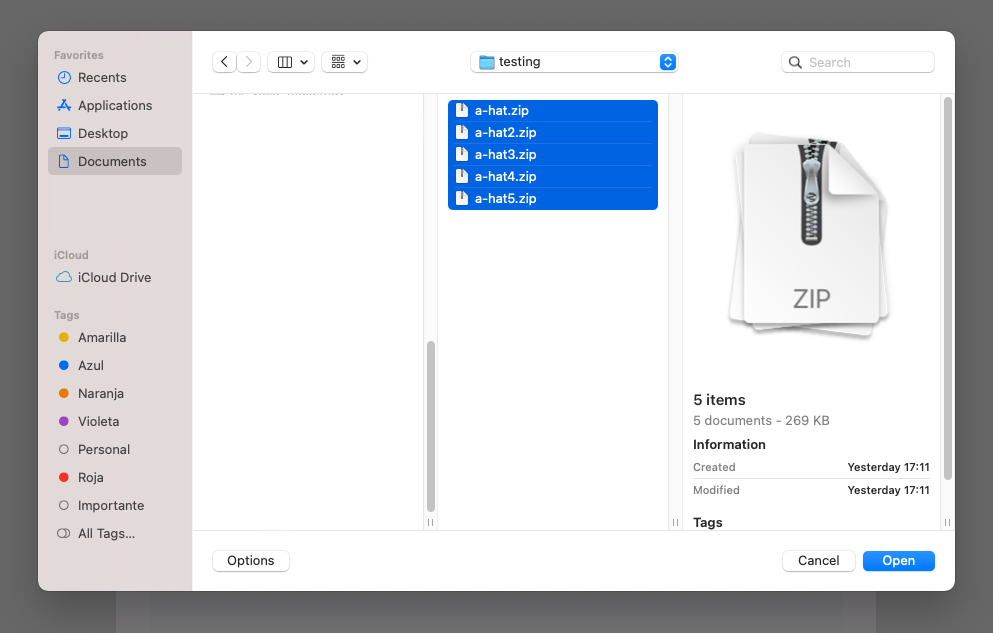
-
Review if all the files are correct or if they need to be fixed. In this case, the model of the wearable isn’t set or the
wearable.jsonfile has an incorrectly set representation.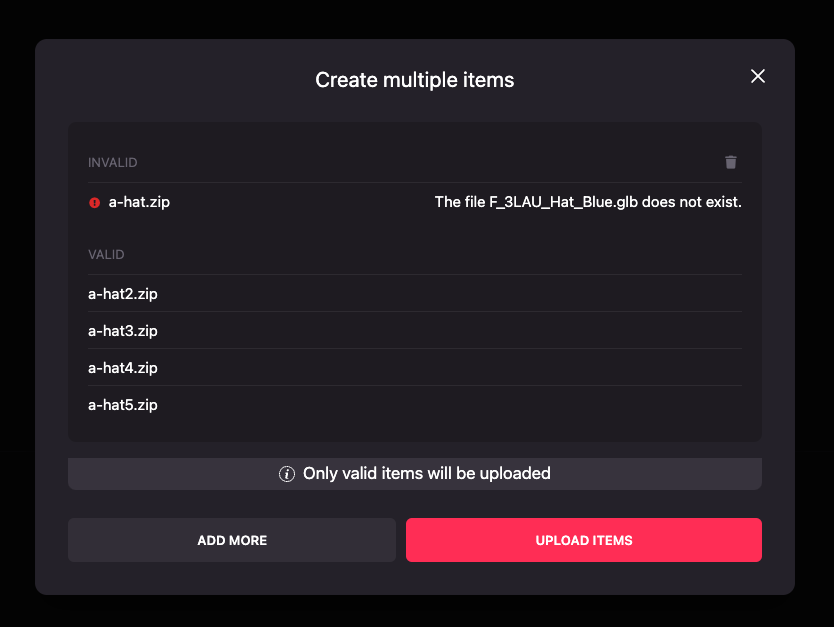
-
Fix any errors by clicking the Add more button and re-uploading the failed files with the same name or by dismissing the errors using the trash icon on the top right section of the modal.
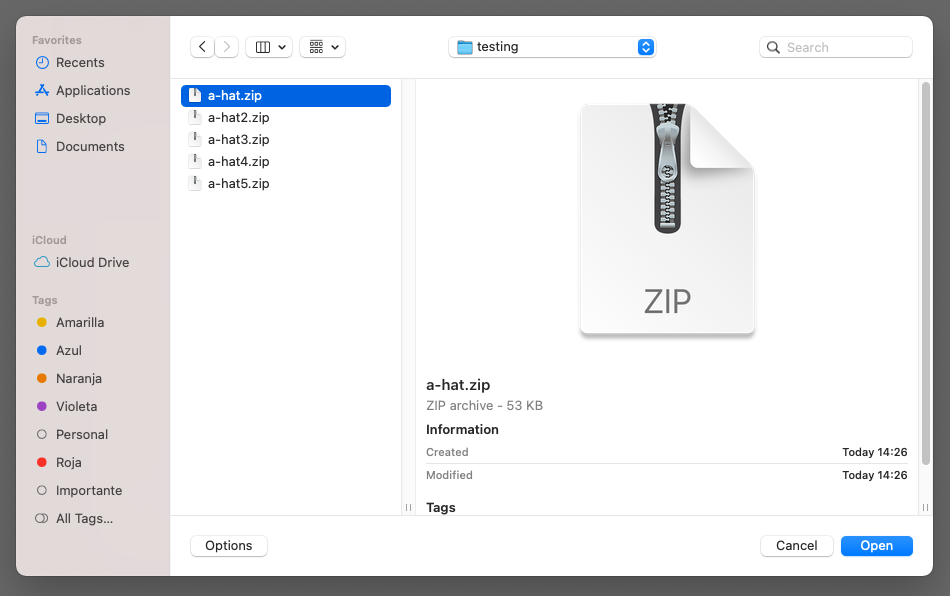
-
Upload all wearables by clicking Upload items.
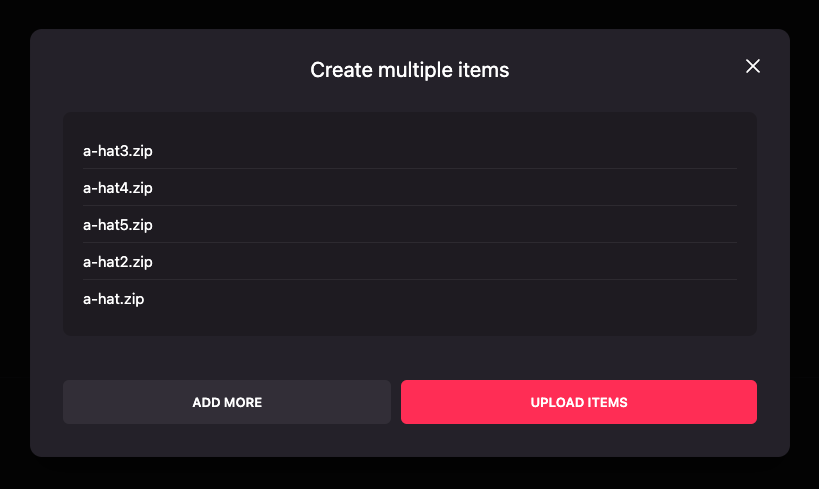
-
Be patient, this might take a while!
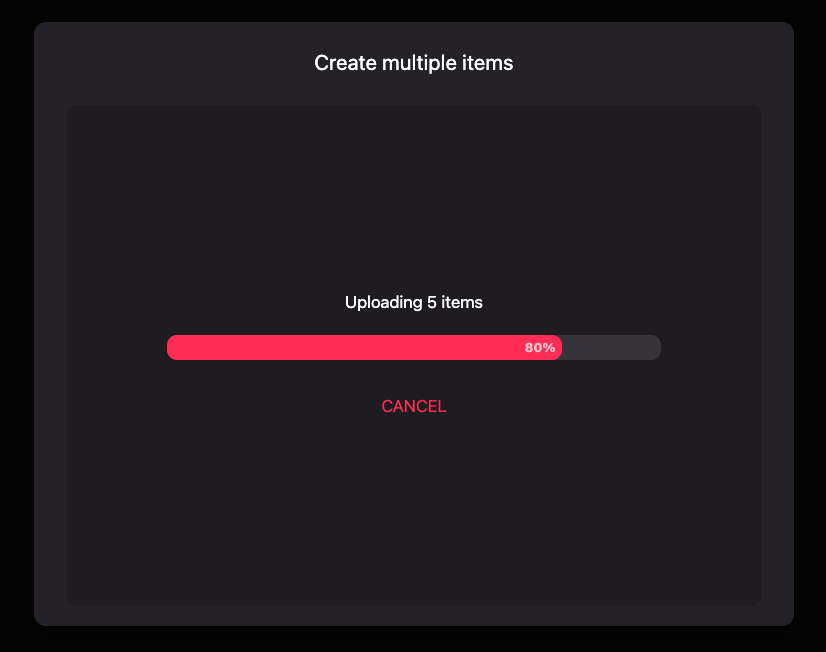
-
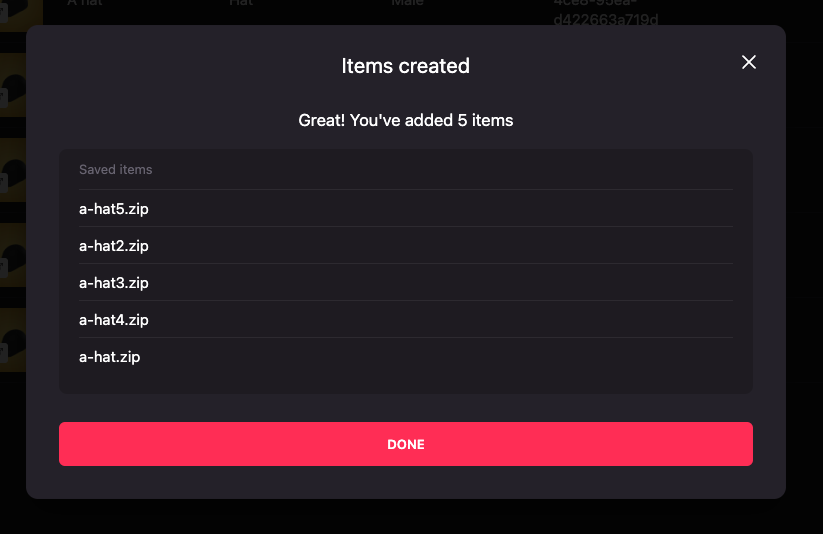
Success! Your items are now available in your collection.
-
Select if your collection is a programmatic or a standard one. Check the NFT Collections & Linked Wearables Collections section to correctly set which collection type you’re building items for.
Common errors when uploading batched items #
- The
idfield is set to a value that is already being used by another wearable. - The
idfield is set to a value that is not a valid ID. For example, the third party id or collection id belong to another third party or collection. - There’s no
wearable.jsonfile in the zip. - The ZIP file doesn’t have in its root directory the
wearable.jsonfile. - The
wearable.jsonhas an incorrect format or values. - The file is bigger than 3MBs. Linked Wearables have the same limitation as regular wearables in terms of size as the standard ones.
- The custom optional thumbnail image is not a png file.
Seeing the wearables in Decentraland #
Linked Wearables can be seen in world to review how the model will work once published and approved.
To be able to see a wearable in world, follow these steps:
-
Click on the meatballs menu (three horizontal dots) on the right of the item that you want to see in world. A dropdown will appear. Select See in Decentraland.
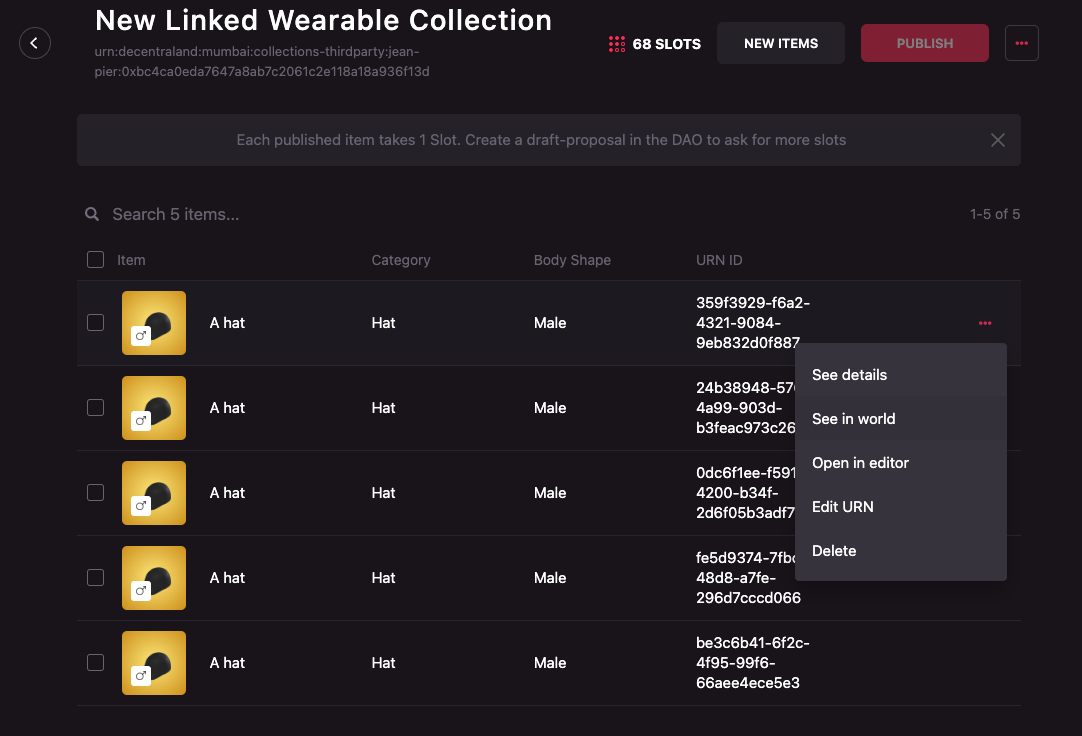
-
The Decentraland World will open. Navigate to your backpack to see the wearable.
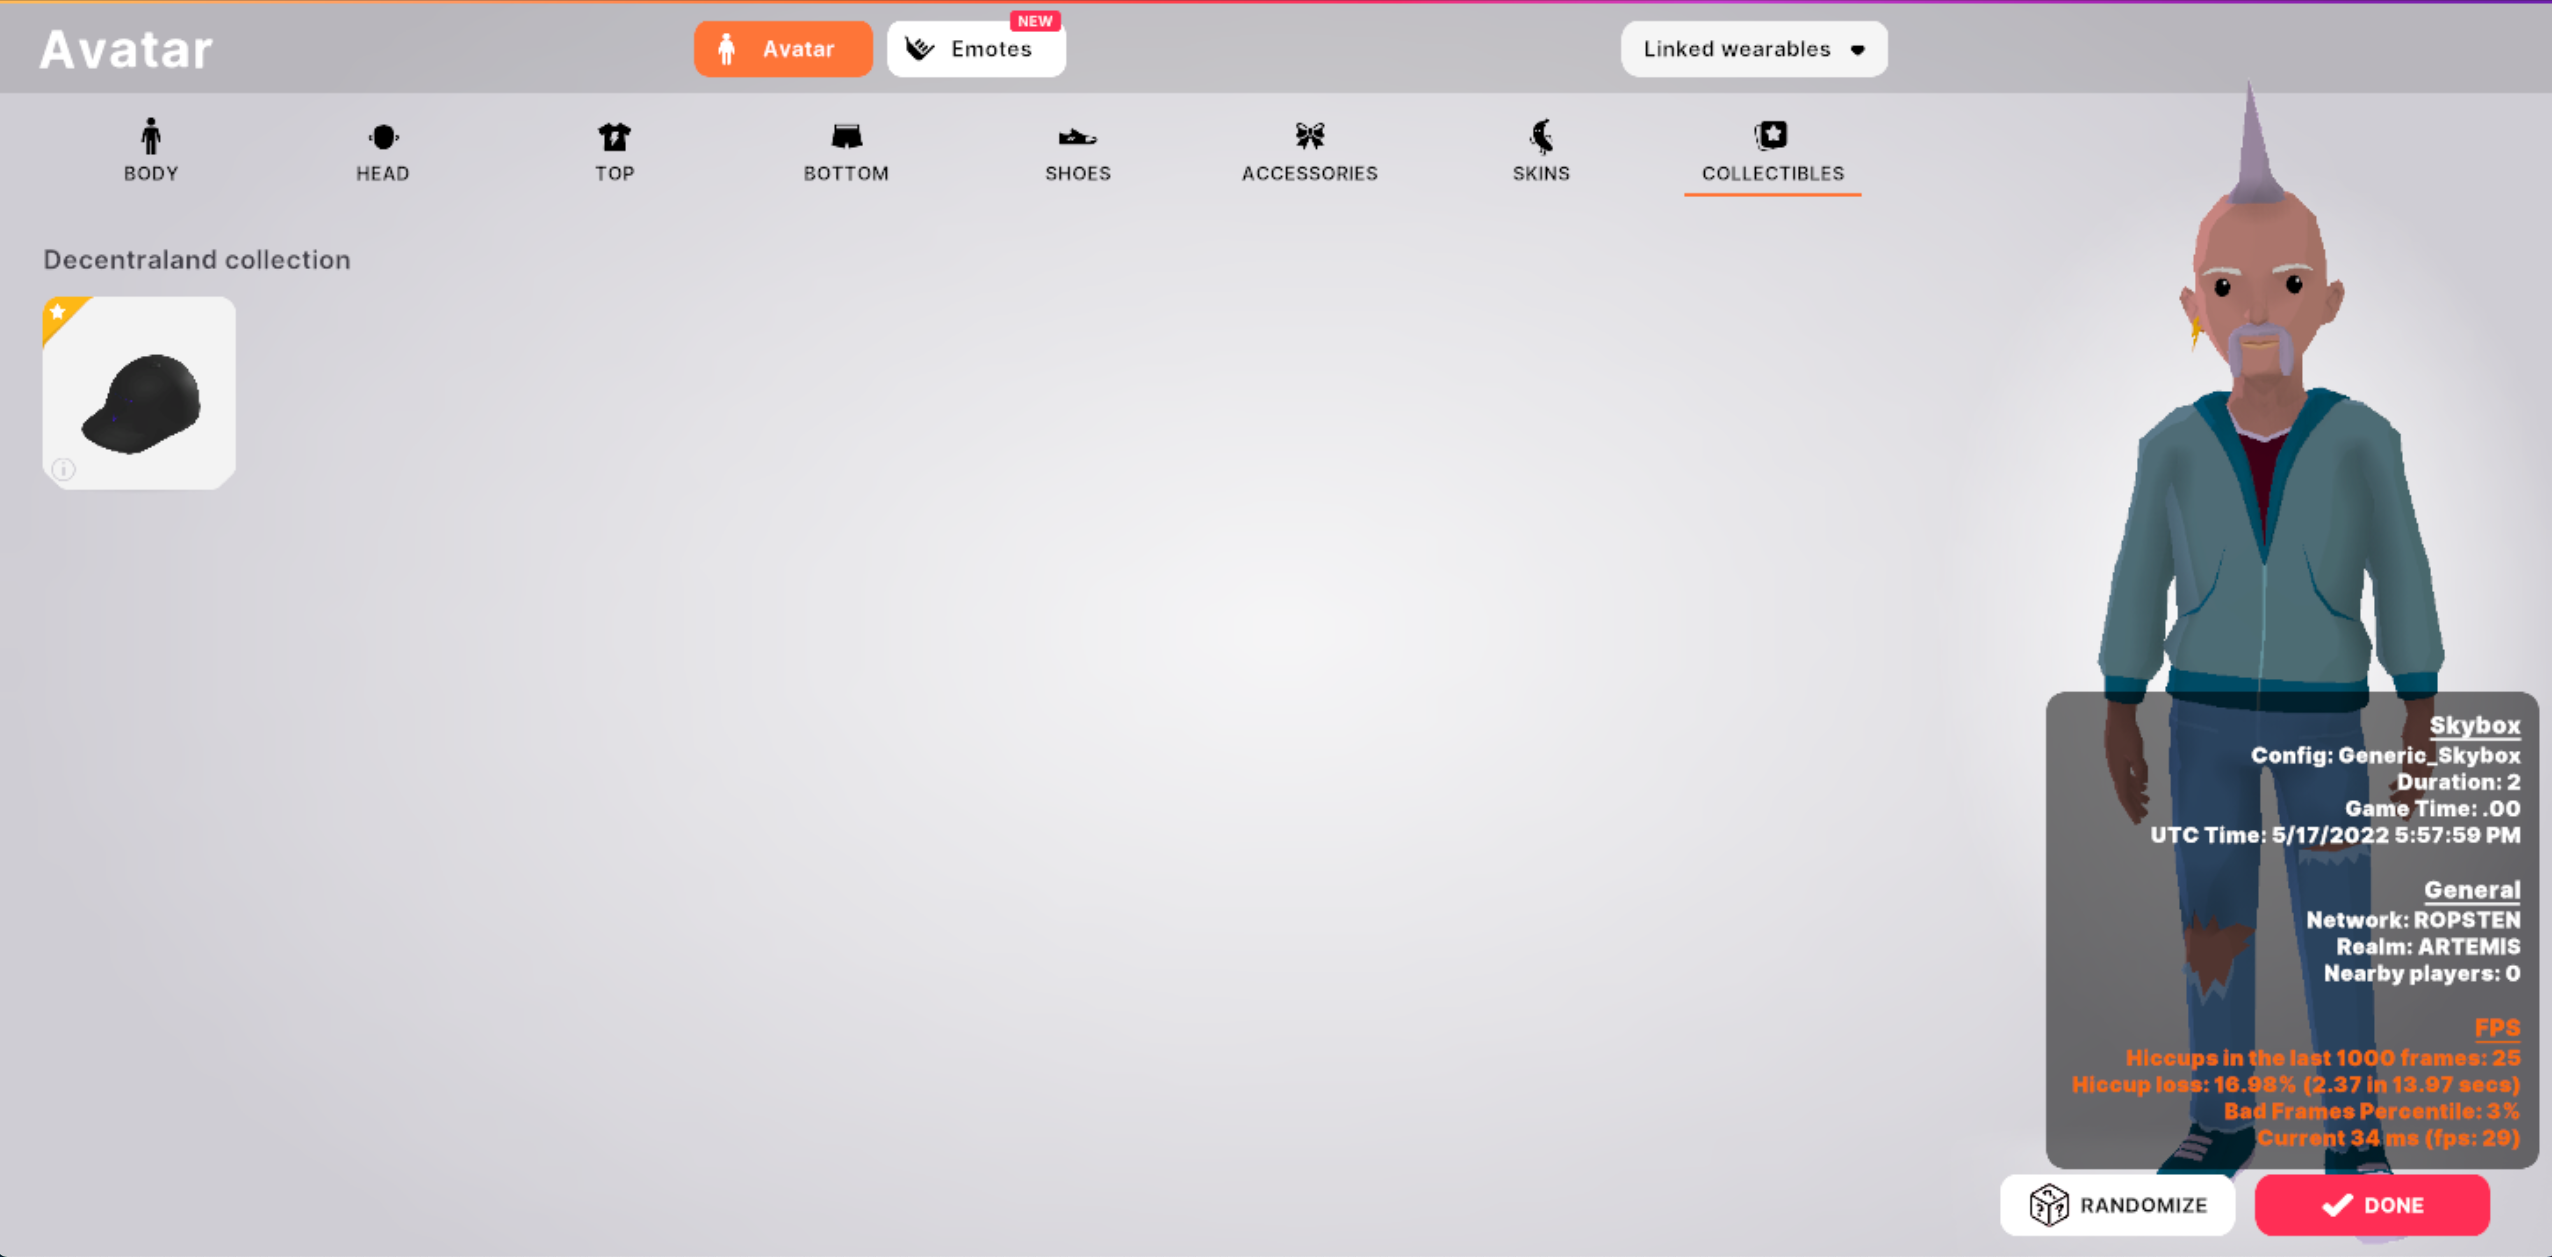
⚠️ Notice: The in world preview works with the Outdated Web Version of the Decentraland Client. It is not possible to test them yet in the Decentraland Desktop Client 2.0.
Editing Linked Wearables #
Editing the collection name #
A collection can be renamed by its creator only if the collection has no published wearables.
To edit the name of a Linked Wearable Collection follow these steps:
-
Click on the collection name.
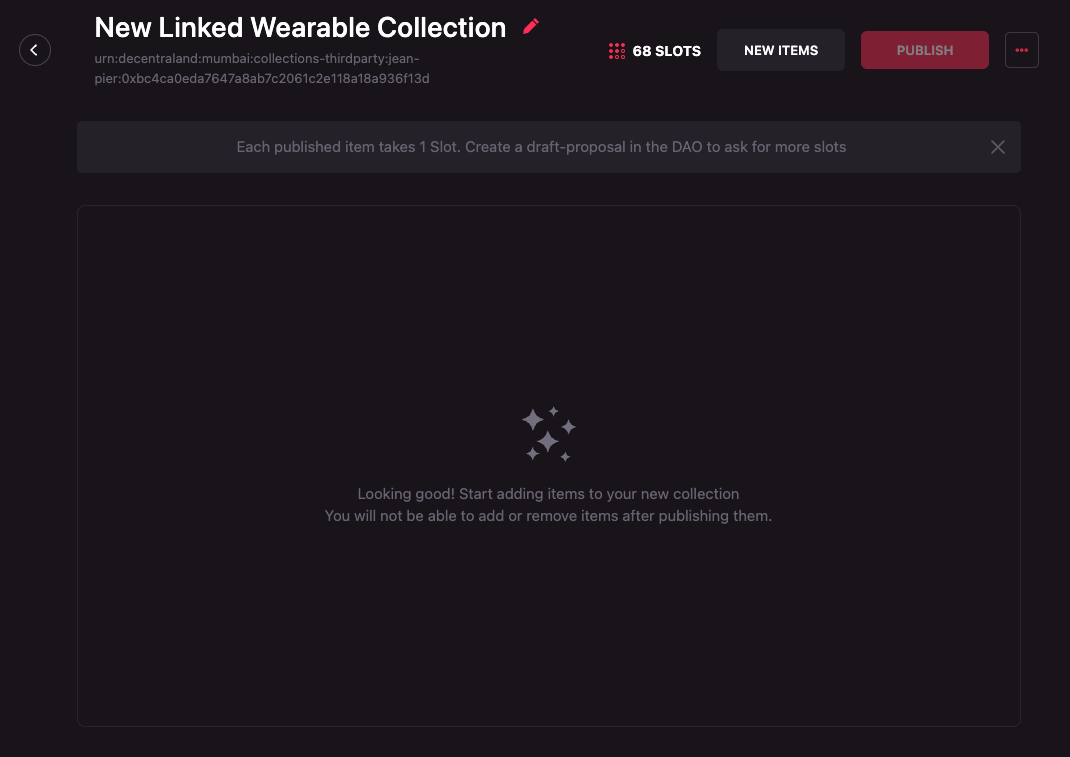
-
Choose a new name for the collection and click on the save button.
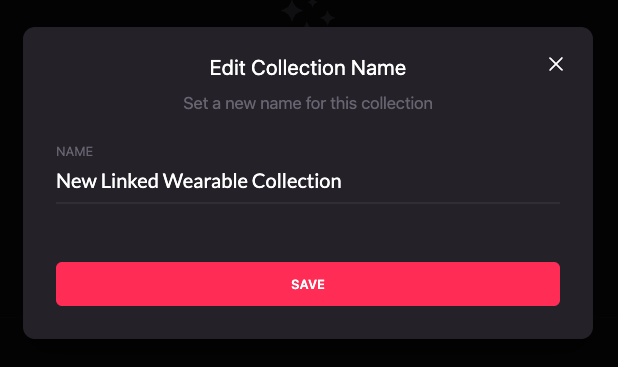
Deleting the collection #
A collection can be delete by its owner only if the collection has no published wearables.
To delete Linked Wearable Collection follow these steps:
-
Click on the meatballs menu (three horizontal dots) on the far right of the set of buttons. A dropdown will appear. Select Delete.

-
A Confirmation modal will appear, if you wish to proceed, click Ok, otherwise click on Cancel.
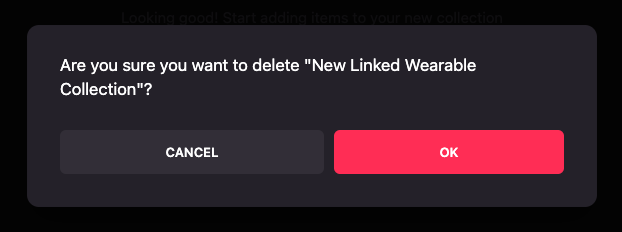
Editing a single wearable #
Editing wearable properties #
To edit a single wearable, follow these steps:
-
Click on the meatballs menu (three horizontal dots) on the right of the item that you want to see in world. A dropdown will appear. Select Open in editor.
-
Edit the wearable as standard wearables are edited. Follow the Editing items section in creating wearables guidelines on how to create a custom thumbnail.
Editing the wearable linking #
The linking of the wearables with the NFT collection is on of the most important properties of a Linked Wearable. To edit how they’re linked to the NFTs, you can quickly change the linking value from the collection view, without the need to navigate to other page.

Check the “ How do Linked Wearables represent NFTs? ” section for more information on how to link your wearables.
Editing wearables in bulk #
Following the same idea previously seen in the Creating wearables in bulk section, third party managers can make changes to the wearables in bulk.
To make changes in bulk to wearables, it is necessary to create a ZIP file for each of the wearables that will be changed.
These ZIP files must be created following the format described in
Creating wearables in bulk
with one exception, in the wearable.json file, the id
property MUST be set to the id or URN of the wearable that will be changed. This is mandatory as it’s the only way to identify the wearable to be changed. If you created your wearables in bulk by providing an id in the wearable.json file, you can re-use their wearable.json files to update them.
Taking into consideration the example in the
Creating wearables in bulk
section, if we would like to change some of the properties of a wearable, for example,
the name where we forgot to add a number to it, we should include a wearable.json file in the zip as the next example:
{
  "id": "urn:decentraland:matic:collections-thirdparty:my-third-party:my-collection:1",
  "name": "A hat 1",
  "description": "A description of the wearable",
  "data": {
    "replaces": [],
    "hides": ["hair"],
    "tags": ["special", "new", "hat"],
    "representations": [
      {
        "bodyShapes": ["urn:decentraland:off-chain:base-avatars:BaseMale"],
        "mainFile": "aMaleModelFile.glb",
        "contents": ["aMaleModelFile.glb", "aTextureFile.png"],
        "overrideHides": [],
        "overrideReplaces": []
      },
      {
        "bodyShapes": ["urn:decentraland:off-chain:base-avatars:BaseFemale"],
        "mainFile": "aFemaleModelFile.glb",
        "contents": ["aFemaleModelFile.glb", "anotherTextureFile.png"],
        "overrideHides": [],
        "overrideReplaces": []
      }
    ],
    "category": "hat"
  },
  "mapping": {
    "type": "single",
    "id": "123"
  }
}
Where the id field is set to the id or URN of the wearable that will be changed and the name field is set to the new name of the wearable.
Once the ZIP files are ready, follow these steps to edit the items in bulk:
-
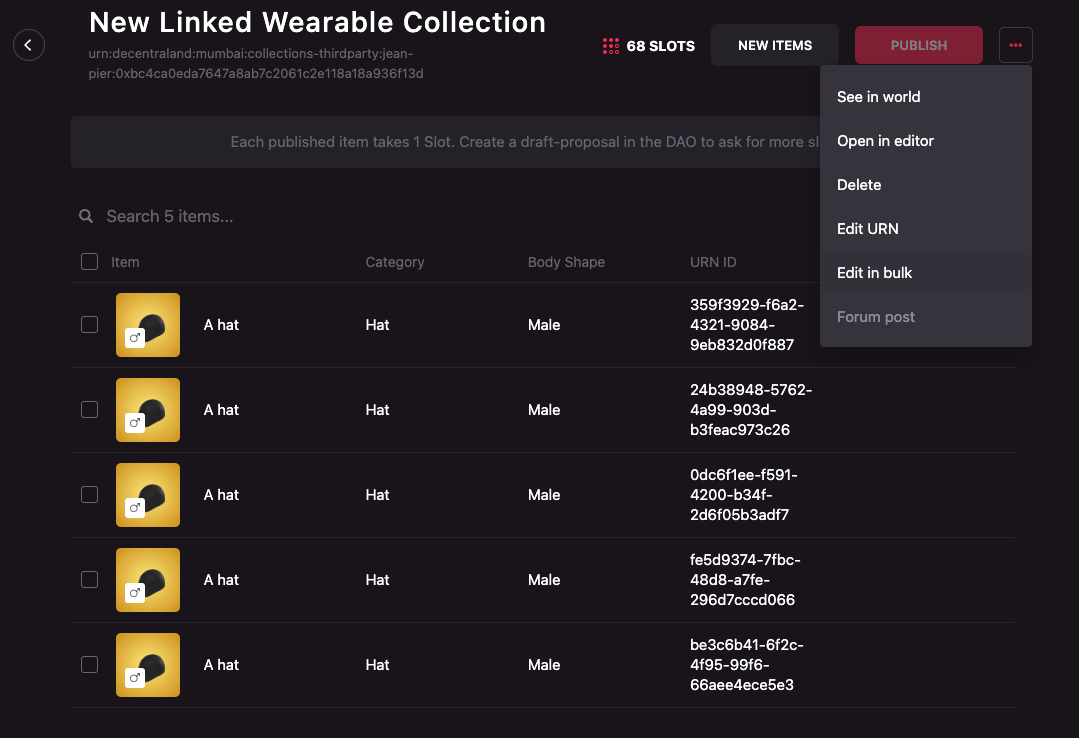
Click on the meatballs menu (three horizontal dots) on the far right of the set of buttons. A dropdown will appear. Select Edit in bulk.
-
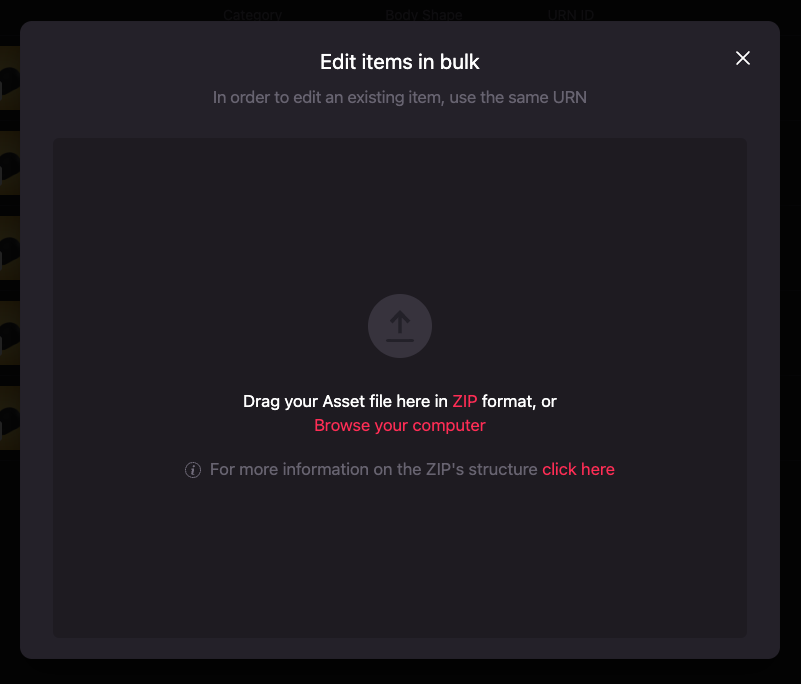
A modal similar to de one in the Uploading models in bulk will appear. Click on the Browse your computer link to open your file manager.
-
Select all the ZIP files of the items that will be edited.

-
Review if all the files are correct or if they need to be fixed. In this case, the model of the wearable isn’t set or the
wearable.jsonfile has an incorrectly set representation.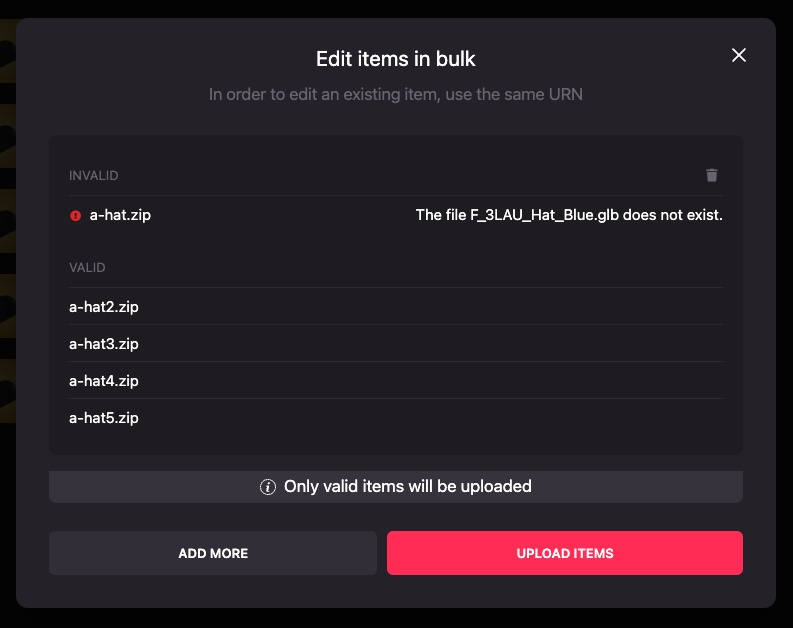
-
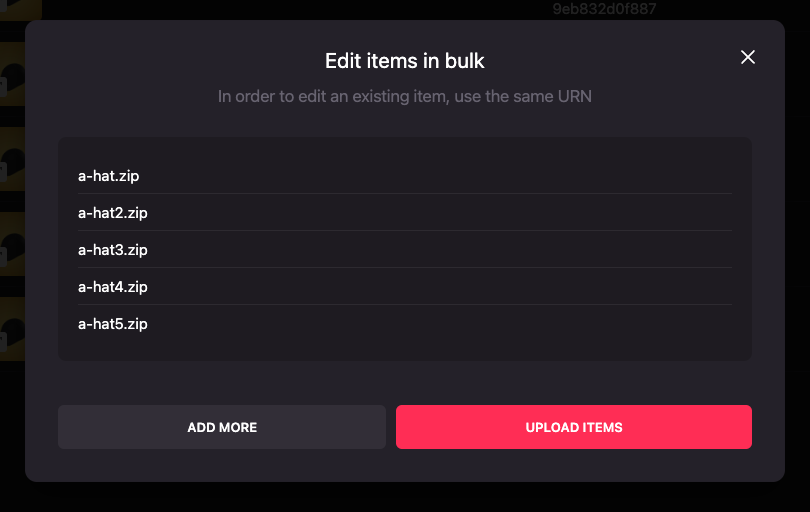
Fix any errors by clicking the Add more button and re-uploading the failed files with the same name or by dismissing the errors using the trash icon on the top right section of the modal.

-
Upload all wearables by clicking Upload items.
-
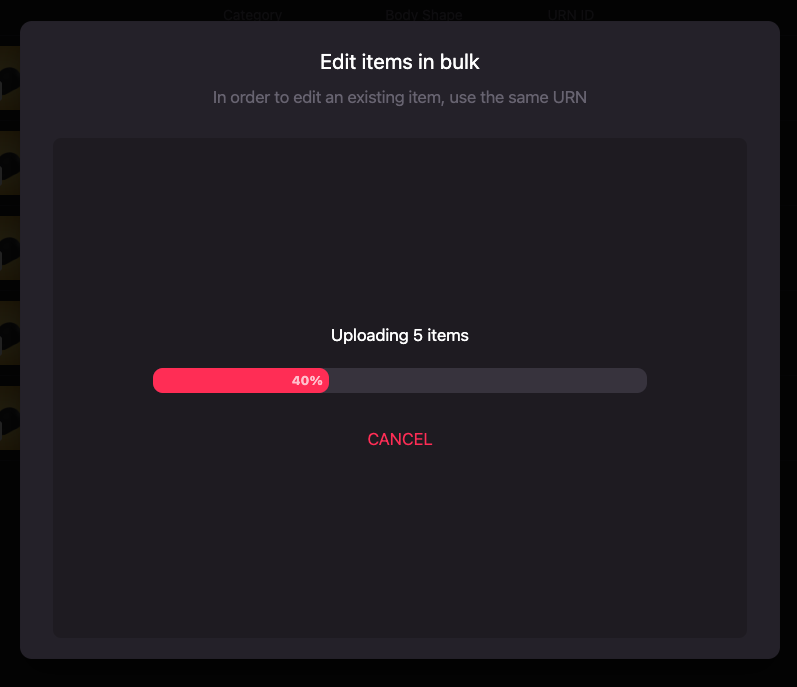
Be patient, this might take a while!
-
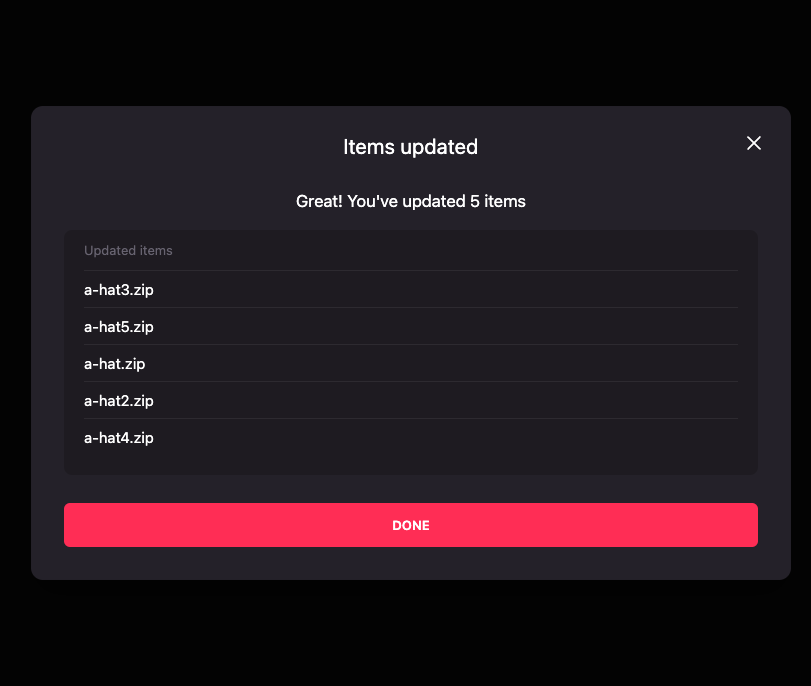
Success! Your items are now available in your collection. Check the forum post for any updates from the curator.
Publishing your Linked Wearables #
Your Linked Wearables need to go through a publishing and curation process as the regular wearables do. Although the publication and curation process is not the same as the one for the regular wearables, it keeps the same steps, all items must be first be published to later be curated by an assigned curator.
The following sections will show you how to publish your Linked Wearables to be curated.
Costs #
Creating Linked Wearables has a cost depending on the type of Linked Wearable Collection you chose to build:
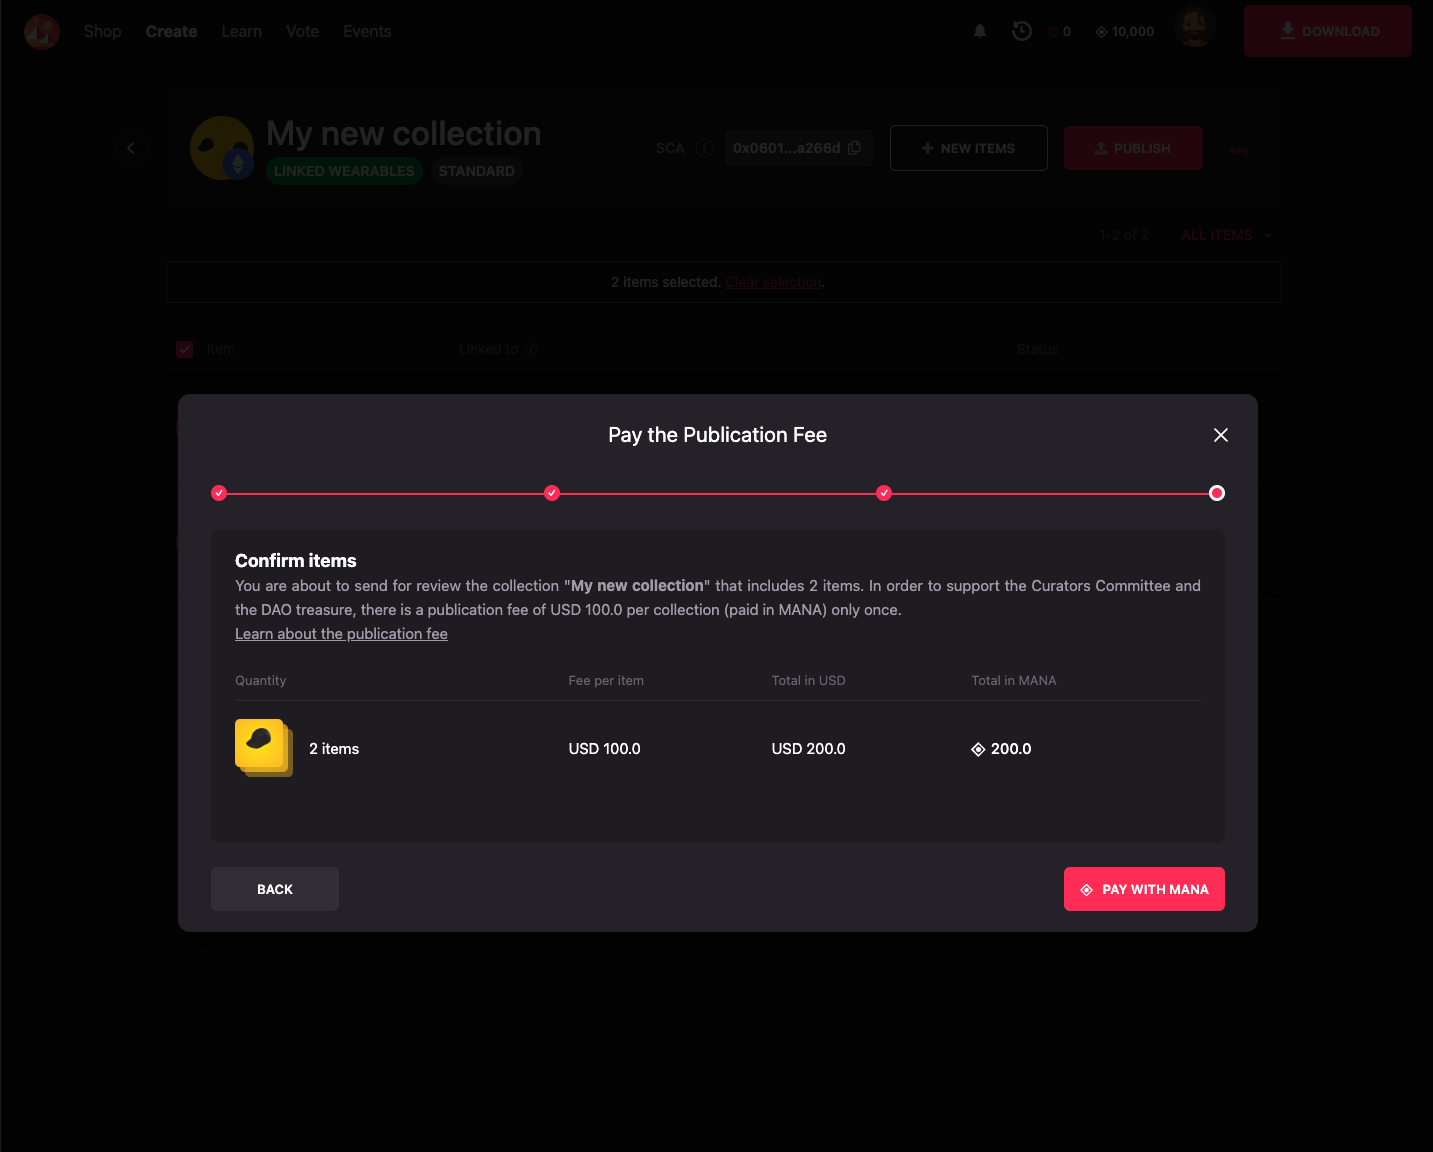
- Standard: each published wearable costs the same as a regular wearable: USD 100 payable in MANA.
- Programmatic: a fixed fee, payed once for all the wearables you’ll be publishing. This fee equals publishing 20 regular wearables: 2000 USD payable in MANA.
For more information about the type of collection you’re creating, check the NFT Collections & Linked Wearables Collections section.
Publishing wearables for review #
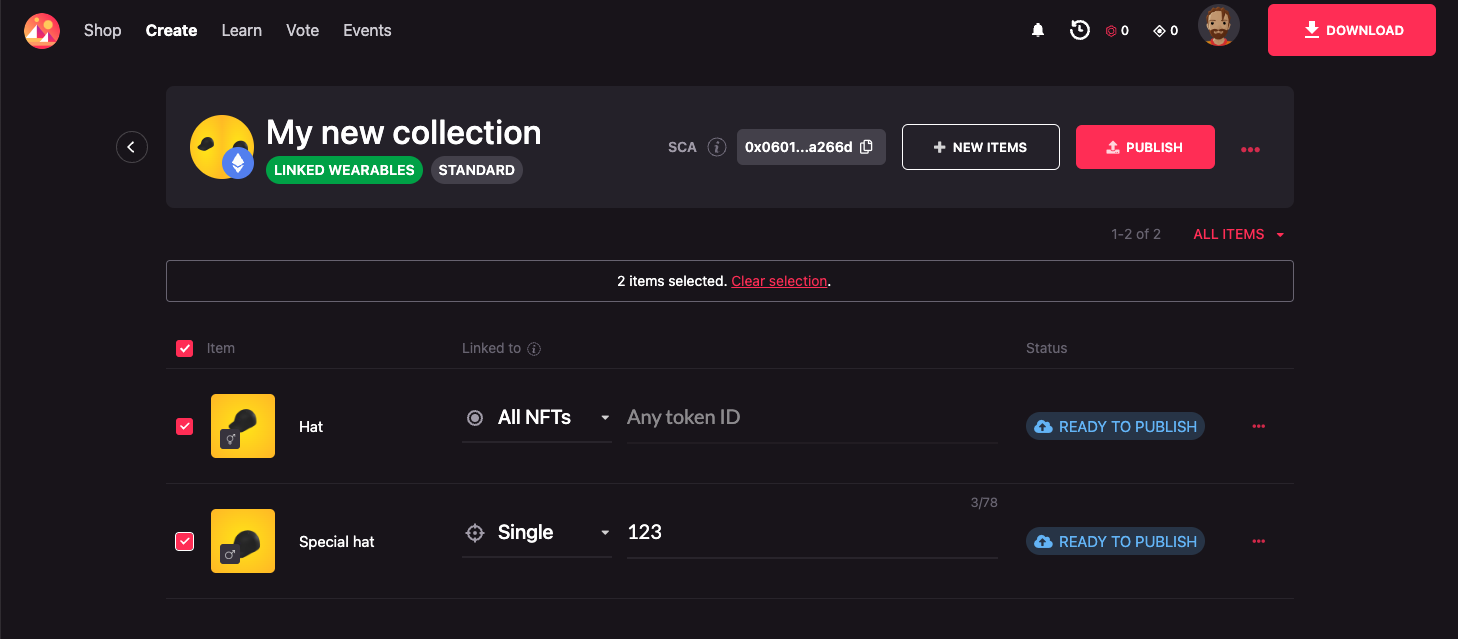
Once your wearables are ready, they must be published for curation. Your wearables are published in groups of items, you can choose which items are ready to be curated
by selecting them and clicking the Publish button. After publishing items, publishing will be blocked until the ones that are already published are curated.
To publish your wearables, you need to:
-
Select the items to be published by clicking on the checkbox next to them. Click the Publish button when you’re ready with your selection.
-
Confirm your collection name. Once you published your items, changing the collection name is not possible, so be sure to check it thoroughly.

-
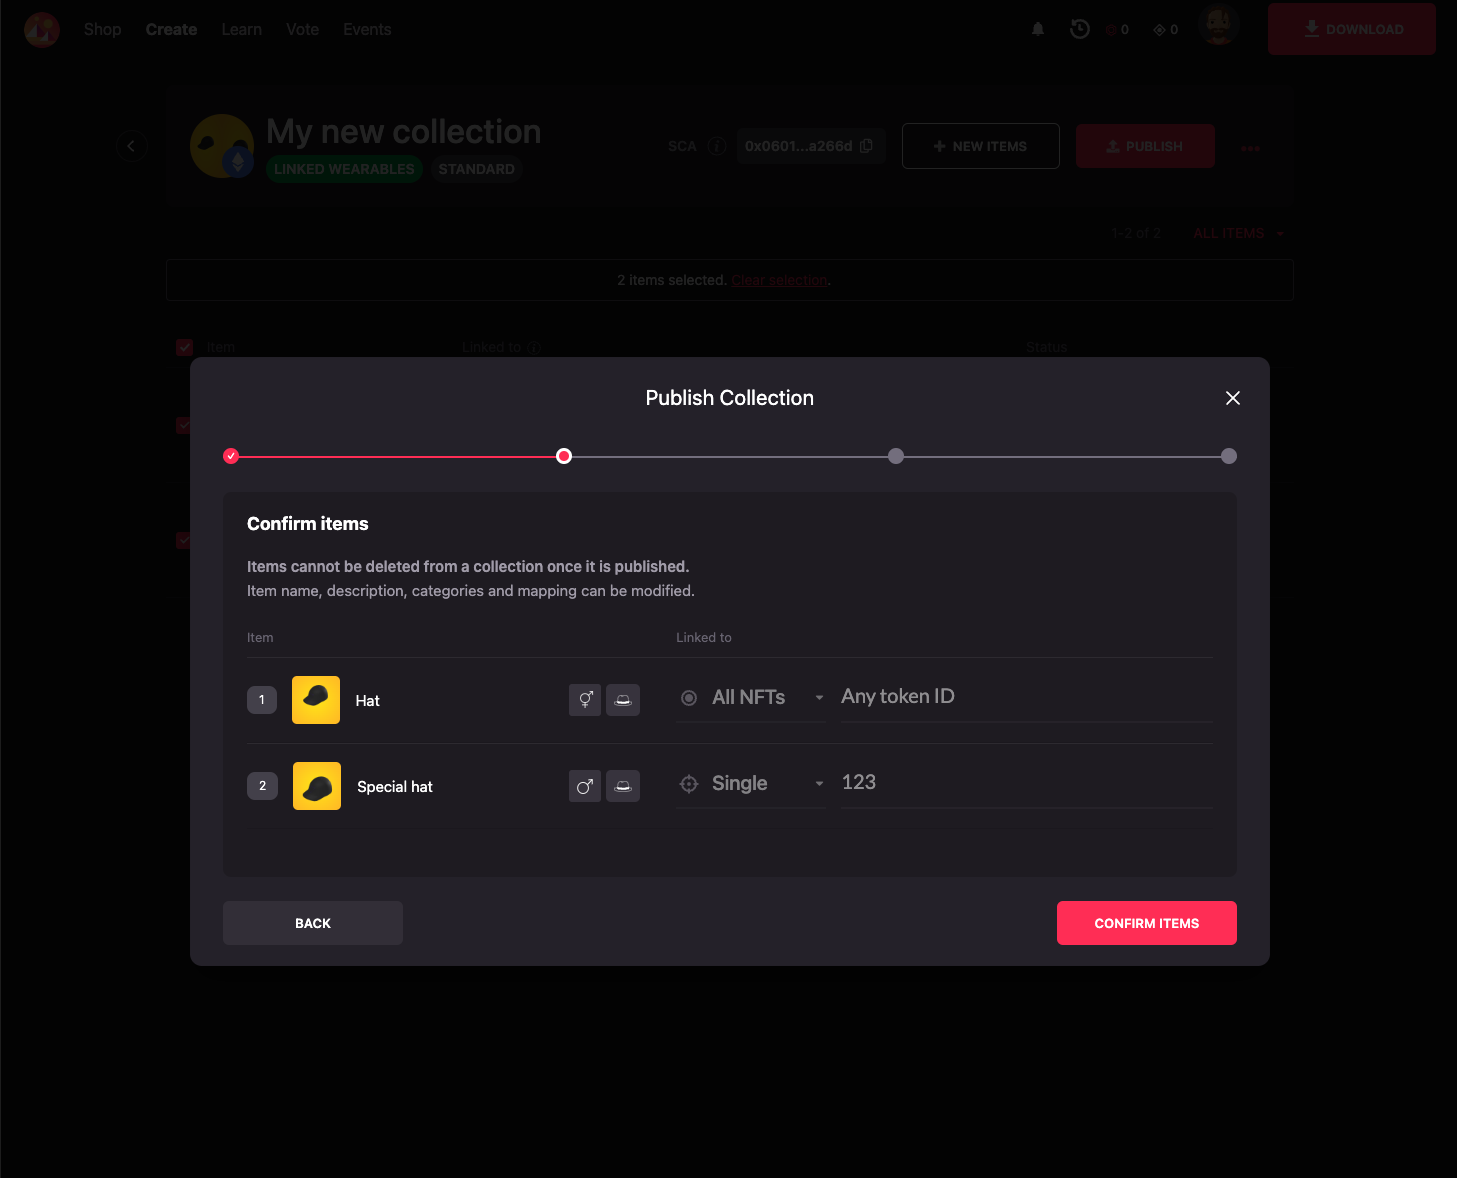
Give it a check to the item’s your publishing. Click the Confirm items button when you’re ready.
-
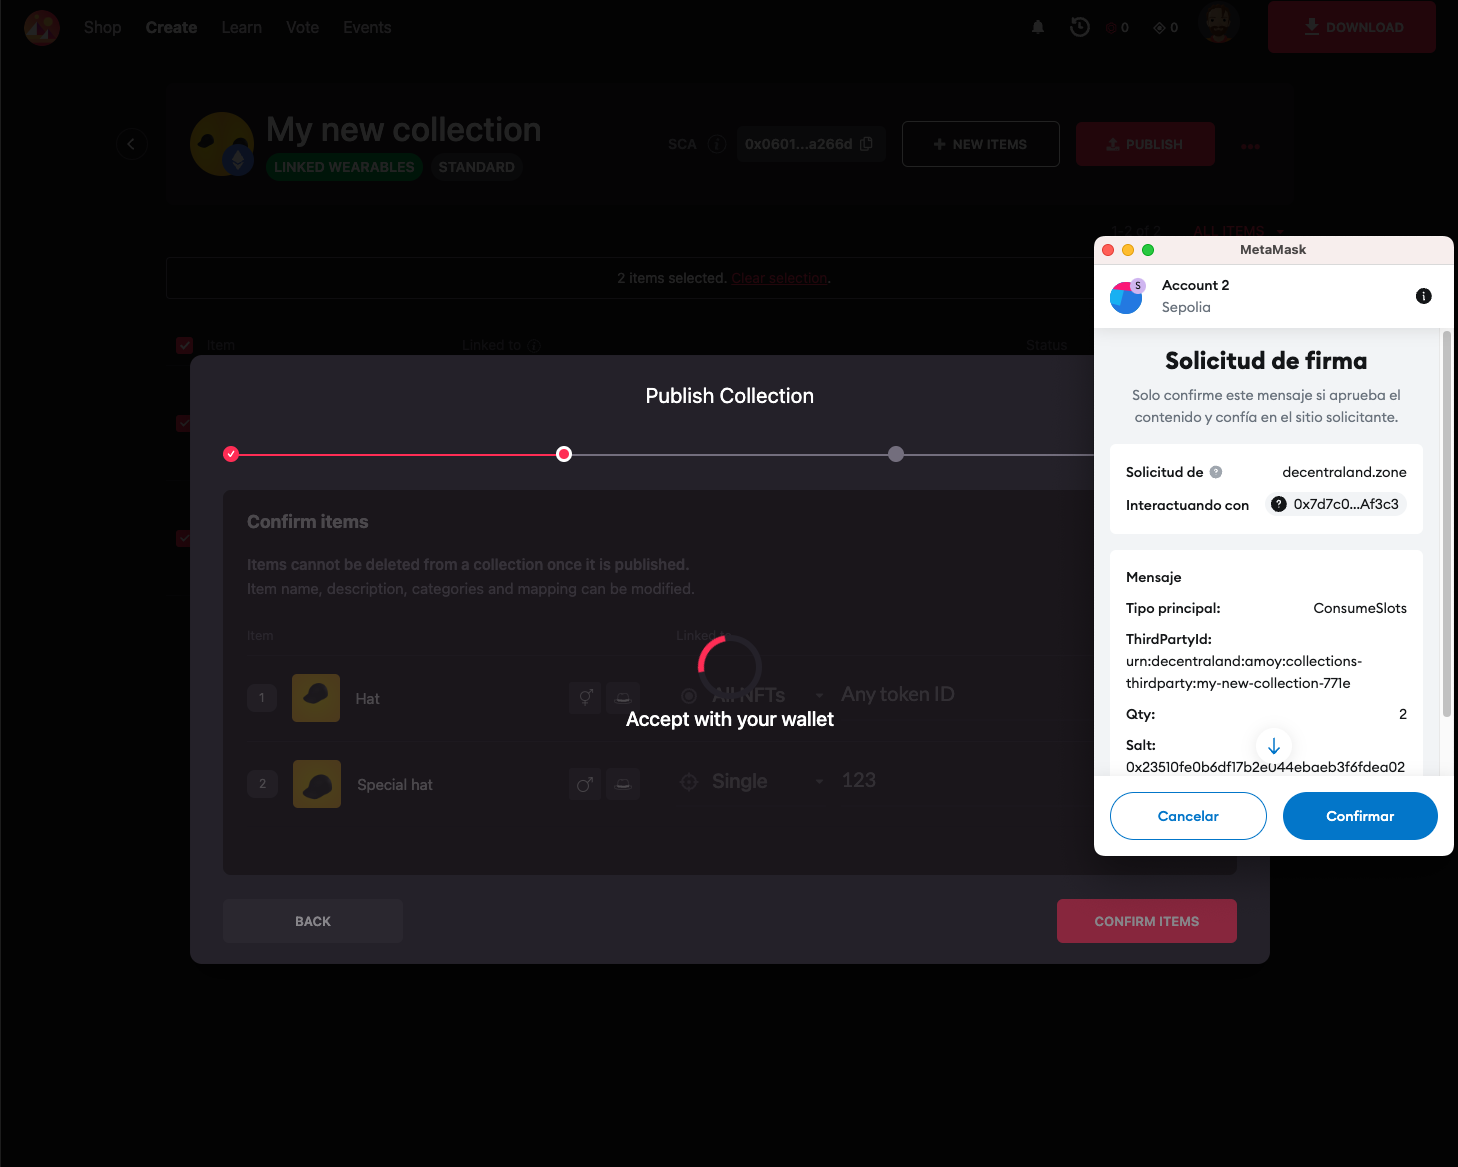
Sign the confirmation of publishing your items in your wallet.
-
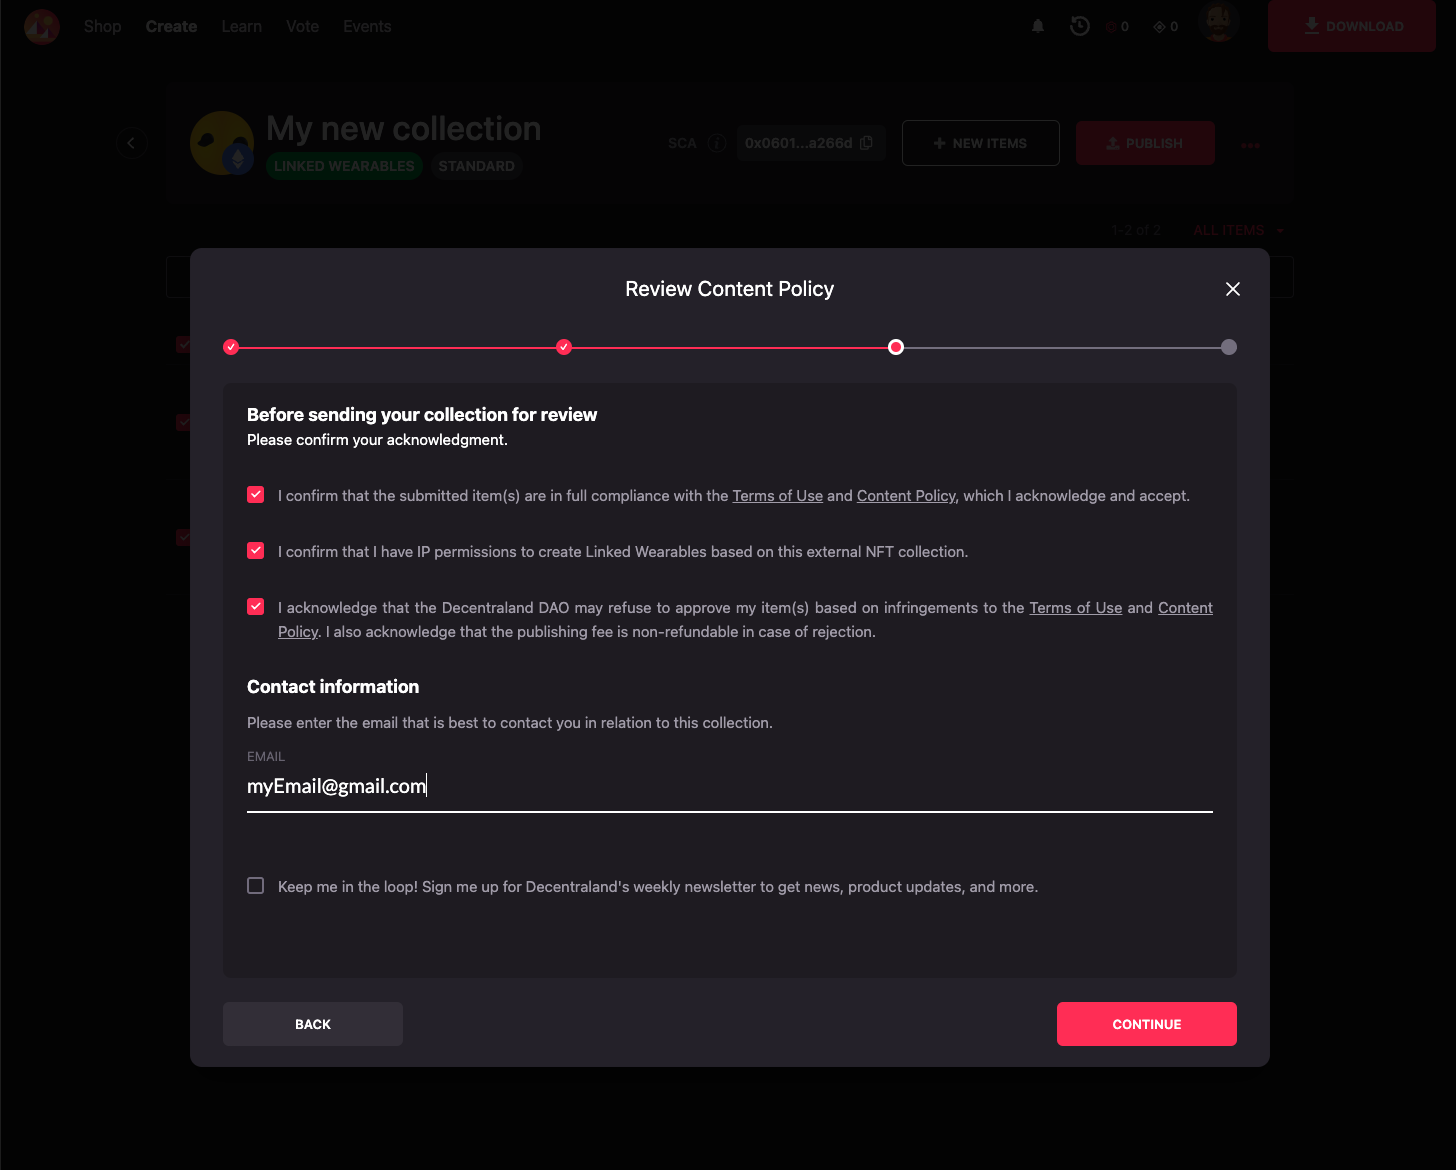
Read and check the Terms and Conditions.
-
Check your publishing fees. The fees required for published the wearables are described in the Costs section .
-
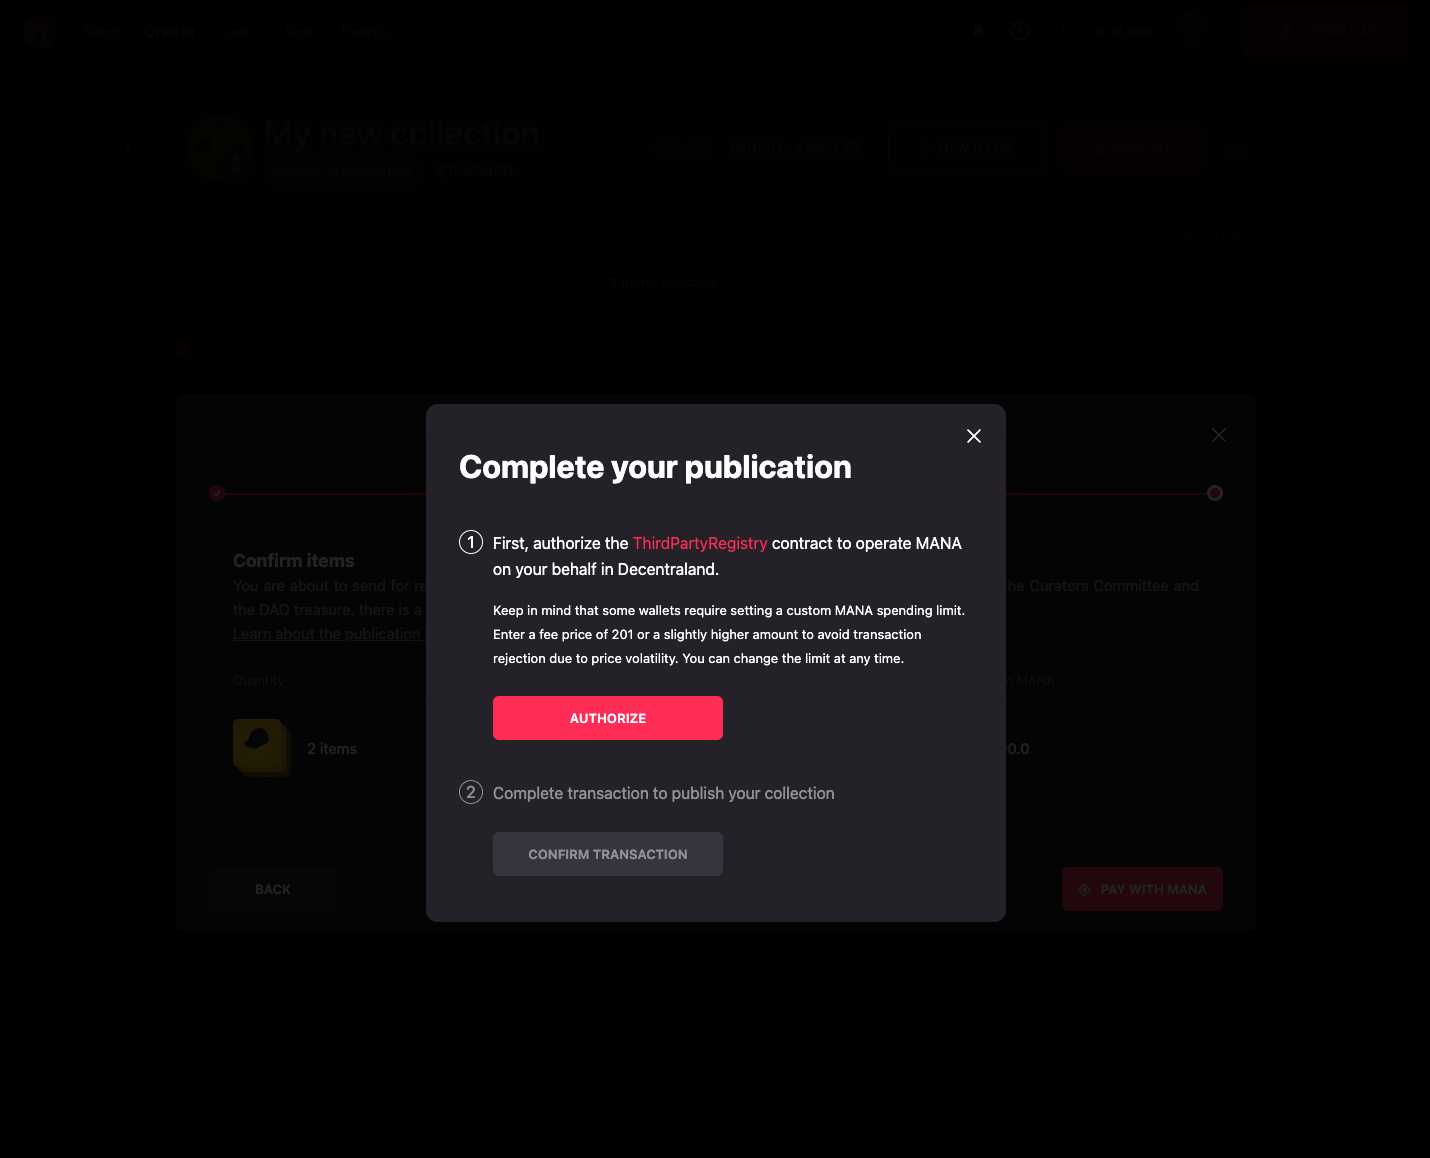
If it’s your first time publishing Linked Wearables, you’ll need to authorize the Linked Wearables smart contract to operate MANA on your behalf. This step is needed to deduct the MANA used to pay the publication fees from your wallet.
-
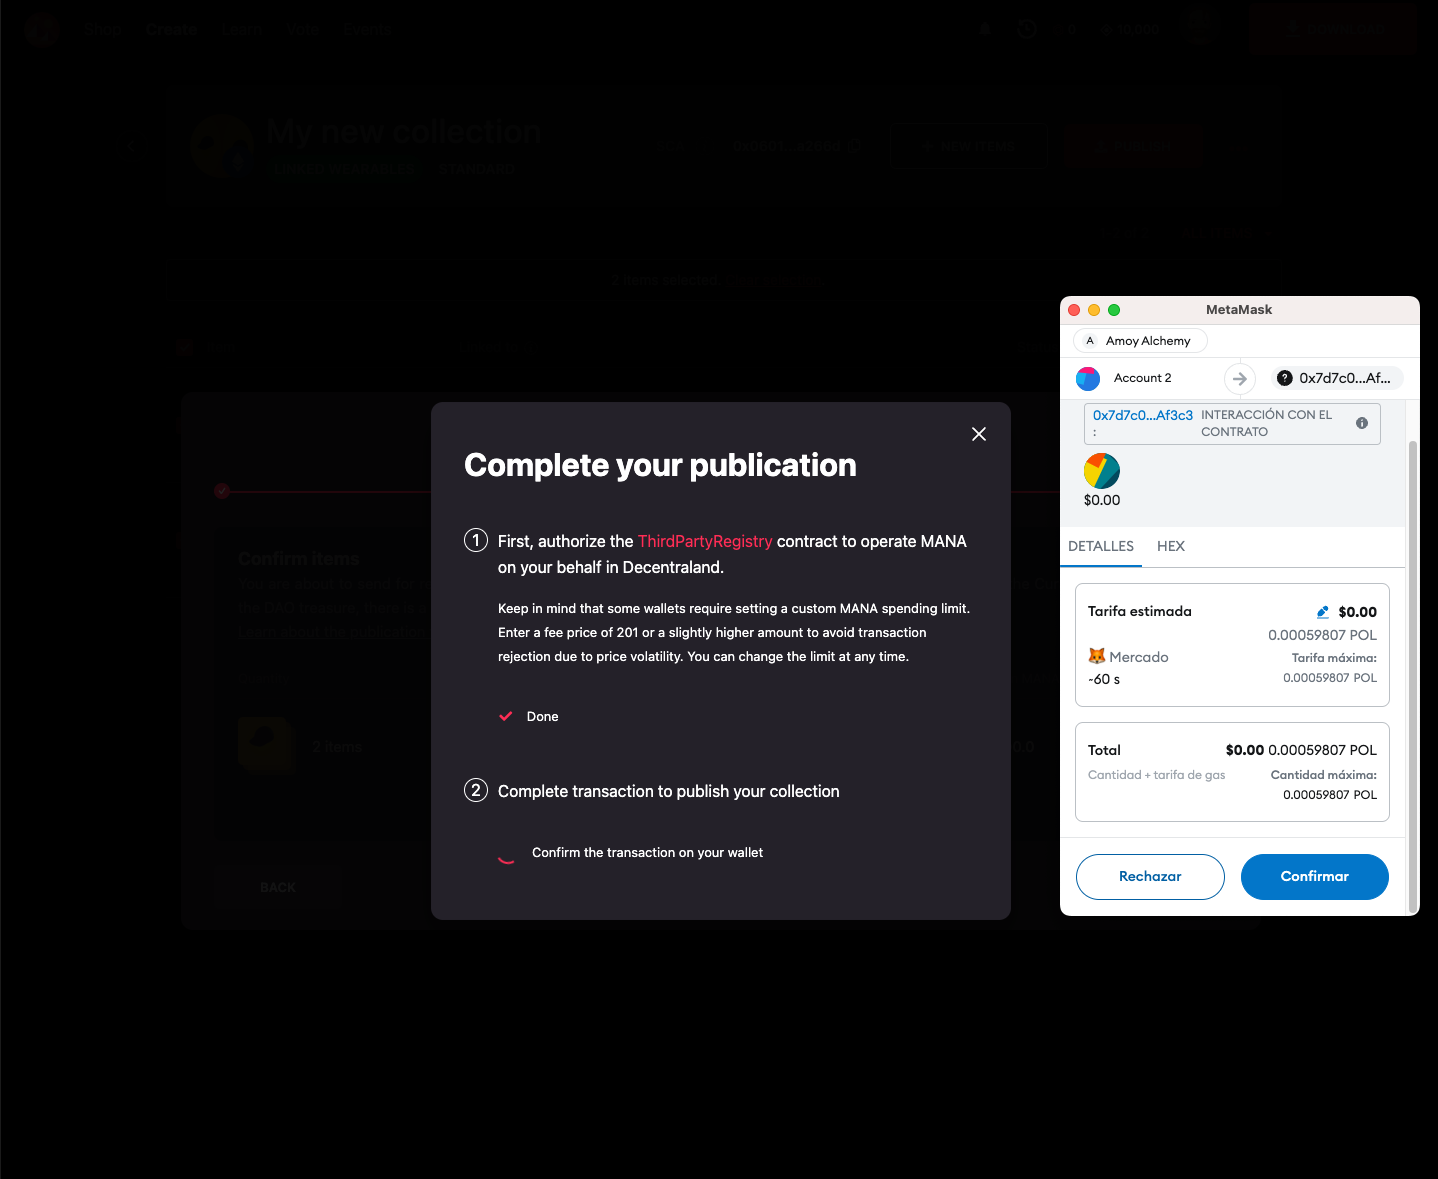
Pay the publication fee and complete the publishing by performing the transaction. Depending on the congestion of the network, this might take a while.
-
Success! You have published your items. Your items will go through the curation process a regular collections do. You can communicate with the curator via the forum post.

Pushing changes for review #
Published and approved wearables that are edited need to go through the curation process again. Don’t worry, there won’t be any fees applied to already published wearables.
To push changes to get them curated, you need to:
-
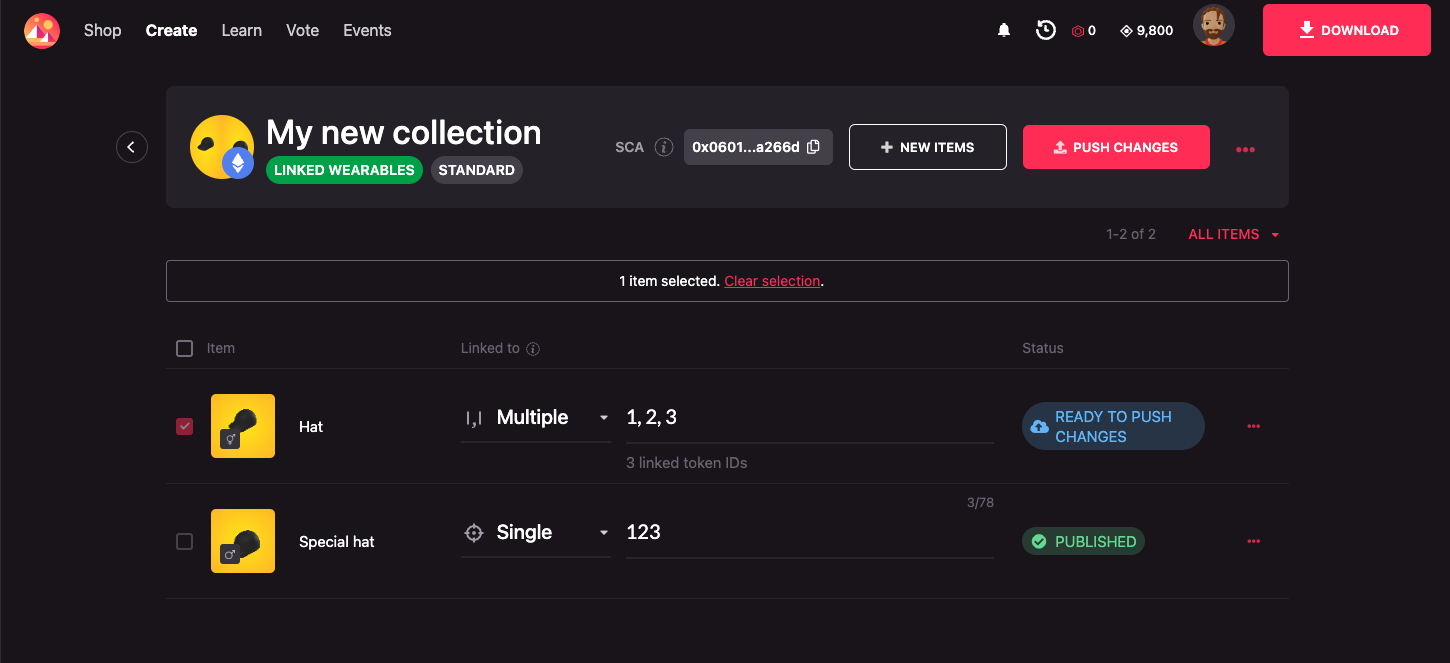
Select the items with changes by clicking on the checkbox next to them. Click the Push changes button when you’re ready with your selection.
-
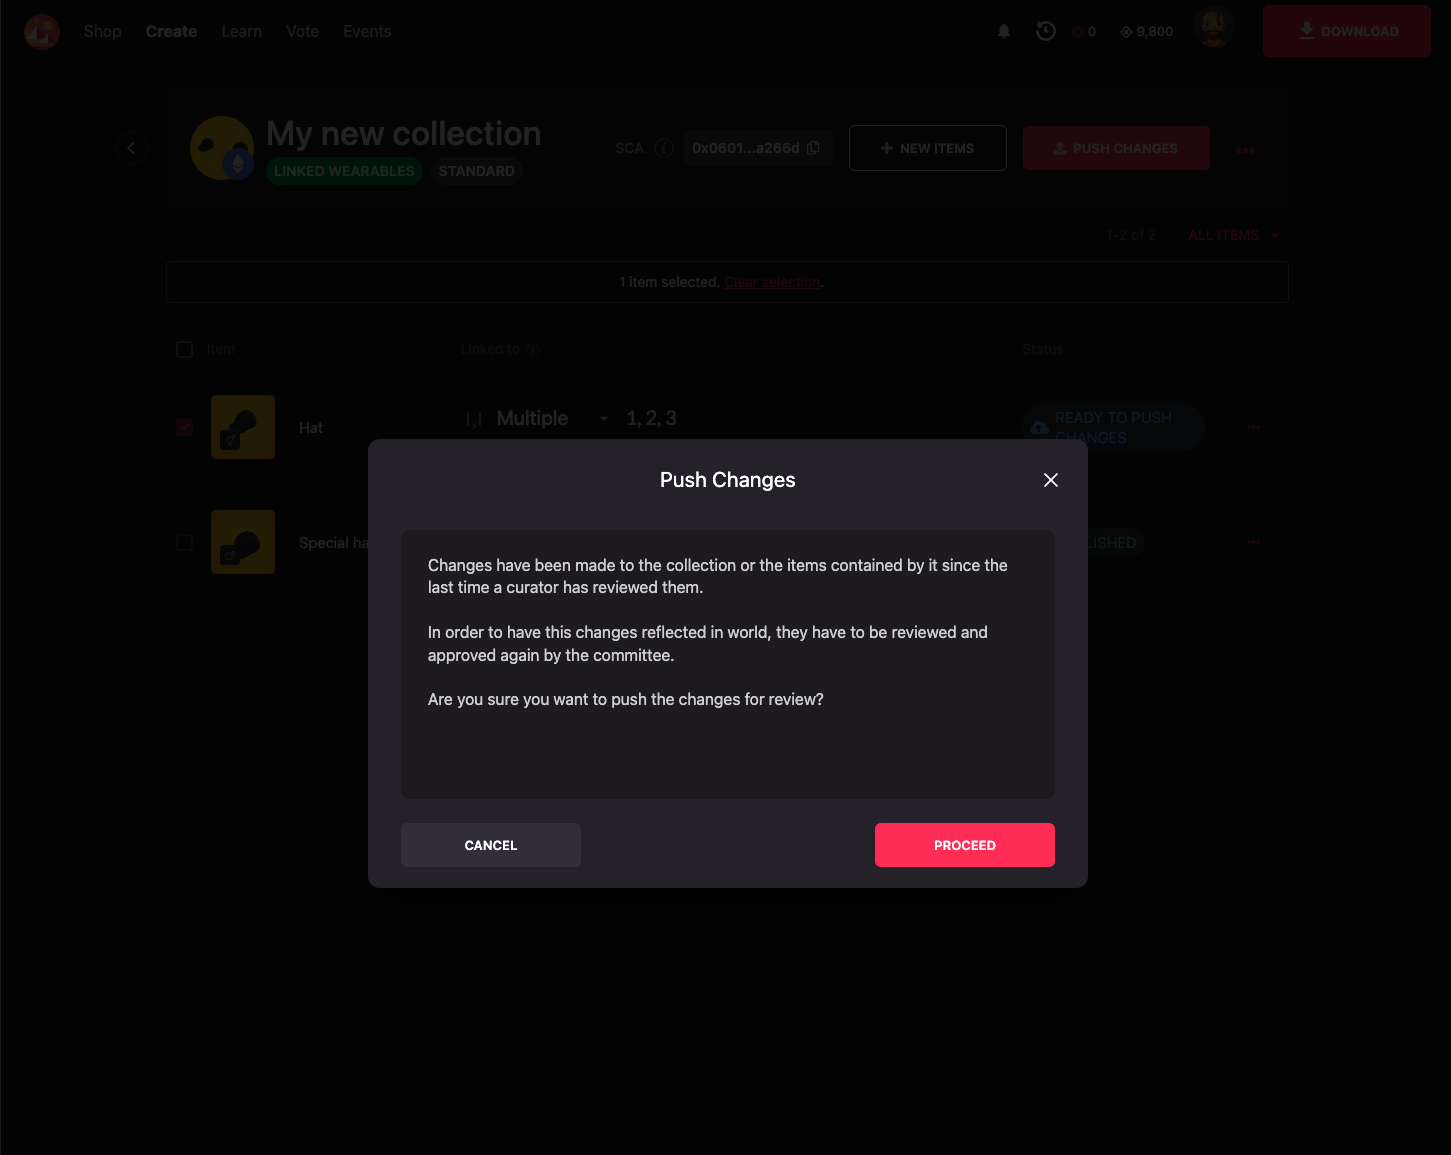
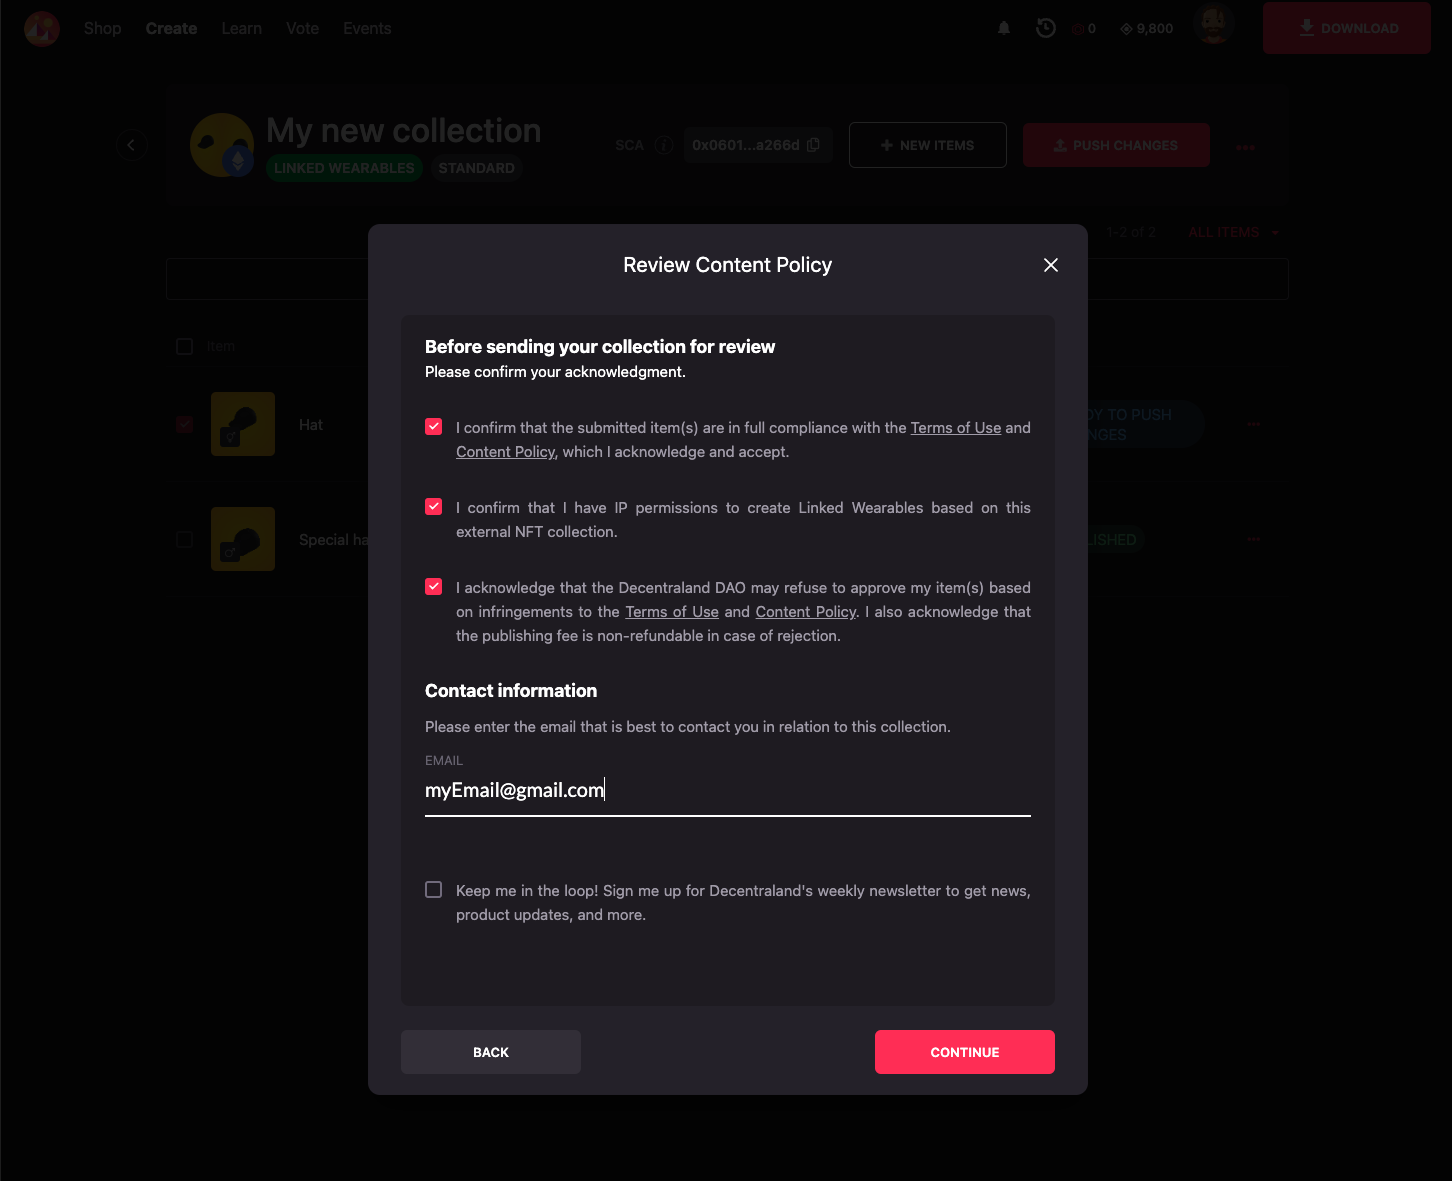
Proceed with the push changes process. As the modal says, these changes will need to go through the curation phase once again.
-
Read and check the Terms and Conditions. Upon accepting them, the items will be ready to be curated again.
Curation #
As with regular wearables, your 3D models will need to get the Curators Committee’s approval. You are not excluded from this rule as Decentraland’s aesthetic and gameplay still needs to be safe guarded.
The curation process will differ according to the process used to generate the wearables. Linked Wearables collections admit handcrafted and programmatically generated wearables.
Handcrafted wearables #
For 3D models that were made individually without any automated process (the usual method for most regular wearables) the Curator will need to go through all items in the collection individually to make sure they are all compliant with the Wearable Guidelines .
Programmatic collections #
For programmatic collections, not all items have to be curated individually. The number of items to be curated in each collection depends on the collection’s size, this was defined by the DAO in this proposal .