Particles in Emotes 2.0
Emotes 2.0 can have sounds and props, but did you know it’s also possible to use particles? They can be a lot of fun and add that extra visual spark to it! And they can speed up the animation process too.
But since object animation and particle systems are not supported in Emotes 2.0, we need to convert these particles into an armature (which is supported) in order to add them to emotes. We’ll be using a Blender add-on developed by the Foundation’s Content Team for this process, which can be downloaded from the link below.
Use the Particles to Bones Addon for Blender to start!
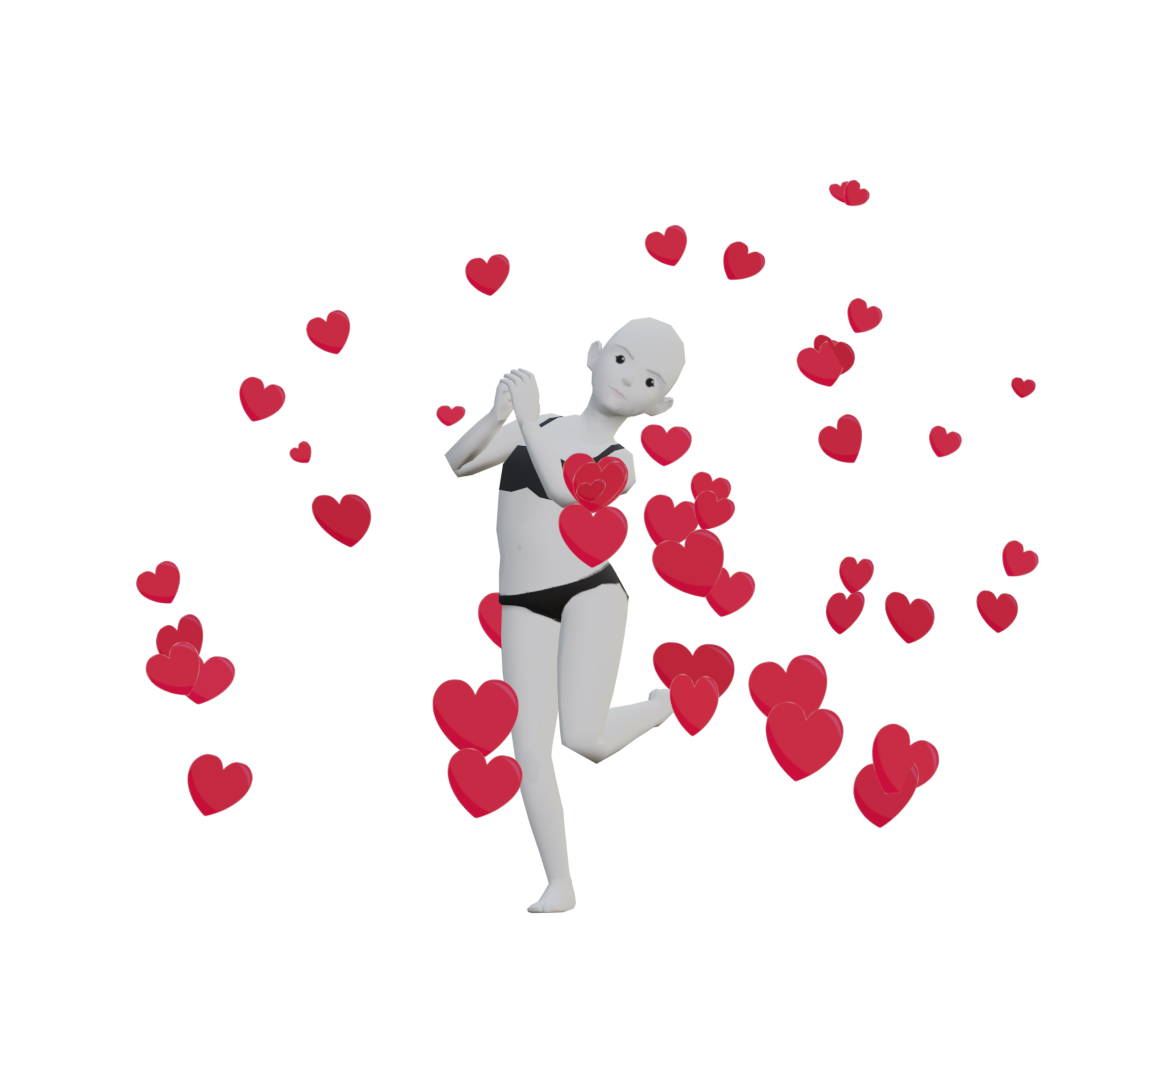
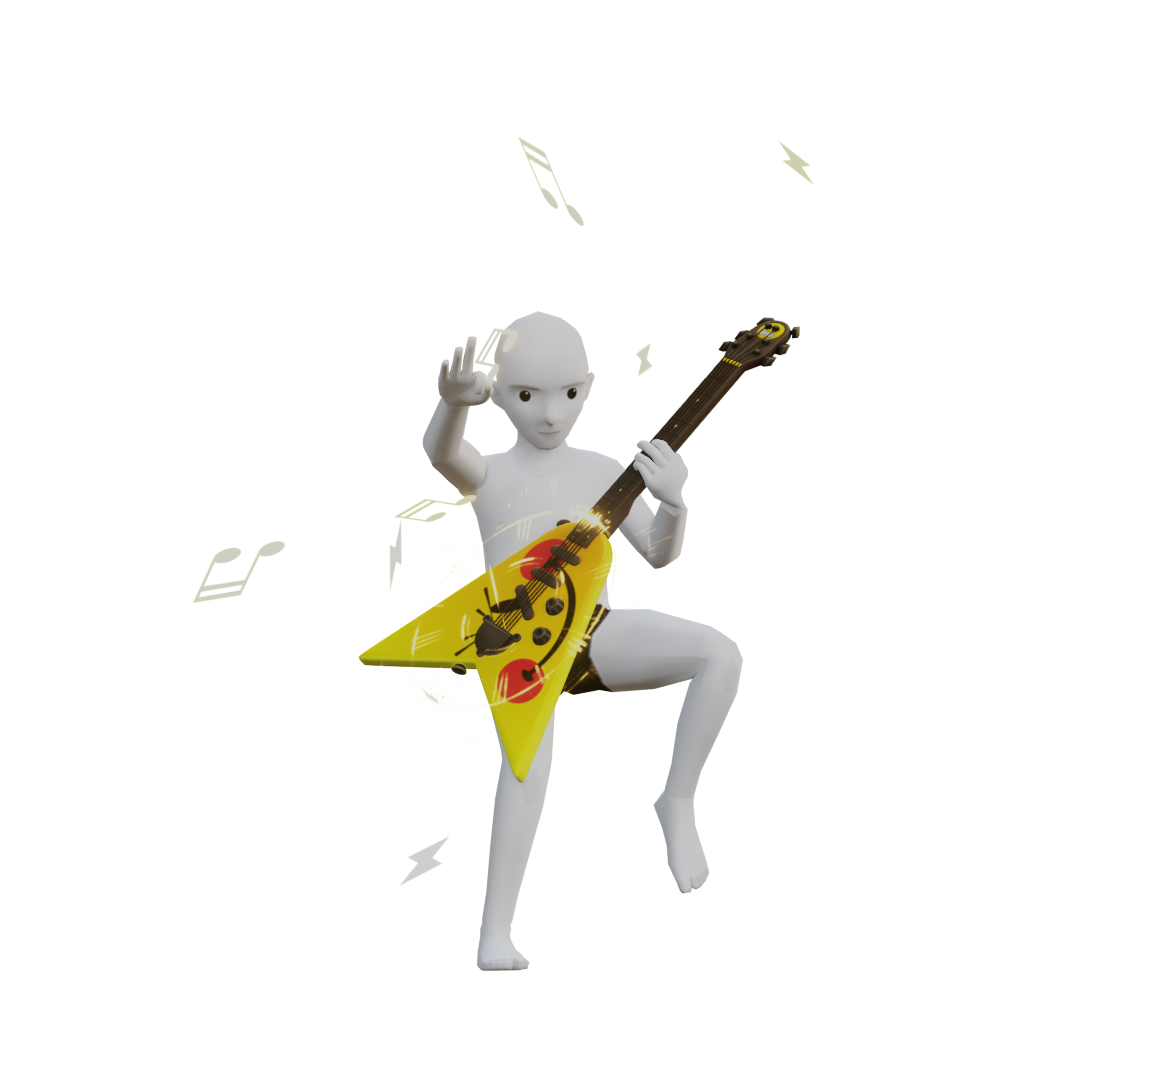
The process of adding particles to your emote will involve two steps, you can follow the guidelines along with these videos:
- Converting particles to armature
- Merging particles armature to prop armature
Attention!
⚠️ Creating a particles system won’t be covered in this documentation. The objective is to help implement it to your emote.
Converting Particles Into Armature #
Like previously mentioned, Emotes 2.0 do not support object anmation or any form of particle system. This is why we need to convert the particles into an armature.
To get started, you will need a working particle system and the add-on. The particle system shown below is a very simple one, it’s just an example to show how the add-on works. Make sure you particle system matches your emote animations for a better result.
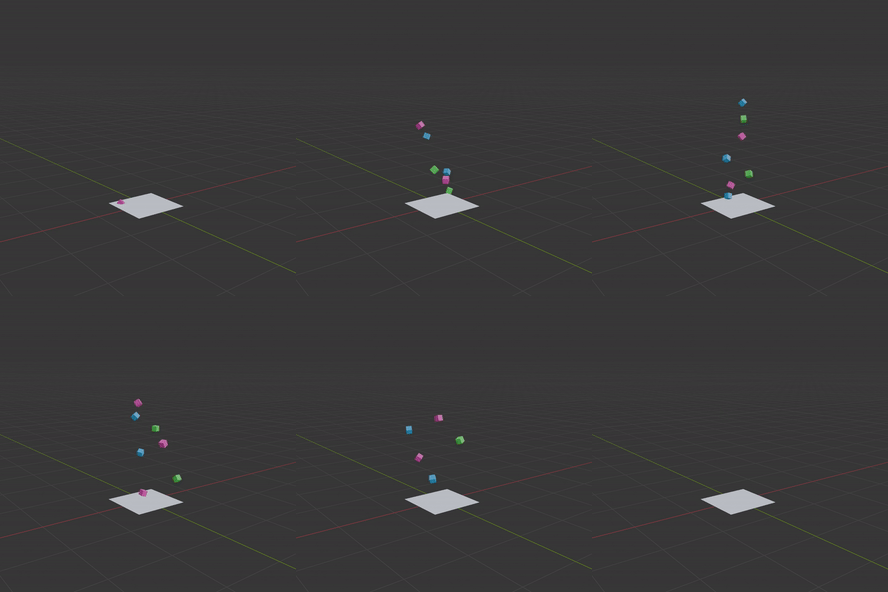
Simple particle system.
Next, you download and install the add-on. To do so, go to Edit > Preferences > Add-ons and click on Install to browse the file in your computer.
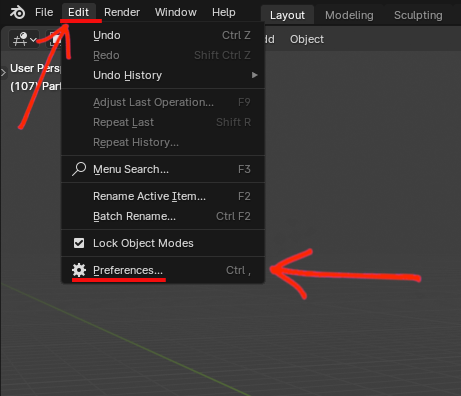
Click on Edit > Preferences.
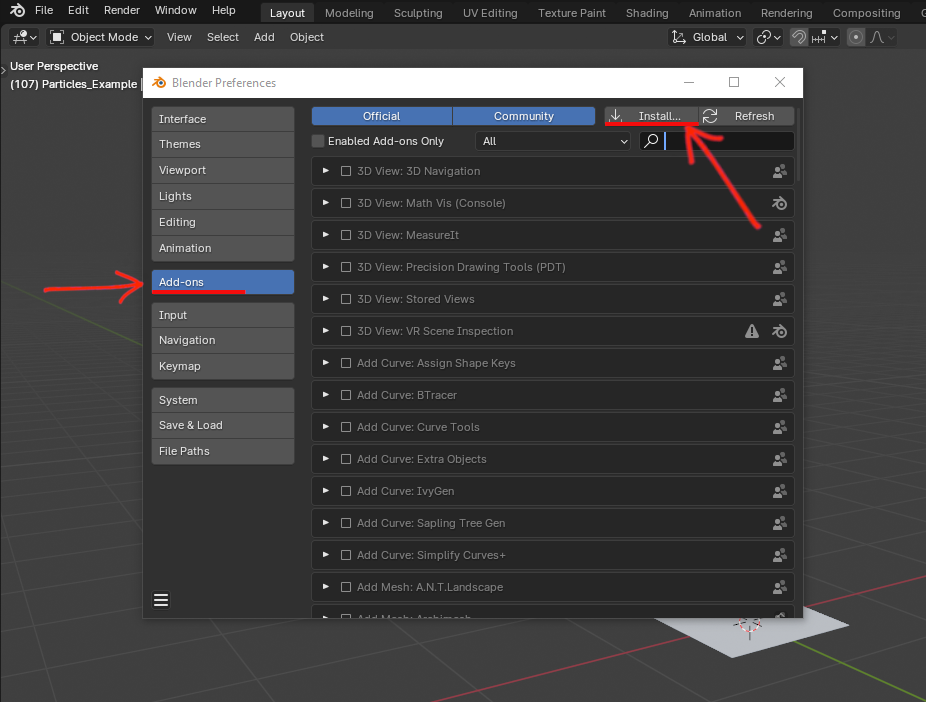
Select Add-ons on the right and click on Install.
Once that is done, click on the checkbox to enable it. A tab named Converter will show up on the right side of the Viewport.
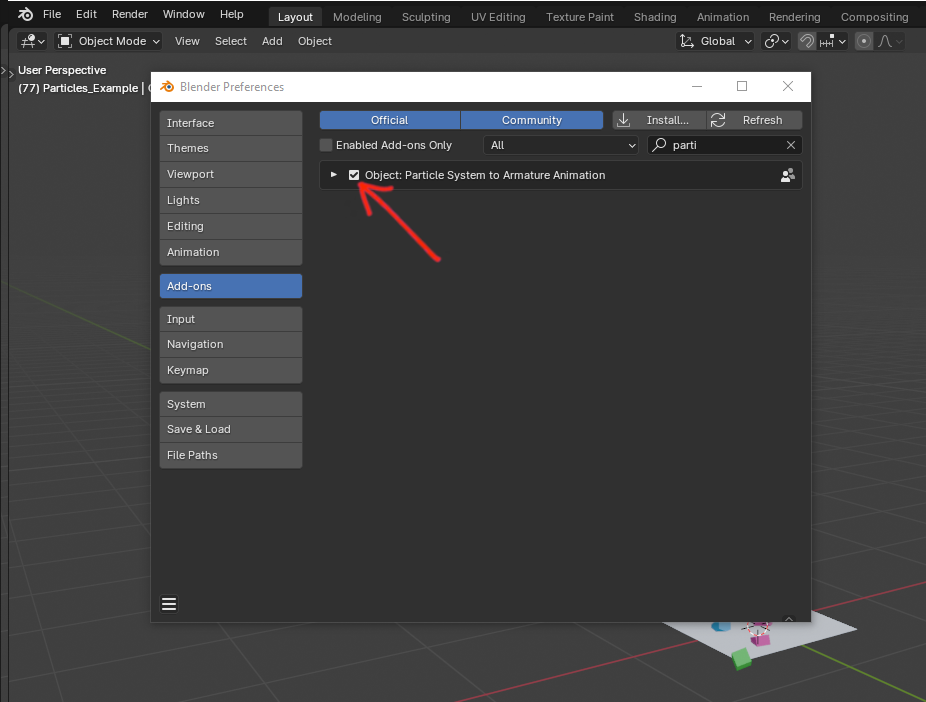
Click on the checkbox to enable the add-on.
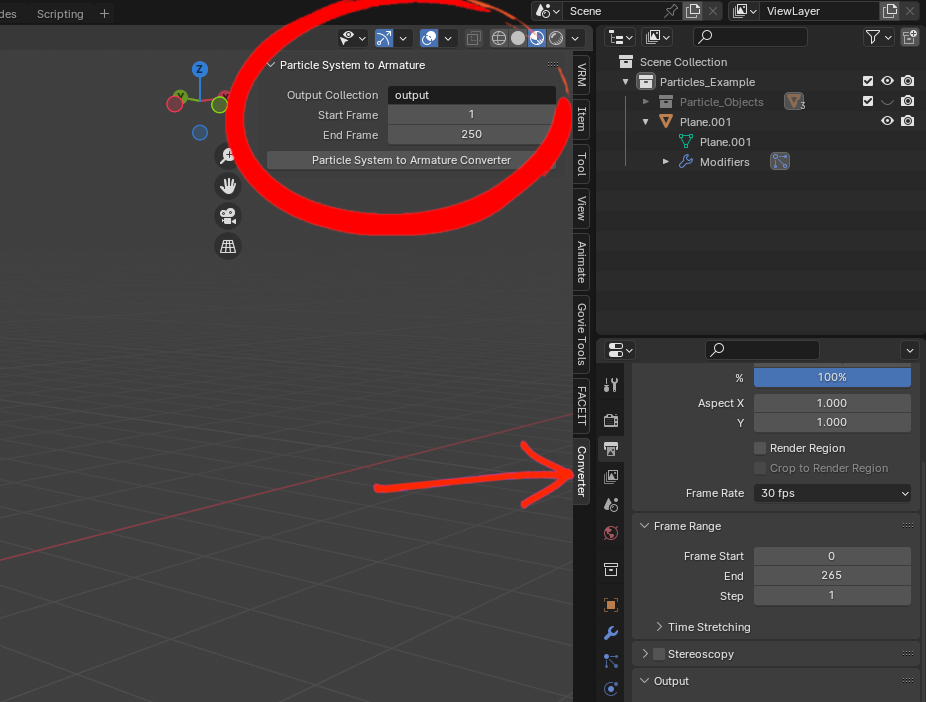
You will find the Converter tab to the right of the Viewport.
Next, select the object, go to the Converter tab, rename de Output Collection however you see fit, define Start and End Frames and click on Particle System to Armature Converter, as shown below.
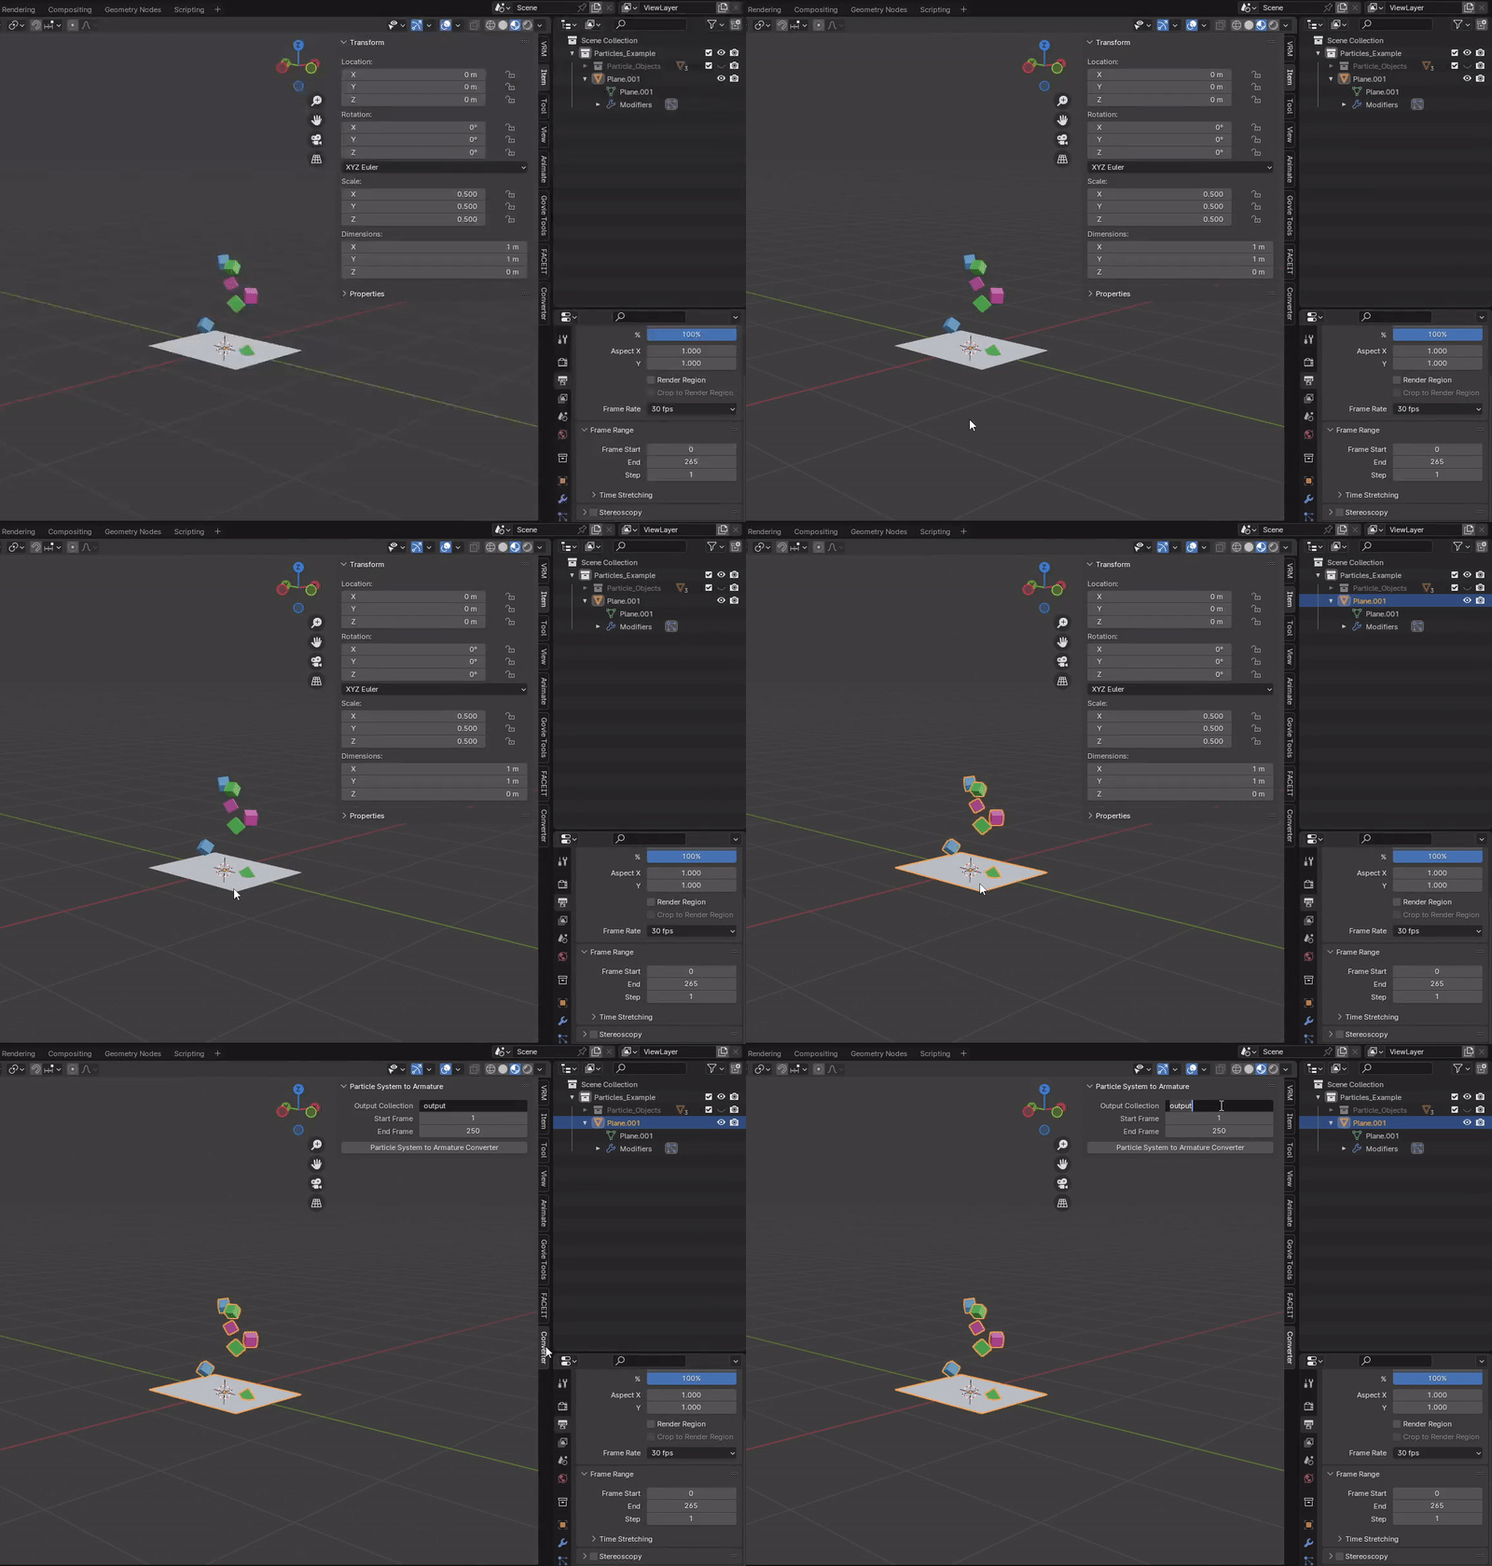
You will notice that a collection was created in the Outliner, with the particles armature. An animation clip was also created, by baking all the movement of each object.
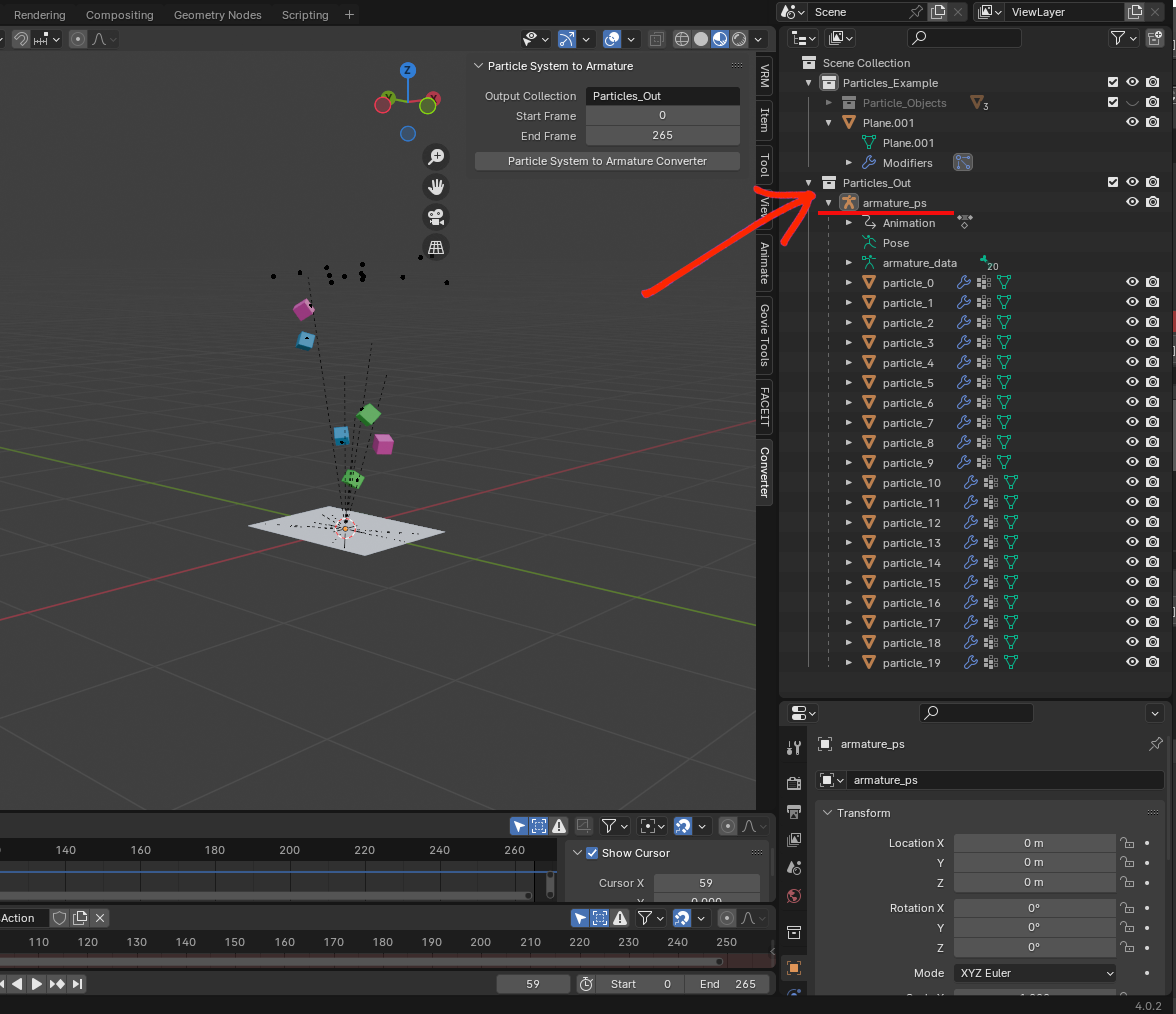
Armature generated by the add-on.
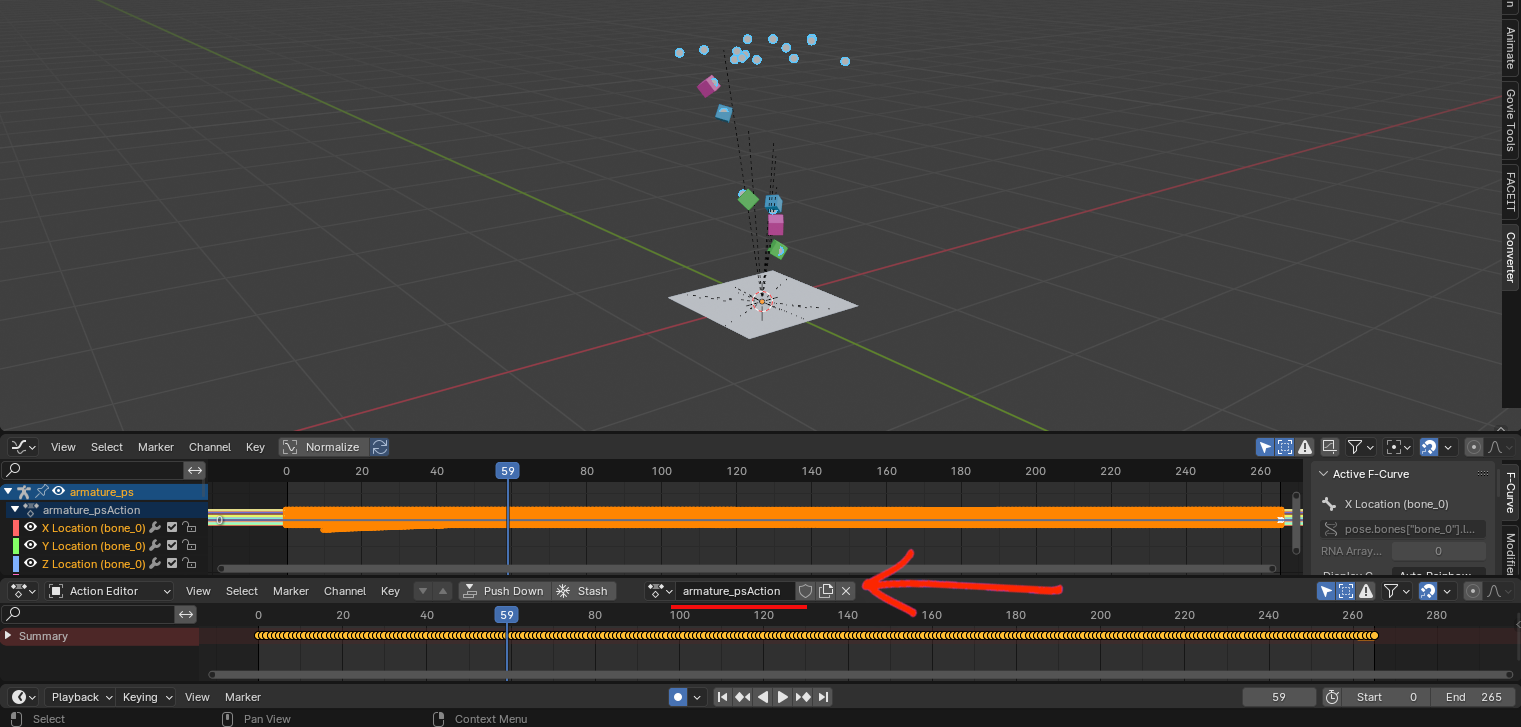
Animation lip generated by the add-on.
And that’s it for converting your particles into an armature! Remember to save your file with a different name (keep the original as a backup), we will be needing it for the next step.
Attention!
⚠️ Particles should be the last element added to your emote. When the emote is ready, you will have the exact length of the animation, which will make it easier to sync the particles to the action performed.
Merging Particles Armature to Prop Armature #
Emotes 2.0 can only have two armatures and two animation clips per file. If we just import the particles, we will end up with three armatures and three animation clips. The way to fix this is merging the particles armature into the prop armature. The reason to merge it to prop and not avatar armature is very simple: the avatar rig can’t be edited in any way by adding or deleting bones. This leaves prop armature as the only option.
First thing we have to do is import or append the collection generated by the add-on. You could always export the glb file for it and import it into your emote file. Or you could simply append the collection, which is much easier and faster, by going to File > Append, browse the particles file in your computer, select the folder Collection and choose the desired collection.
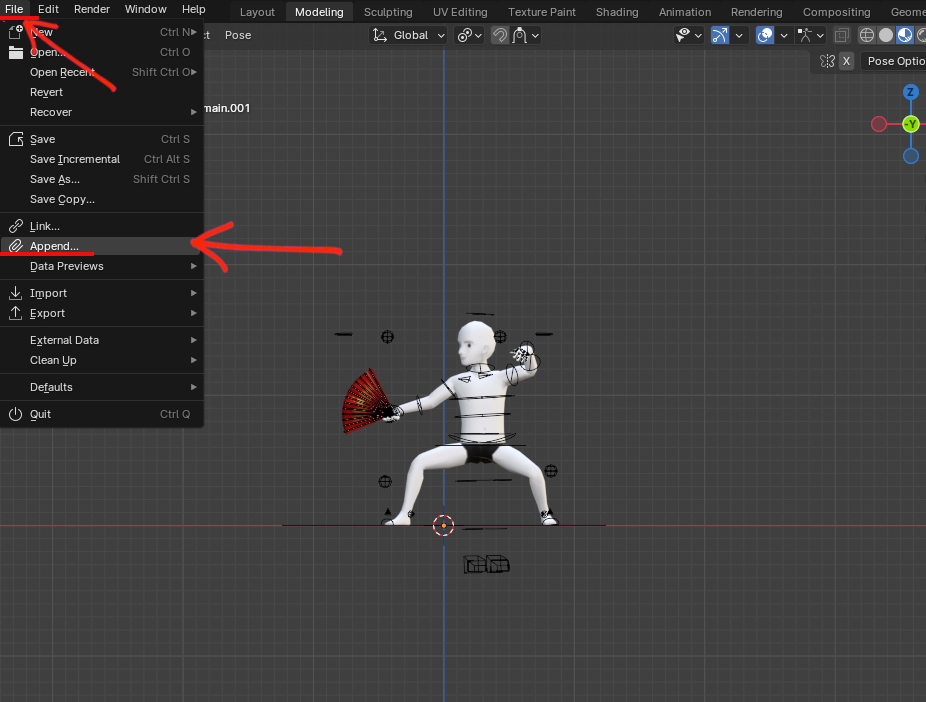
To append a collection, go to File > Append.
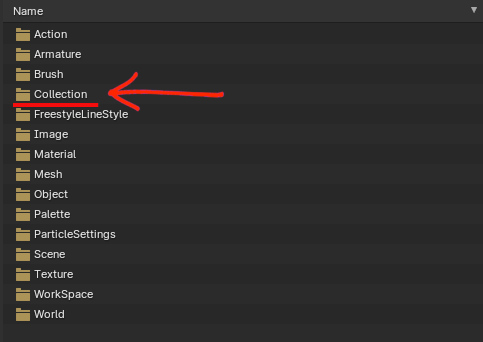
Once you browse the particles file, select the Collection folder.
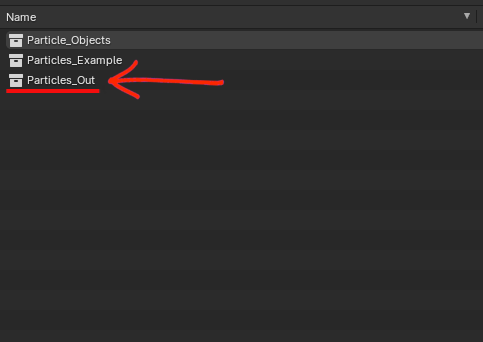
Choose the collection generated by the add-on (that you had the chance to rename). Particles_Out is just how it was renamed for this example.
Next, we are going to merge the armatures. In Object Mode, select first the particles armature, then hold Shift to select the prop armaure and press Ctrl+J to join/merge them, like shown below.
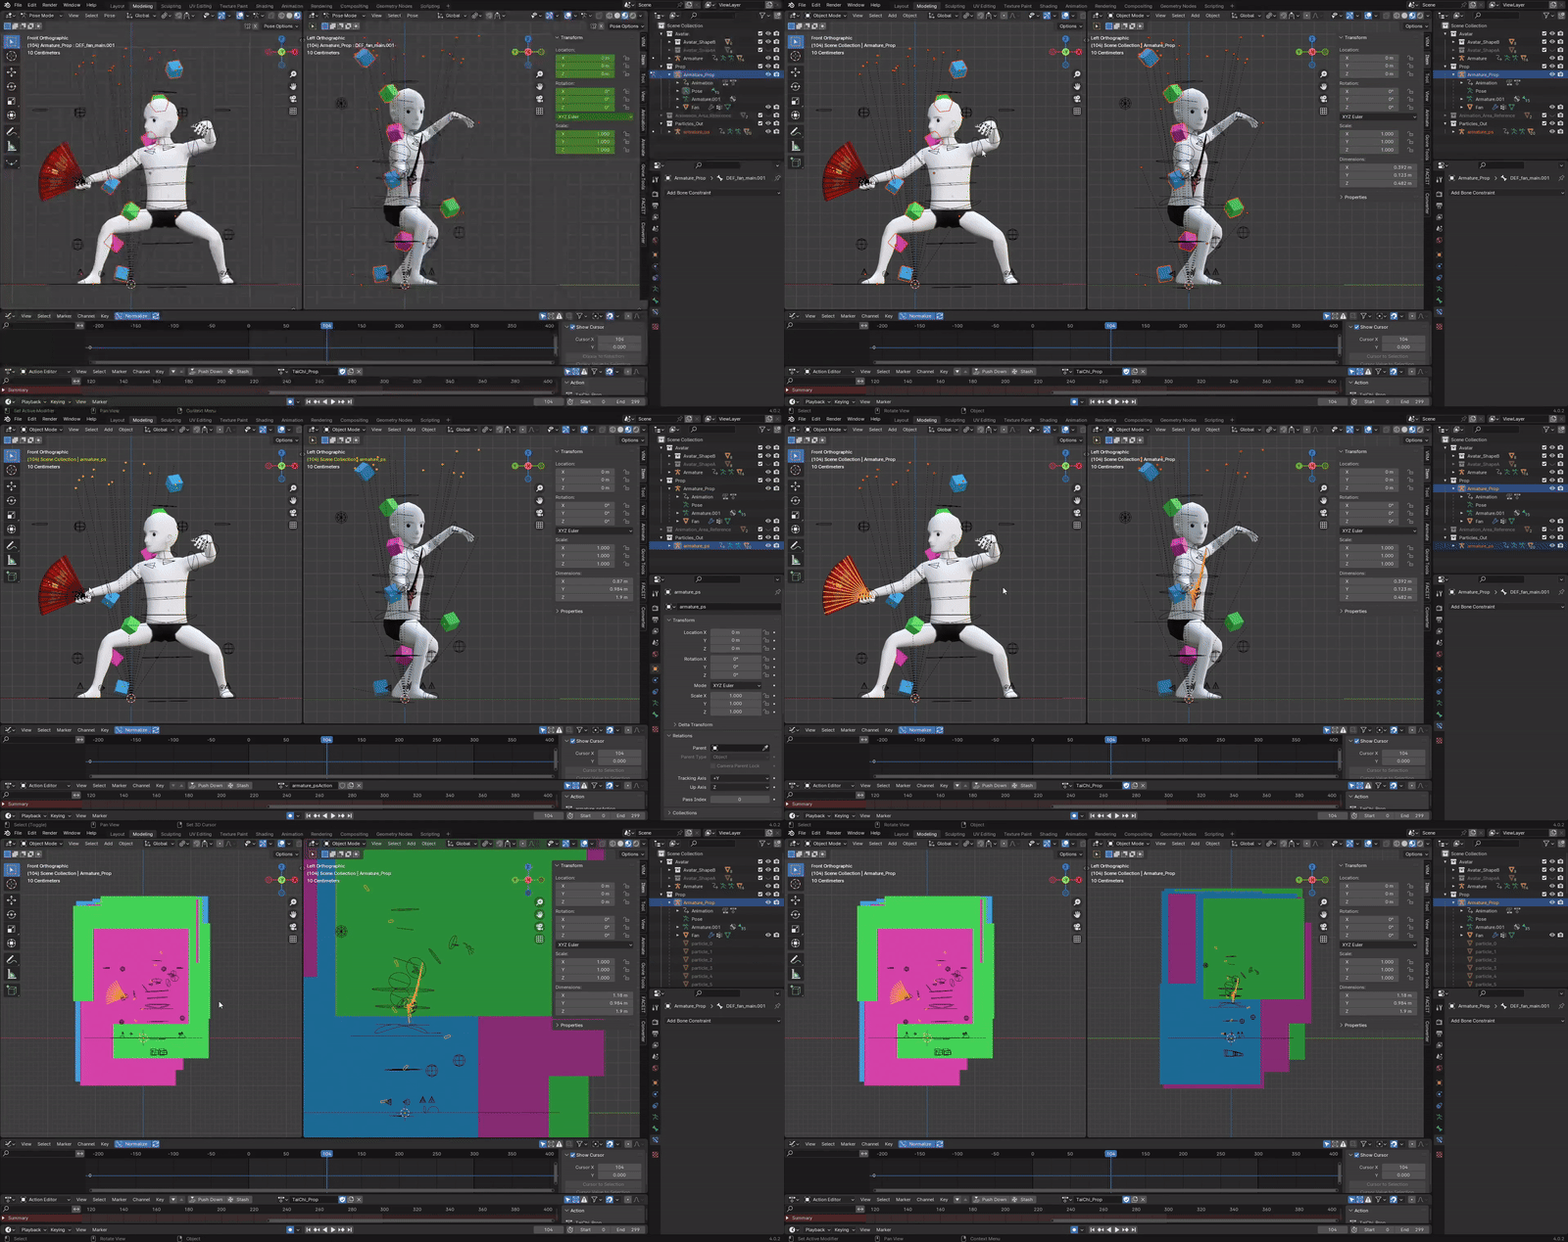
Once you do that, the particles might look messed up, but don’t worry, this is part of the process. To fix that, select each particle object on the Outliner one at a time, go into Object Properties (orange square icon) and under Relations, check if the parent is Armature_Prop. Do this for all particle objects. This means that all objects are child of Armature_Prop.
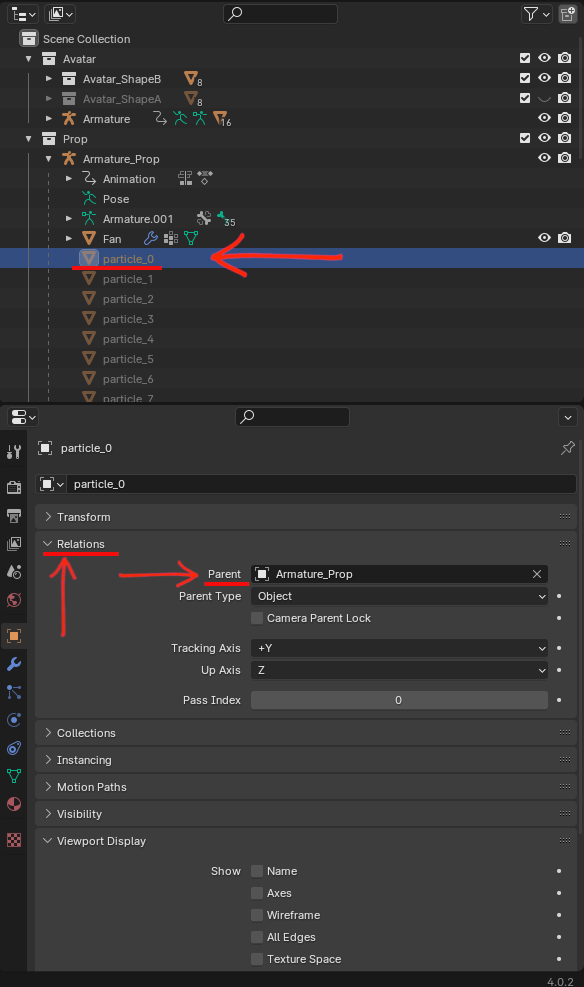
Make sure Armature_Pop is the parent for every particle object.
After doing that for all the particle objects, select the first particle object in the Outliner, go into Modifiers (the blue wrench icon) and the field Object will be empty. Since this is the Modifiers tab, that means that in here you will choose which armature will drive the object. So just click on Object and select Armature_Prop and repeat this for all the particle objects. As you do it, you will notice that the particles objects are going back to their original sizes, fixing all that mess created when the armatures were merged.
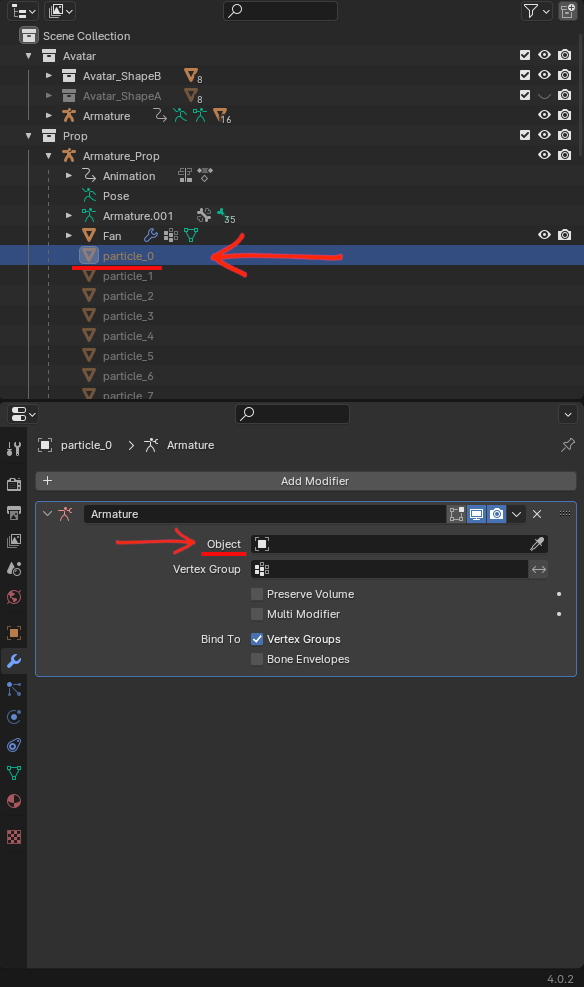
Select the proper armature to drive the objects.
Now that the armature is properly merged and set up, there’s one last step for this to work. If you try to play the animation, you will notice that the particles are not moving. And that is because now they are part of Armature_Prop, and the animation being played by it is the prop one. Remember that particles had their own animation clip? What we need to do now is copy the keyframes from particles animation clip and paste them in the prop animation clip.
To do so, go into Pose Mode and in the Outliner, expand Armature_Prop and then Pose. Select all the bones that belong to particles.
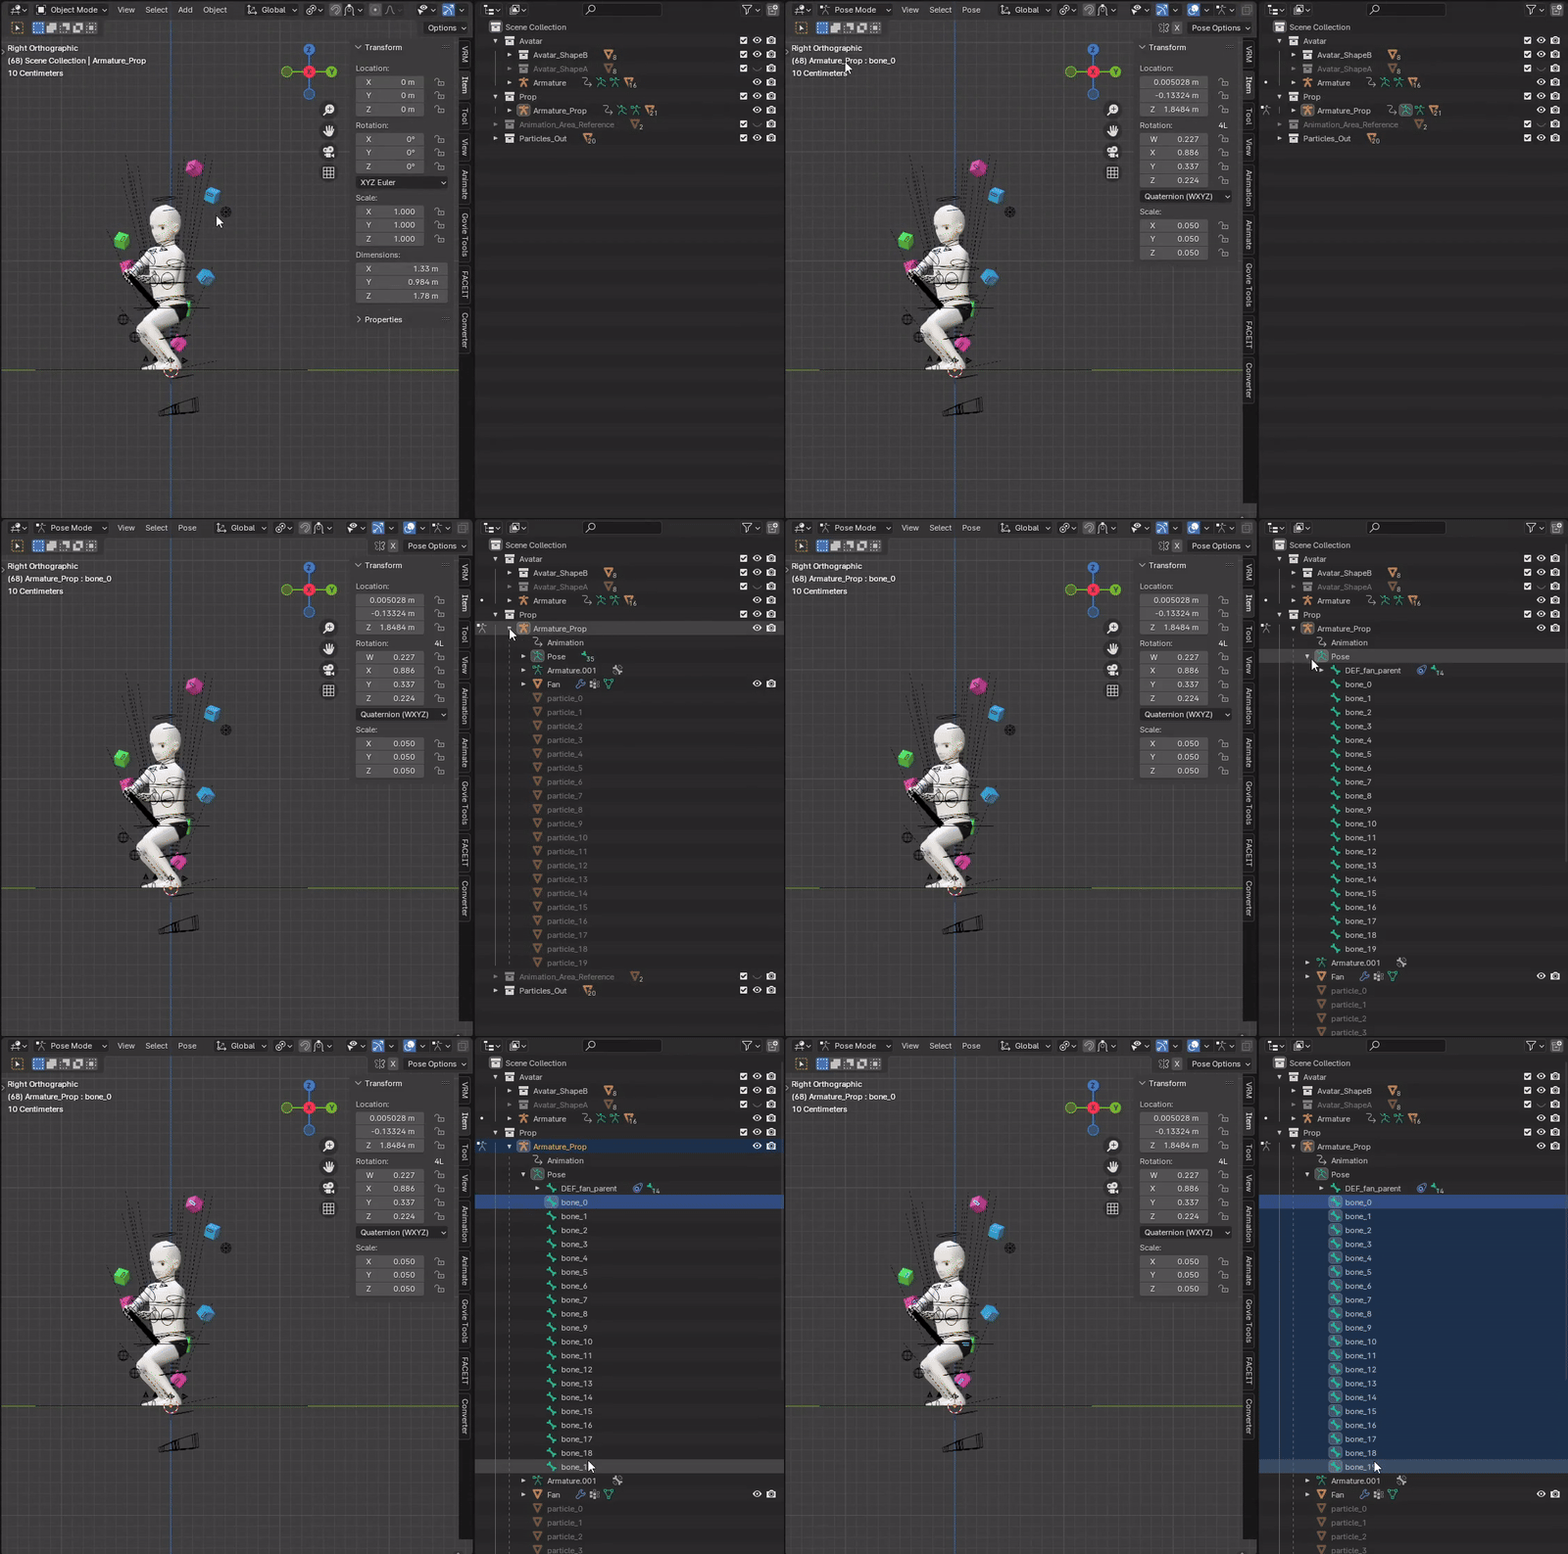
Selecting all particle bones.
With the bones selected, in the Action Editor, select the original animation clip for particles that has all the keyframes. Select all keyframes by pressing A, right click and copy the keyframes. Then, select the prop animation, set a keyframe on the first frame and paste the keyframes from particles animation clip.
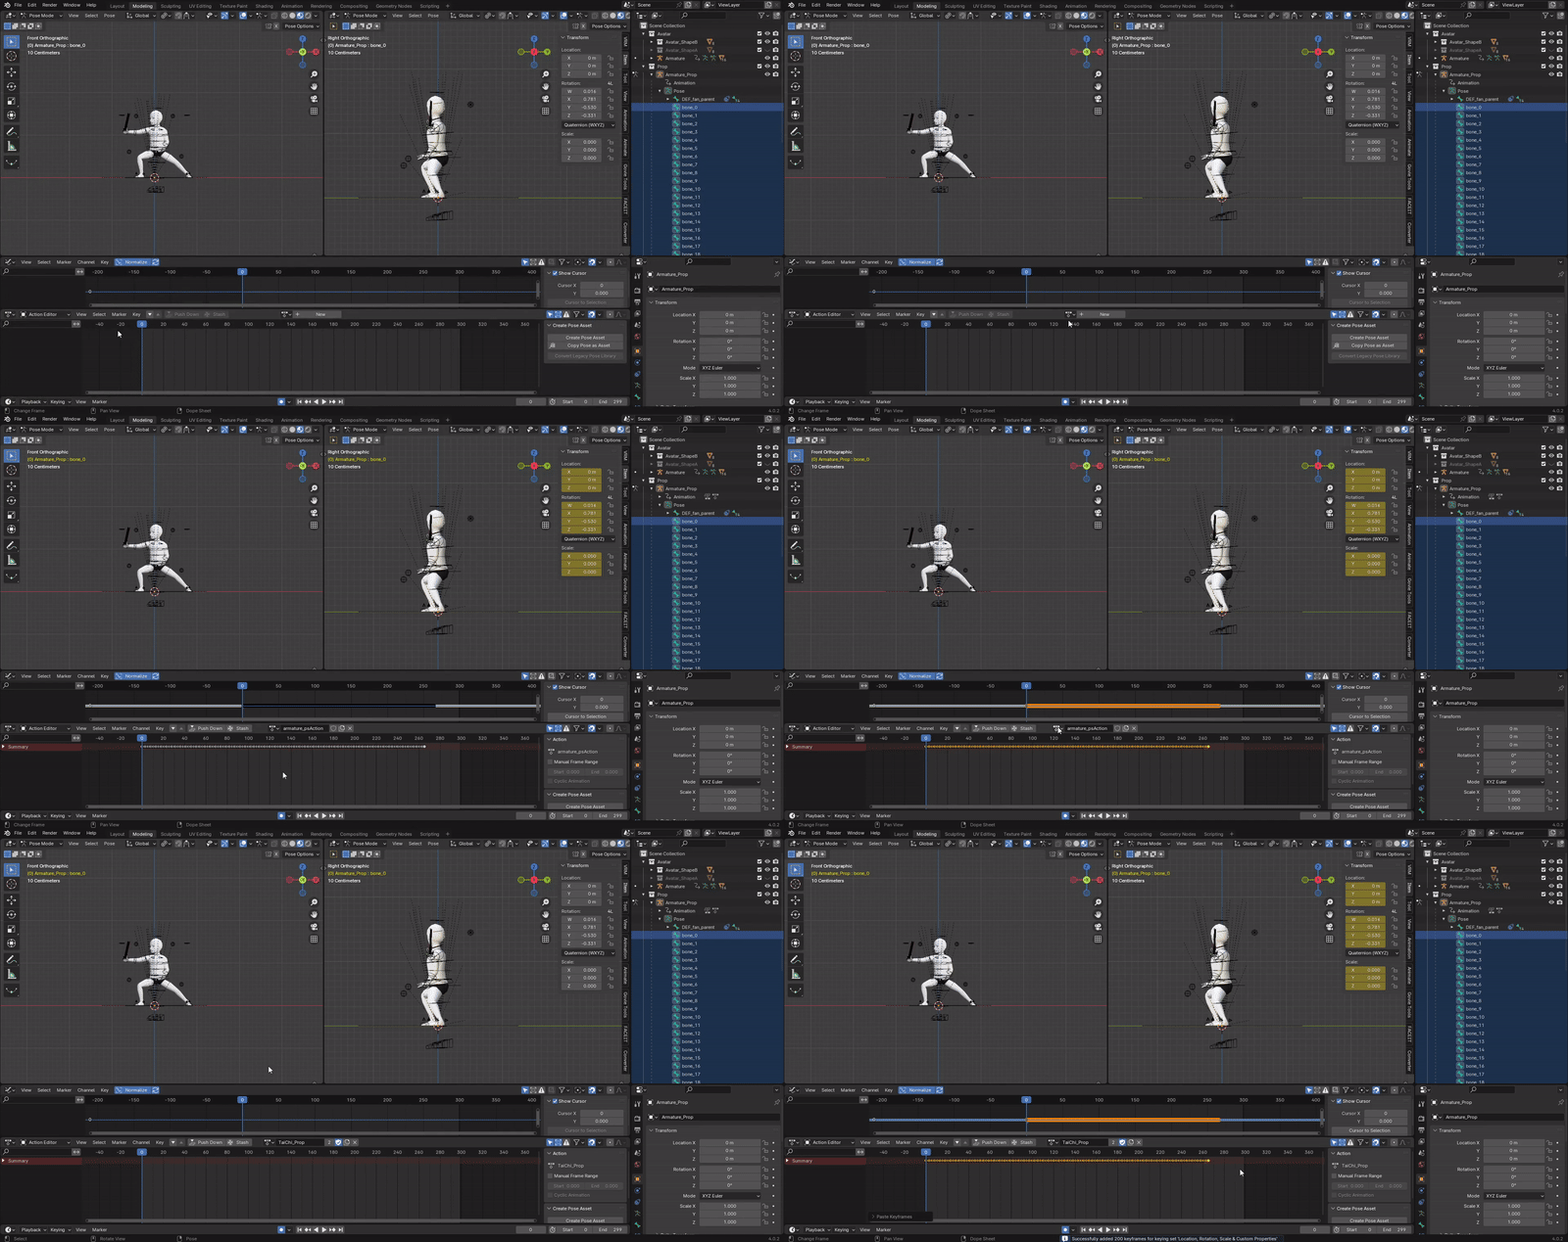
Copying frames from particles animation to prop animation.
And you’re done! Save the file, make sure to delete the original particles animation clip and export as you usually would.
If you need more info on how to do it, check the Exporting section in the Adding Props and Sounds to your Emotes documentation.