Smart Items - Basic
📔 Note: The Creator Hub is the best alternative for creating Decentraland scenes for all skill levels. It allows you to combine the easy drag-and-drop interface with the ability to customize further with code.
See About the Scene Editor .
Some of the items in the asset catalog are Smart Items. Players can interact with these, they have configurable properties, and they can trigger actions on other smart items. For example: doors that can be opened and closed, platforms that move up and down, or buttons and levers that can activate other items.
You can recognize these items in the asset pack explorer because they have a lightning icon and a different colored background.

You can recognize which items in your scene are smart because they have the lightning icon next to them in the entity tree.
Using items #
To use a smart item, drag it into the scene like any other item. All items include a default behavior, run a scene preview try it out.
Here are some common items and their default behaviors:
- Doors: Doors are opened or closed when clicked. You can change this behavior so they’re opened by buttons, trigger areas, etc.
- Buttons: When clicked, they play sound and an animation as feedback. Add more actions to their trigger events to activate other smart items.
- Levers: When clicked, they switch between two states. Make each position of the lever perform different actions on other smart items.
- Chests: They behave like doors, by default are opened or closed when clicking. You can place smaller items inside them.
- Platforms: They move between two positions. Use their tween actions to control where they move to, their speed, etc.
- Trigger area: An invisible item that can trigger other smart items when the player walks into its area. See About trigger areas .
- Video Player: A screen for showing videos or live streams. See Playing Videos .
- Audio Stream: Play audio from a live stream. See Playing Audio Streams
- NFT: Display an NFT image as a portrait. See Displaying NFTs
All smart items can be configured to behave in custom ways. For example how far a platform moves, or what a button activates.
📔 Note: Smart items are available on both the web editor, and the Creator Hub.
Configure an item #
Select an item in the Web Editor to view all of its properties on the right.
Some typical fields you can find in many items are:
- Hover text: What text is displayed on the UI as a hint when the player passes their cursor over the item. For example a door might say “Open”
- Interaction: With what button is the item activated? On a typical keyboard:
- Primary is E
- Secondary is F
- Pointer is Mouse Left Button
- Action3 is key 1
- Action4 is key 2
- Action5 is key 3
- Action6 is key 4
- When clicked: Select what action is carried out when the item is interacted with, using the button from the Interaction field. You can activate as many actions as you want, these can be actions on that same item, or on other items too.
Each item has its own specific settings, that may vary from one item to another.
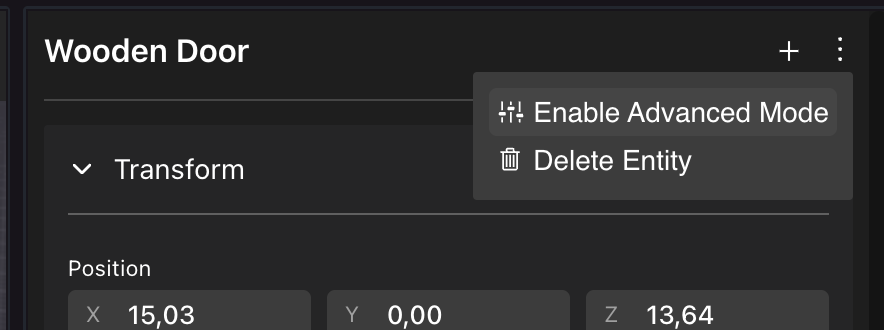
All items have an Advanced Mode that lets you configure almost anything about them. This includes things like what sounds are played, or in what direction a platform moves. You can also add custom actions that include all kinds of things, like teleporting the player, playing avatar animations, attaching an item to the player’s hands, etc. You can also add conditional logic, to only activate something in certain scenarios. See Smart Items - Advanced .
Referencing other items #
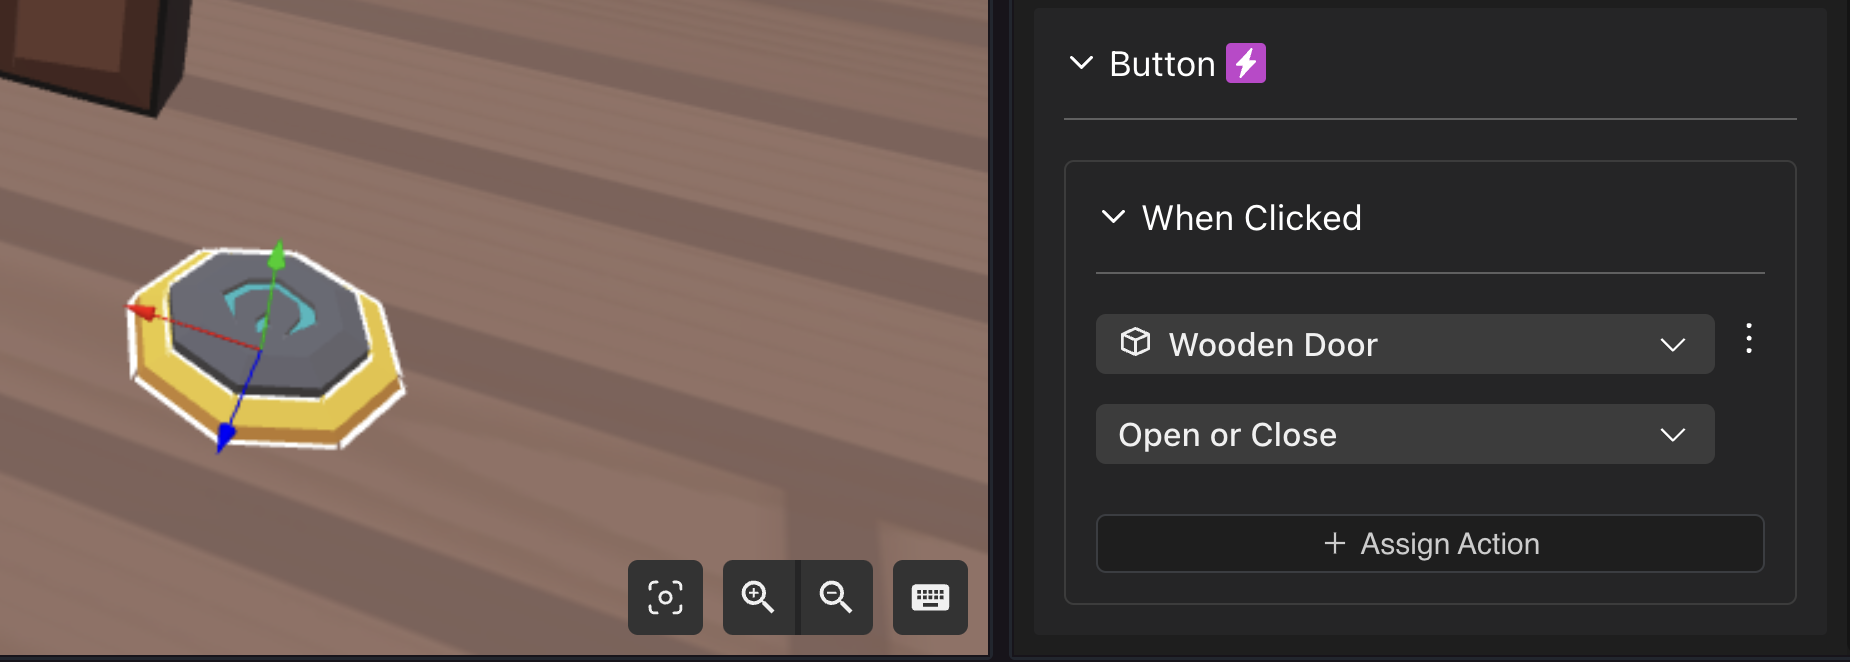
You can call another’s item’s actions, so that they happen every time the item is activated. Just select the item you want to call, from a list of all items in the scene, then select an action. Different items expose different actions.
For example here’s a button that opens or closes a door. Each time the button is pressed, the door will either open or close.
Here’s a lever that opens a door when activated, and closes that door when deactivated.
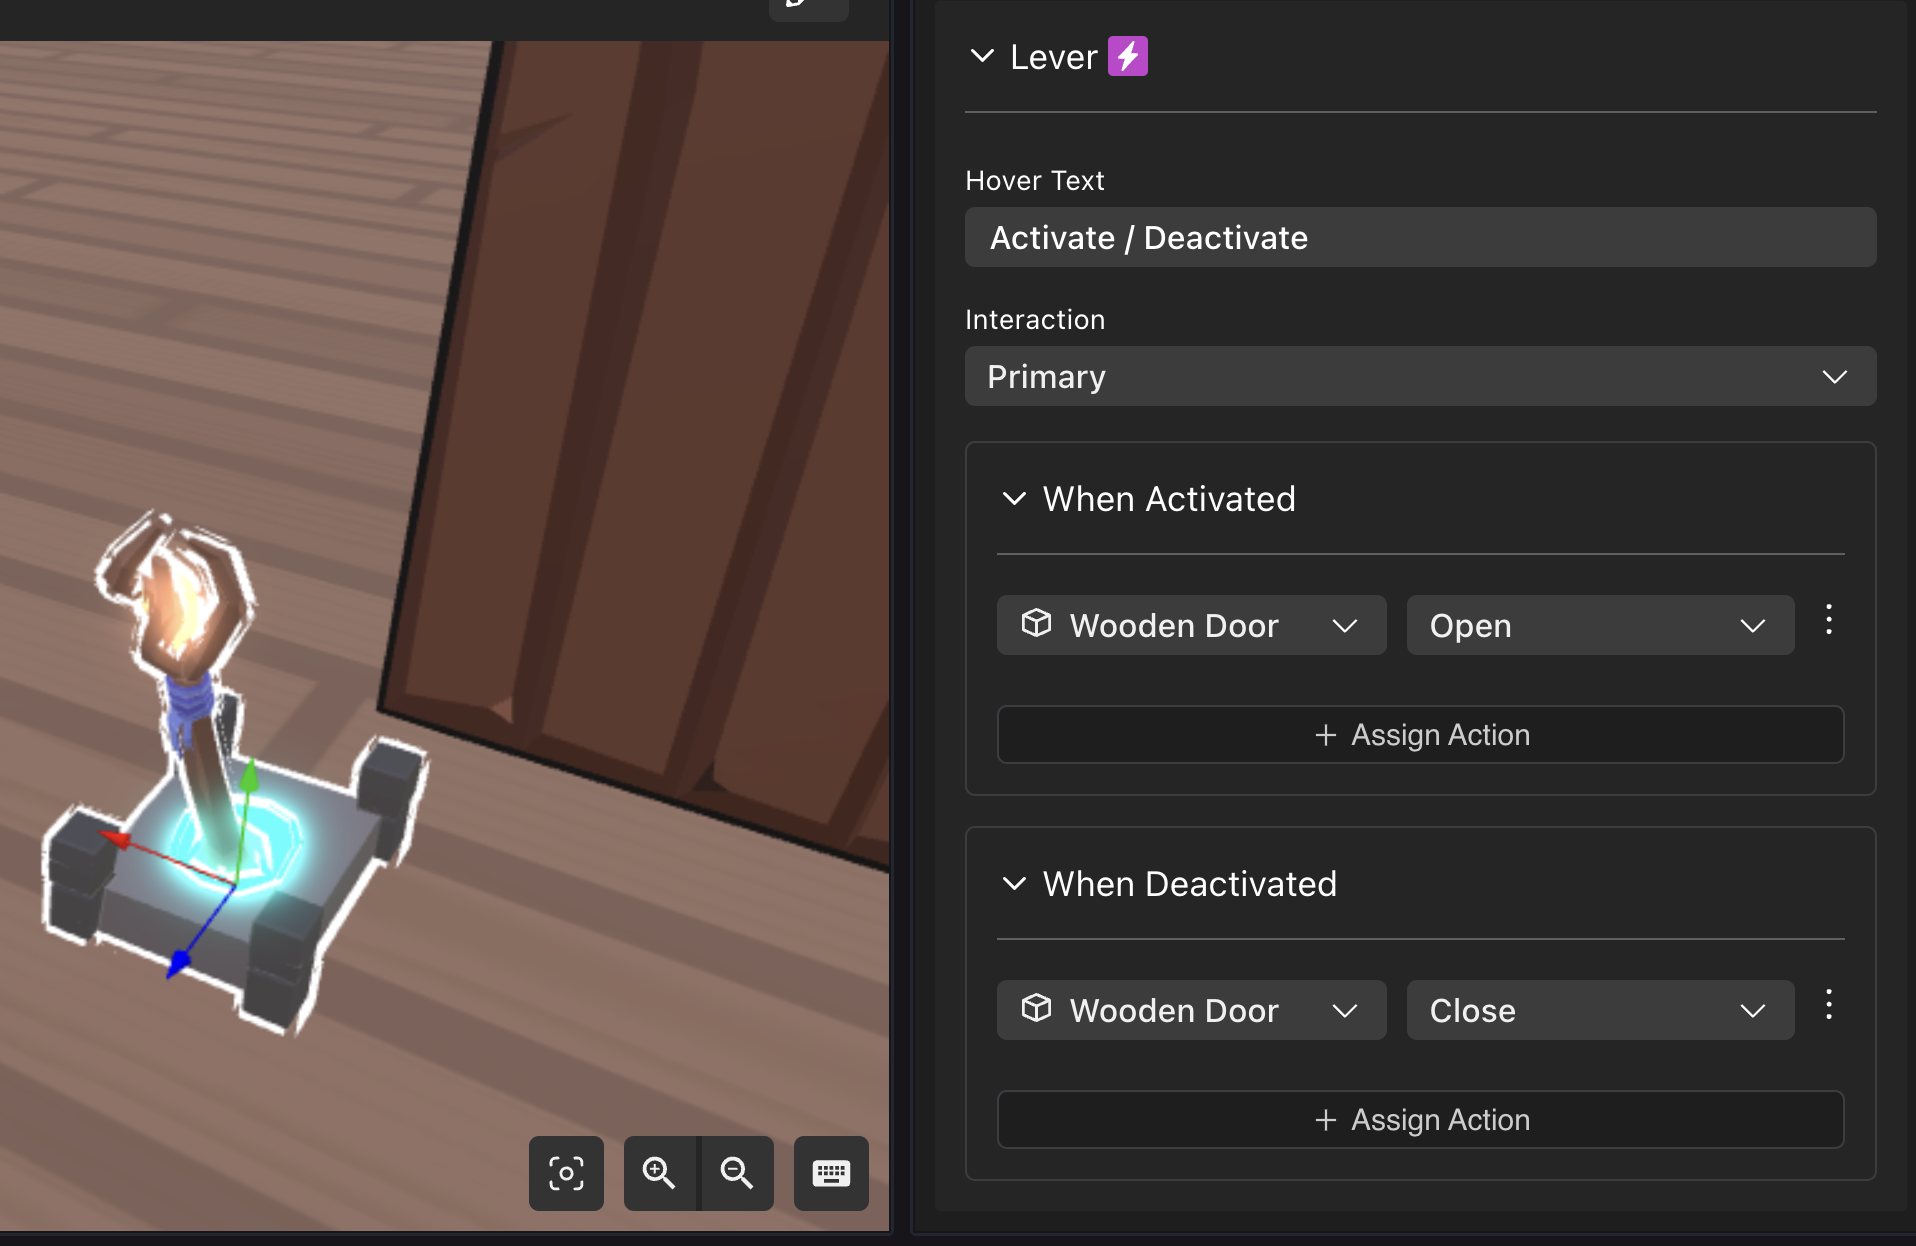
You can add as many different actions from different items to be triggered together. Just click + Assign Action.
You can also chain actions. For example, if the door that is opened by the lever includes an action in its own When Opened field, this action will also be triggered.
If you use the Advanced mode you can also add conditional logic to these kinds of actions.
About Trigger areas #
To trigger an action when the player walks into or out of an area, use the Trigger Area smart item. The is is an invisible item , the orange cube is only visible in the web editor, it becomes invisible when running a preview of the scene. You can easily adjust and scale the orange cube to cover exactly the area you need.

Use the On Player Enters Area and On Player Leaves Area trigger types on the item’s Triggers components. The actions on these trigger events are activated every time that the player enters or leaves the area.
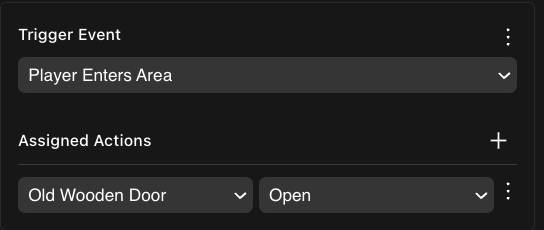
📔 Note: You can also use On Player Enters Area and On Player Leaves Area trigger events on any other smart item, but keep in mind that it can be challenging to know the area covered by the trigger.
The size of the triggerable area doesn’t relate to the item’s visible shape or its colliders, it’s always a cube of 1m on each side, affected by the scale of the item.
Playing videos #
Play videos from either:
- Local files: Upload a video file as part of the scene, then point the URL field to the path to that file.
- Stream from a URL: Point to a live or pre-recorded stream on the web, for example from Vimeo.
📔 Note: You can’t stream a video from YouTube or similar sites, as these only allow displaying their content in their branded HTML widget. See See About External Streaming for options and tips.
- Stream live from DCL Cast: This simplified service lets you easily set up a live stream as a scene owner. See Decentraland Cast .
There are two options for when to play a video:
-
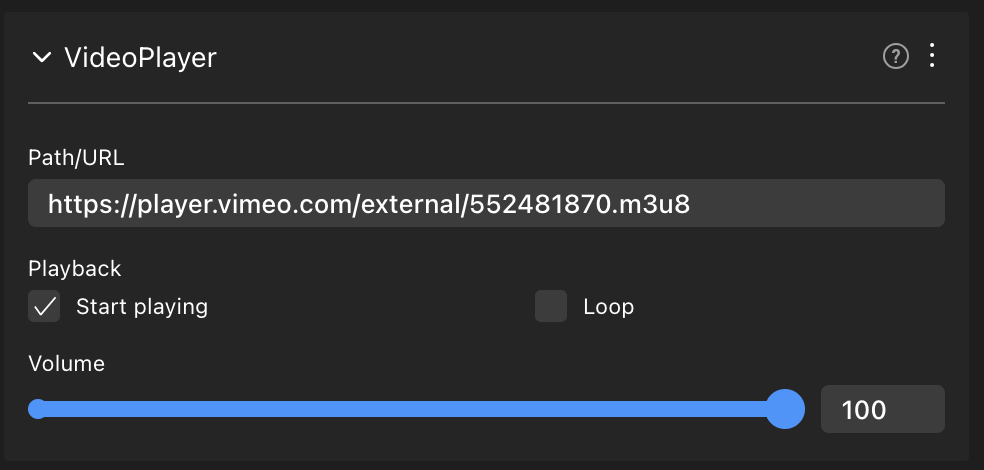
Configure the Video Player component of the item directly. This makes the video start playing as soon as the scene loads.
-
Define an Action of type Play Video Stream. This lets you trigger the playing of the video as the result of a player interaction, like walking into a room, or pushing a button. See Smart Items - Advanced .
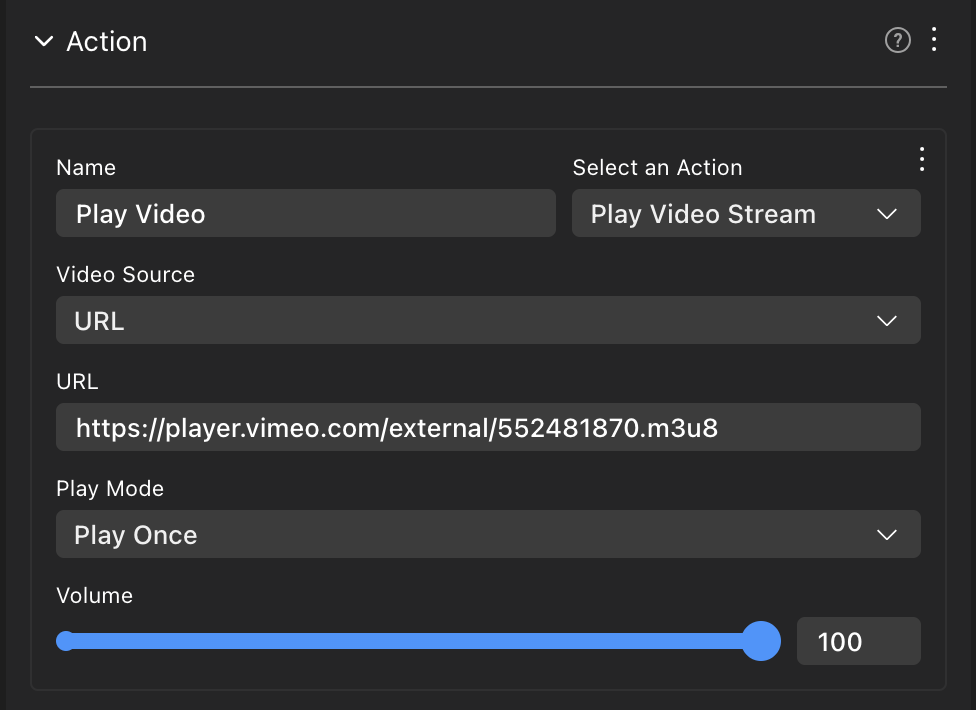
You can configure the volume of the video’s sounds. Note that the audio from the stream is not positional, it is heard at an even volume through all your scene.
You can also configure the video to either loop or play once.
📔 Note: Avoid playing more than one video at any given time in your scene, because it can severely impact performance for players. Always stop other videos before playing a second video.
Playing audio streams #
Play an audio stream from a URL, using hte Audio Stream smart item.
📔 Note: Not all streaming services allow you to play their audio outside their site. The following are some examples that work in Decentraland:
GRAFFITI =
	'https://n07.radiojar.com/2qm1fc5kb.m4a?1617129761=&rj-tok=AAABeIR7VqwAilDFeUM39SDjmw&rj-ttl=5'
DELTA = 'https://cdn.instream.audio/:9069/stream?_=171cd6c2b6e'
You can adjust the volume of your stream. Note that the audio from the stream is not positional, it is heard at an even volume through all your scene.
Displaying NFTs #
To display an NFT on a picture frame, use the NFT smart item. You must provide the following fields:
- Network
📔 Note: Currently ethereum is the only supported network.
- NFT Collection Contract: The smart contract for the NFT collection.
- Token ID: The token ID of this particular NFT collectible.
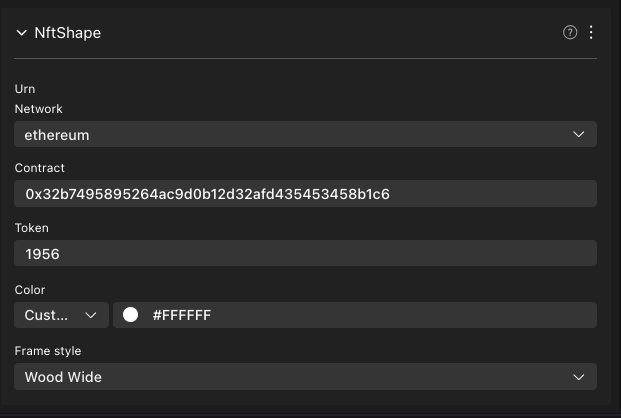
You can obtain this information from OpenSea , by checking the Details tab under the NFT image.
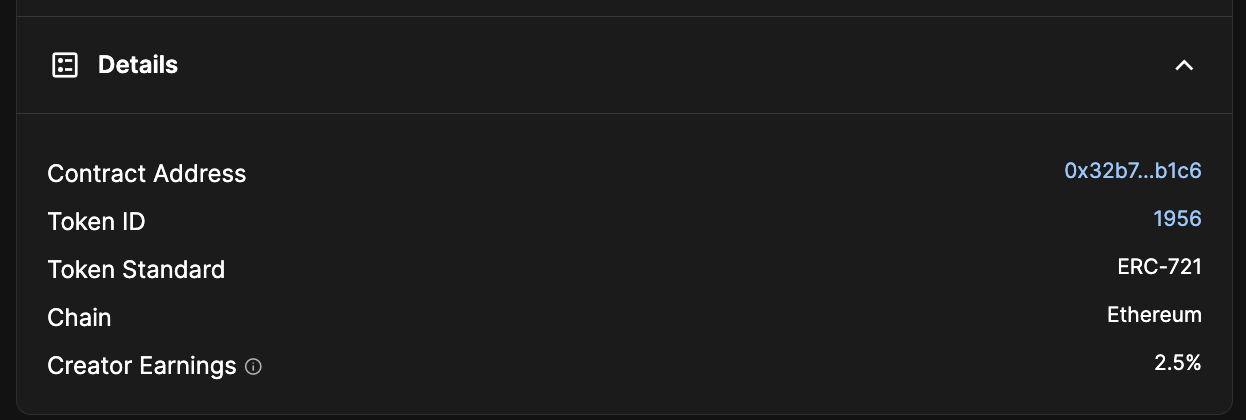
📔 Note: You can also obtain this information from the opensea URL. For example, if the NFT’s URL is the following:
https://opensea.io/assets/ethereum/0x32b7495895264ac9d0b12d32afd435453458b1c6/1956You can complete the fields with the following:
- Network: ethereum
- Contract: 0x32b7495895264ac9d0b12d32afd435453458b1c6
- Token: 1956
You can also configure a background color, this is particularly useful for NFTs with a transparent background.
You can also chose a Frame style, to frame the NFT in a variety of different styles, classic and modern.
See Display an NFT for more details.
Multiplayer #
All smart items are multiplayer by default. This means that if multiple players are in the scene, the changes that one player does are seen by all other players. For example, if one player opens a door, all other players see it open too.
Note that the state of the item is only kept as long as there are players in the scene. If all players go away, the door will revert back to its default closed state.
By default, all items share their updates on only the components that are relevant to their normal behavior. You can change this in the Advanced View .
Health bars #
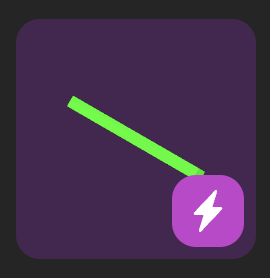
The Health Bar smart item is a great building block for several game mechanics. It can be used in various ways:
-
Nest it under the Player to display the player’s health over the avatar

-
Nest it under the Camera to display it fixed on the UI

-
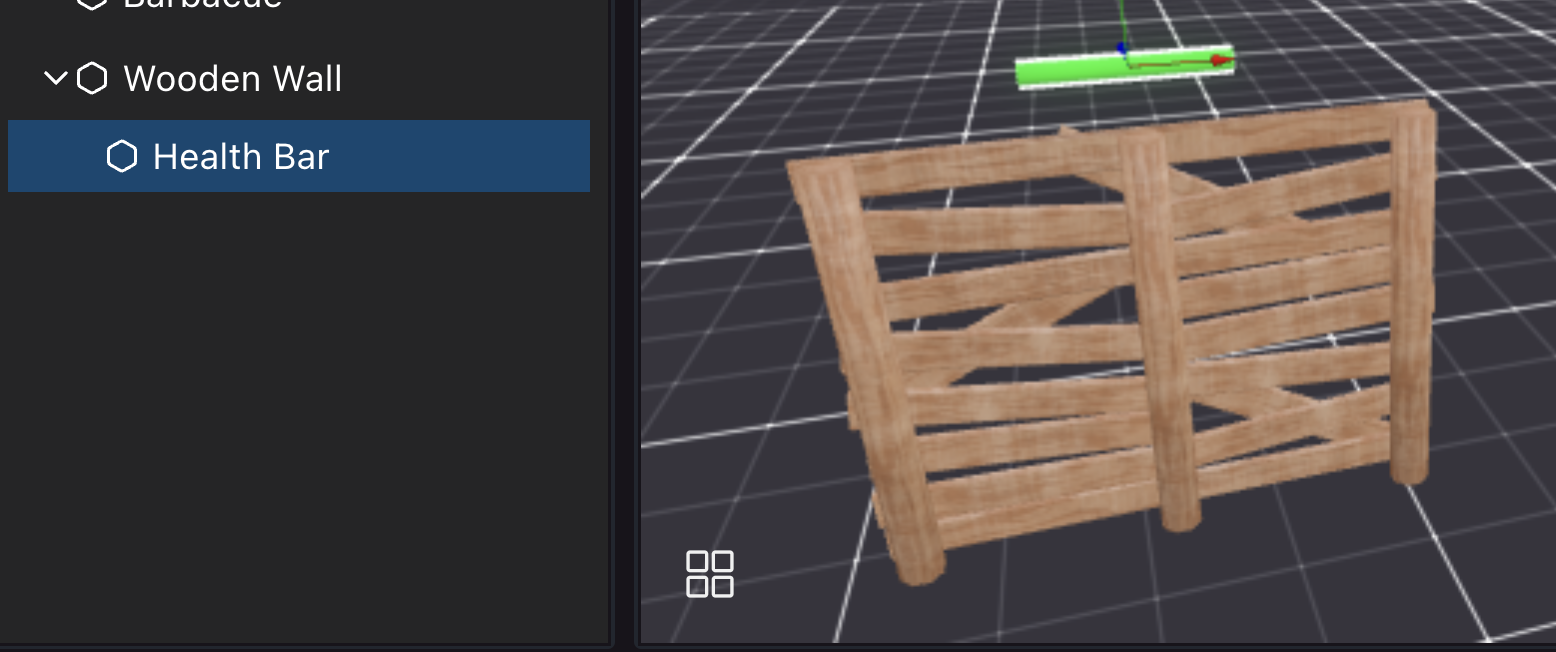
Nest it under literally any item in the scene to keep track of that item’s health
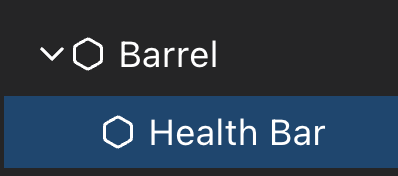
Other items can interact with the health bar to add of subtract health from it.
-
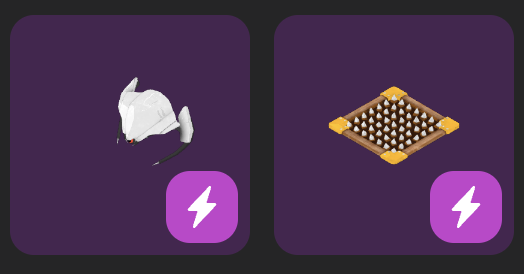
Items like the Spikes or Robot Enemy can lower health
-
items like First Aid or the Healing Pad can restore it.
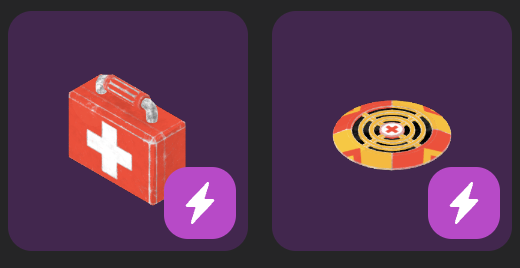
You must configure the Health Bar to define what will happen when the health equals 0. You might respawn the player to the position of a Respawn Pad smart item, reset the counter for their score, respawn any enemies, display a UI text, or whatever makes sense in your game logic.
You can also trigger actions when the health is lower than a certain value, for example play a special music or show a UI hint when health is less than 3.
Health bars can be configured to affect anything! For example, add a health bar nested under the Wooden Door smart item. This bar can have its health lowered by the player using the Sword smart item, but also from an explosion from the Barrel or the attack of the Robot Enemy. For this to work, configure the health bar so that it performs an action on its parent item when its value is 0.
Weapons like the Sword can be picked up by the player, and then used to cause damage on any other item with a health bar that’s near the player when performing the action.
Invisible items #
Some items are not meant to be seen by the player, but are visible while editing your scene to make them easier to manage. This is the case for items like Ambience, Trigger Area, Click Area, etc.
📔 Note: In the advanced mode, these items have a Visibility component set to invisible. This component doesn’t affect the visibility of the items on the web editor, but any item set to invisible isn’t seen by players when running a preview.
Using smart items on VS Studio #
Smart items work out of the box on the Web Editor and in the Creator Hub .
When using the Creator Hub, you can combine smart items with behavior from custom code. See Export to desktop to see how you can transition your Web Editor projects to the Creator Hub on your machine, and edit the scene’s code.