Move entities
❗Warning: This is a legacy page covering functionality with the old SDK version 6. See the latest version of this topic here .
To move, rotate or resize an entity in your scene, change the position, rotation and scale values stored in an entity’s Transform component incrementally, frame by frame. This can be used on primitive shapes (cubes, spheres, planes, etc) as well as on 3D models (glTF).
You can easily perform these incremental changes by moving entities a small amount each time the update() function of a
system
is called.
💡 Tip: You can use the helper functions in the utils library to achieve most of the tasks described in this doc. The code shown in these examples is handled in the background by the library, so in most cases it only takes a single line of code to use them.
Move #
The easiest way to move an entity is to use the translate() function to change the position value stored in the Transform component.
export class SimpleMove implements ISystem {
	update() {
		let transform = myEntity.getComponent(Transform)
		let distance = Vector3.Forward().scale(0.1)
		transform.translate(distance)
	}
}

engine.addSystem(new SimpleMove())

const myEntity = new Entity()
myEntity.addComponent(new Transform())
myEntity.addComponent(new BoxShape())

engine.addEntity(myEntity)
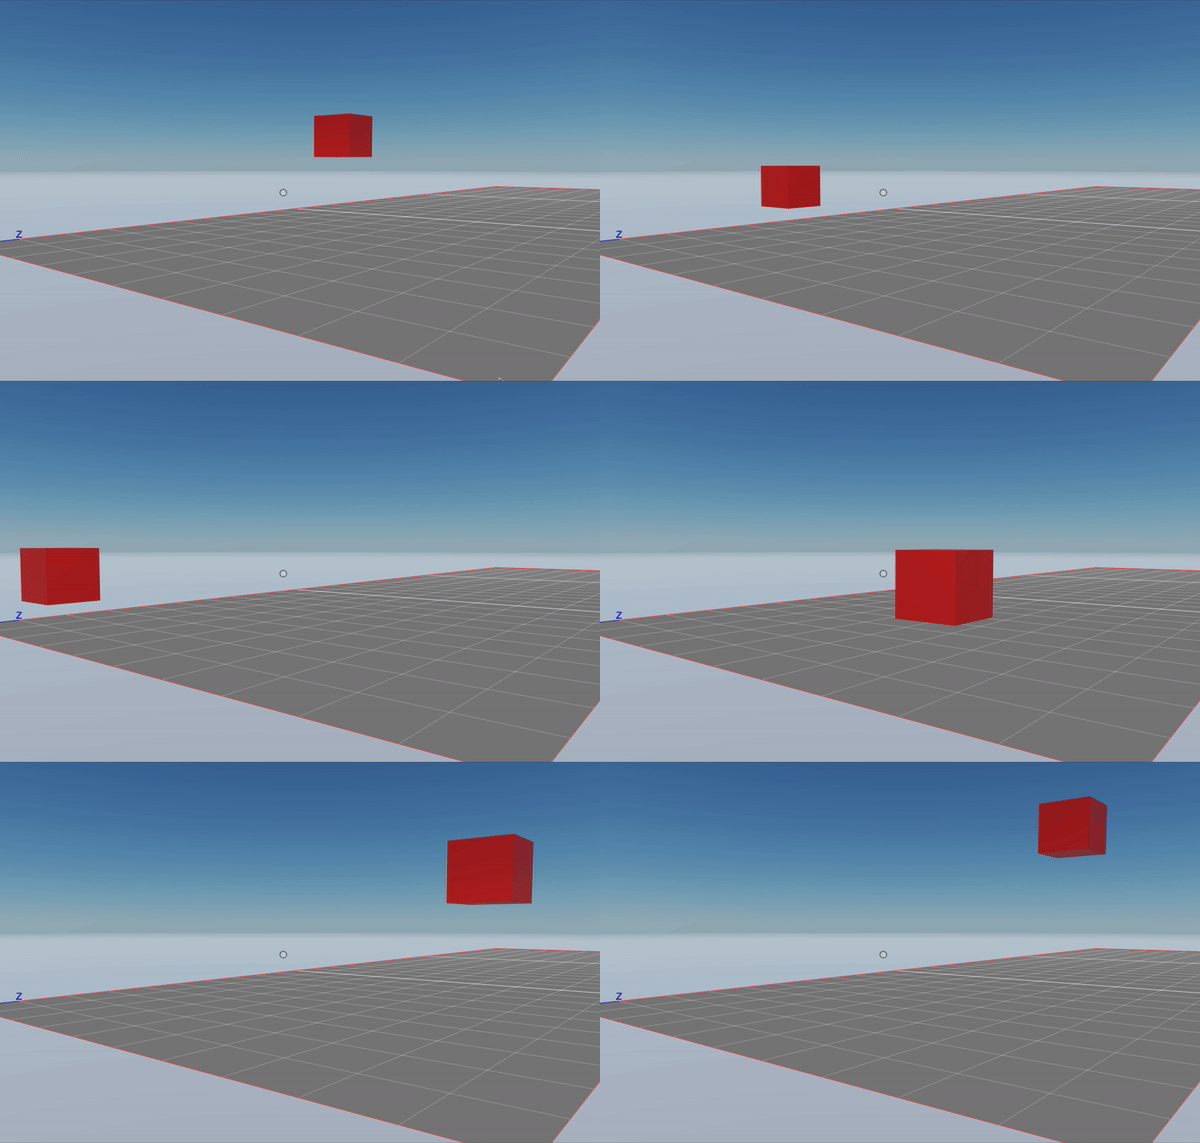
In this example we’re moving an entity by 0.1 meters per frame.
Vector3.Forward() returns a vector that faces forward and measures 1 meter in length. In this example we’re then scaling this vector down to 1/10 of its length with scale(). If our scene has 30 frames per second, the entity is moving at 3 meters per second in speed.
Rotate #
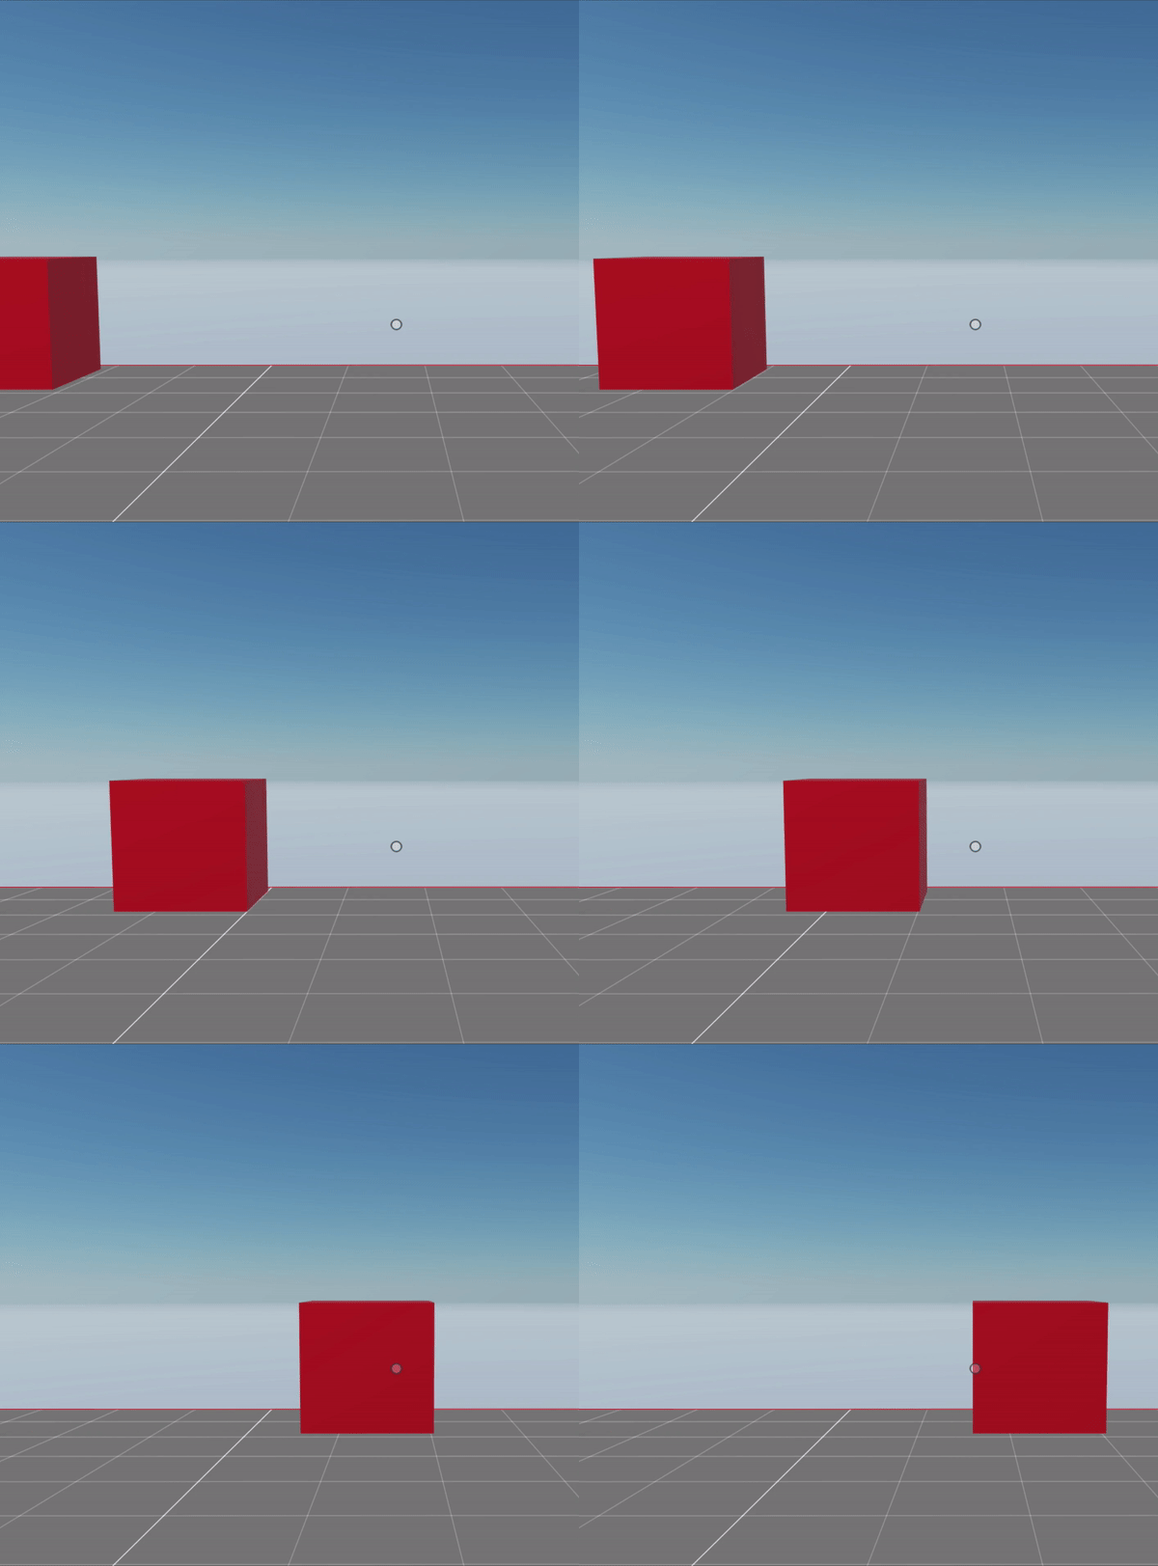
The easiest way to rotate an entity is to use the rotate() function to change the values in the Transform component incrementally, and run this as part of the update() function of a system.
The rotate() function takes two arguments:
- The direction in which to rotate (as a Vector3)
- The amount to rotate, in euler degrees (from 0 to 360)
export class SimpleRotate implements ISystem {
	update() {
		let transform = myEntity.getComponent(Transform)
		transform.rotate(Vector3.Left(), 3)
	}
}

engine.addSystem(new SimpleRotate())

const myEntity = new Entity()
myEntity.addComponent(new Transform())
myEntity.addComponent(new BoxShape())

engine.addEntity(myEntity)
💡 Tip: To make an entity always rotate to face the player, you can add a
Billboard component
.

Rotate over a pivot point #
When rotating an entity, the rotation is always in reference to the entity’s center coordinate. To rotate an entity using another set of coordinates as a pivot point, create a second (invisible) entity with the pivot point as its position and make it a parent of the entity you want to rotate.
When rotating the parent entity, its children will be all rotated using the parent’s position as a pivot point. Note that the position of the child entity is in reference to that of the parent entity.
// Create entity you wish to rotate
const myEntity = new Entity()
myEntity.addComponent(new BoxShape())

// Create the pivot entity
const pivot = new Entity()

// Position the pivot entity on the pivot point of the rotation
pivot.addComponent(
	new Transform({
		position: new Vector3(3, 2, 3),
	})
)

// add pivot entity
engine.addEntity(pivot)

// Set pivot as the parent
myEntity.setParent(pivot)

// Position child in reference to parent
myEntity.addComponent(
	new Transform({
		position: new Vector3(0, 0.5, 0.5),
	})
)

// Define a system that updates the rotation on every frame
export class PivotRotate implements ISystem {
	update() {
		let transform = pivot.getComponent(Transform)
		transform.rotate(Vector3.Left(), 3)
	}
}

// Add the system
engine.addSystem(new PivotRotate())
Note that in this example, the system is rotating the pivot entity, that’s a parent of the door entity.
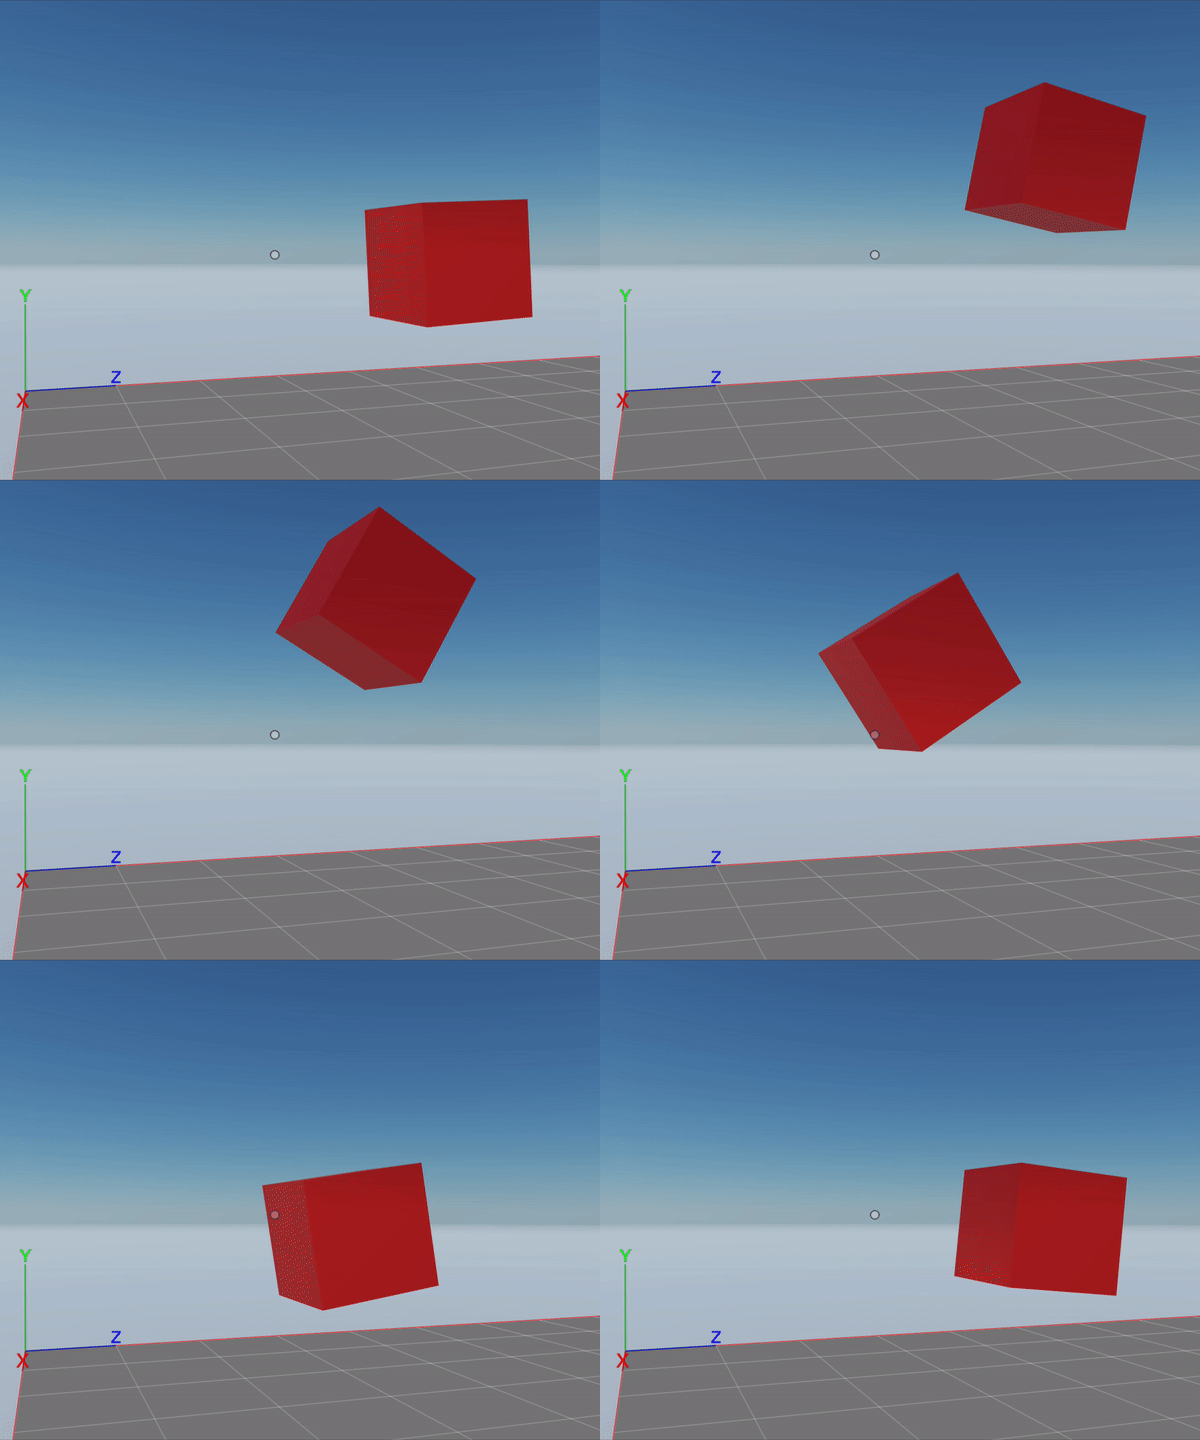
📔 Note: Child entities should not be explicitly added to the engine, as they are already added via their parent entity.
Adjust movement to delay time #
Suppose that the player visiting your scene is struggling to keep up with the pace of the frame rate. That could result in the movement appearing jumpy, as not all frames are evenly timed but each moves the entity in the same amount.
You can compensate for this uneven timing by using the dt parameter to adjust the scale the movement.
export class SimpleMove implements ISystem {
	update(dt: number) {
		let transform = myEntity.getComponent(Transform)
		let distance = Vector3.Forward.scale(dt * 3)
		transform.translate(distance)
	}
}
// (...)
The example above keeps movement at approximately the same speed as the movement example above, even if the frame rate drops. When running at 30 frames per second, the value of dt is 1/30.
You can also smoothen rotations in the same way by multiplying the rotation amount by dt.
Move between two points #
If you want an entity to move smoothly between two points, use the lerp (linear interpolation) algorithm. This algorithm is very well known in game development, as it’s really useful.
The lerp() function takes three parameters:
- The vector for the origin position
- The vector for the target position
- The amount, a value from 0 to 1 that represents what fraction of the translation to do.
const originVector = Vector3.Zero()
const targetVector = Vector3.Forward()

let newPos = Vector3.Lerp(originVector, targetVector, 0.6)
The linear interpolation algorithm finds an intermediate point in the path between both vectors that matches the provided amount.
For example, if the origin vector is (0, 0, 0) and the target vector is (10, 0, 10):
- Using an amount of 0 would return (0, 0, 0)
- Using an amount of 0.3 would return (3, 0, 3)
- Using an amount of 1 would return (10, 0, 10)
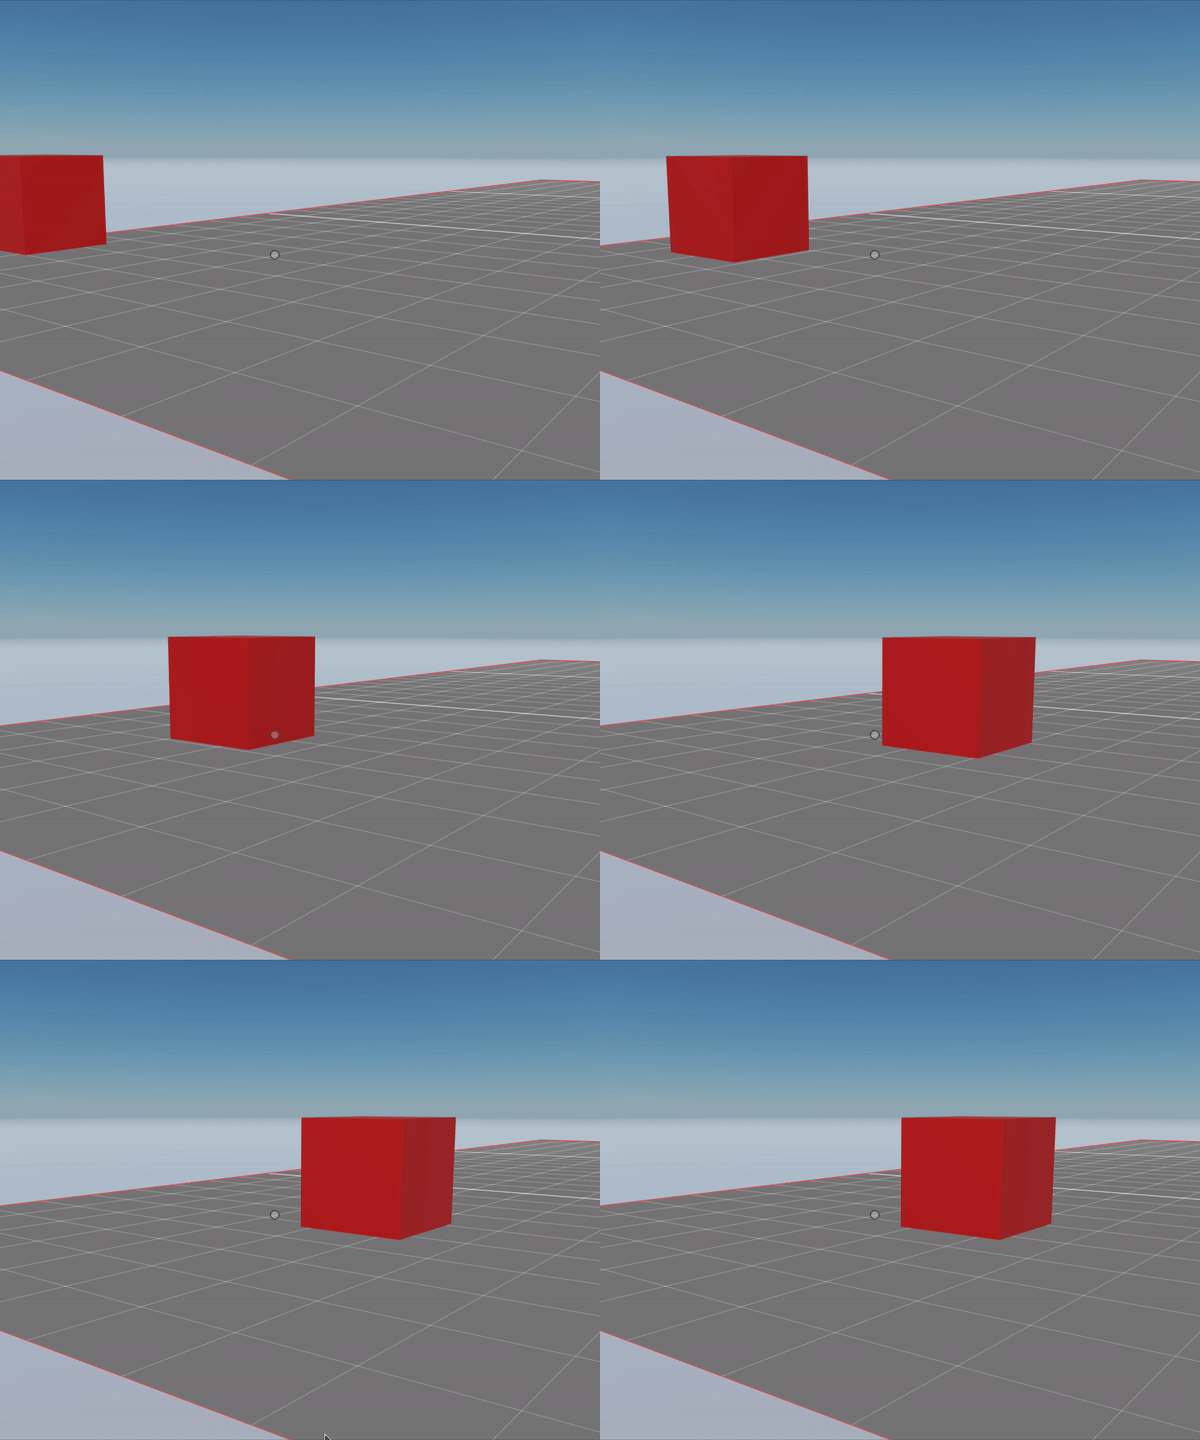
To implement this lerp() in your scene, we recommend creating a custom component to store the necessary information. You also need to define a system that implements the gradual movement in each frame.
@Component('lerpData')
export class LerpData {
	origin: Vector3 = Vector3.Zero()
	target: Vector3 = Vector3.Zero()
	fraction: number = 0
}

// a system to carry out the movement
export class LerpMove implements ISystem {
	update(dt: number) {
		let transform = myEntity.getComponent(Transform)
		let lerp = myEntity.getComponent(LerpData)
		if (lerp.fraction < 1) {
			transform.position = Vector3.Lerp(lerp.origin, lerp.target, lerp.fraction)
			lerp.fraction += dt / 6
		}
	}
}

// Add system to engine
engine.addSystem(new LerpMove())

const myEntity = new Entity()
myEntity.addComponent(new Transform())
myEntity.addComponent(new BoxShape())

myEntity.addComponent(new LerpData())
myEntity.getComponent(LerpData).origin = new Vector3(1, 1, 1)
myEntity.getComponent(LerpData).target = new Vector3(8, 1, 3)

engine.addEntity(myEntity)
Rotate between two angles #
To rotate smoothly between two angles, use the slerp (spherical linear interpolation) algorithm. This algorithm is very similar to a lerp, but it handles quaternion rotations.
The slerp() function takes three parameters:
- The quaternion angle for the origin rotation
- The quaternion angle for the target rotation
- The amount, a value from 0 to 1 that represents what fraction of the translation to do.
💡 Tip: You can pass rotation values in
euler
degrees (from 0 to 360) by using Quaternion.Euler().
const originRotation = Quaternion.Euler(0, 90, 0)
const targetRotation = Quaternion.Euler(0, 0, 0)

let newRotation = Quaternion.Slerp(originRotation, targetRotation, 0.6)
To implement this in your scene, we recommend storing the data that goes into the Slerp() function in a custom component. You also need to define a system that implements the gradual rotation in each frame.
@Component('slerpData')
export class SlerpData {
	originRot: Quaternion = Quaternion.Euler(0, 90, 0)
	targetRot: Quaternion = Quaternion.Euler(0, 0, 0)
	fraction: number = 0
}

// a system to carry out the rotation
export class SlerpRotate implements ISystem {
	update(dt: number) {
		let slerp = myEntity.getComponent(SlerpData)
		let transform = myEntity.getComponent(Transform)
		if (slerp.fraction < 1) {
			let rot = Quaternion.Slerp(
				slerp.originRot,
				slerp.targetRot,
				slerp.fraction
			)
			transform.rotation = rot
			slerp.fraction += dt / 5
		}
	}
}

// Add system to engine
engine.addSystem(new SlerpRotate())

const myEntity = new Entity()
myEntity.addComponent(new Transform())
myEntity.addComponent(new BoxShape())

myEntity.addComponent(new SlerpData())
myEntity.getComponent(SlerpData).originRot = Quaternion.Euler(0, 90, 0)
myEntity.getComponent(SlerpData).targetRot = Quaternion.Euler(0, 0, 0)

engine.addEntity(myEntity)
📔 Note: You could instead represent the rotation withVector3values and use aLerp()function, but that would imply a conversion fromVector3toQuaternionon each frame. Rotation values are internally stored as quaternions in theTransformcomponent, so it’s more efficient to work with quaternions.
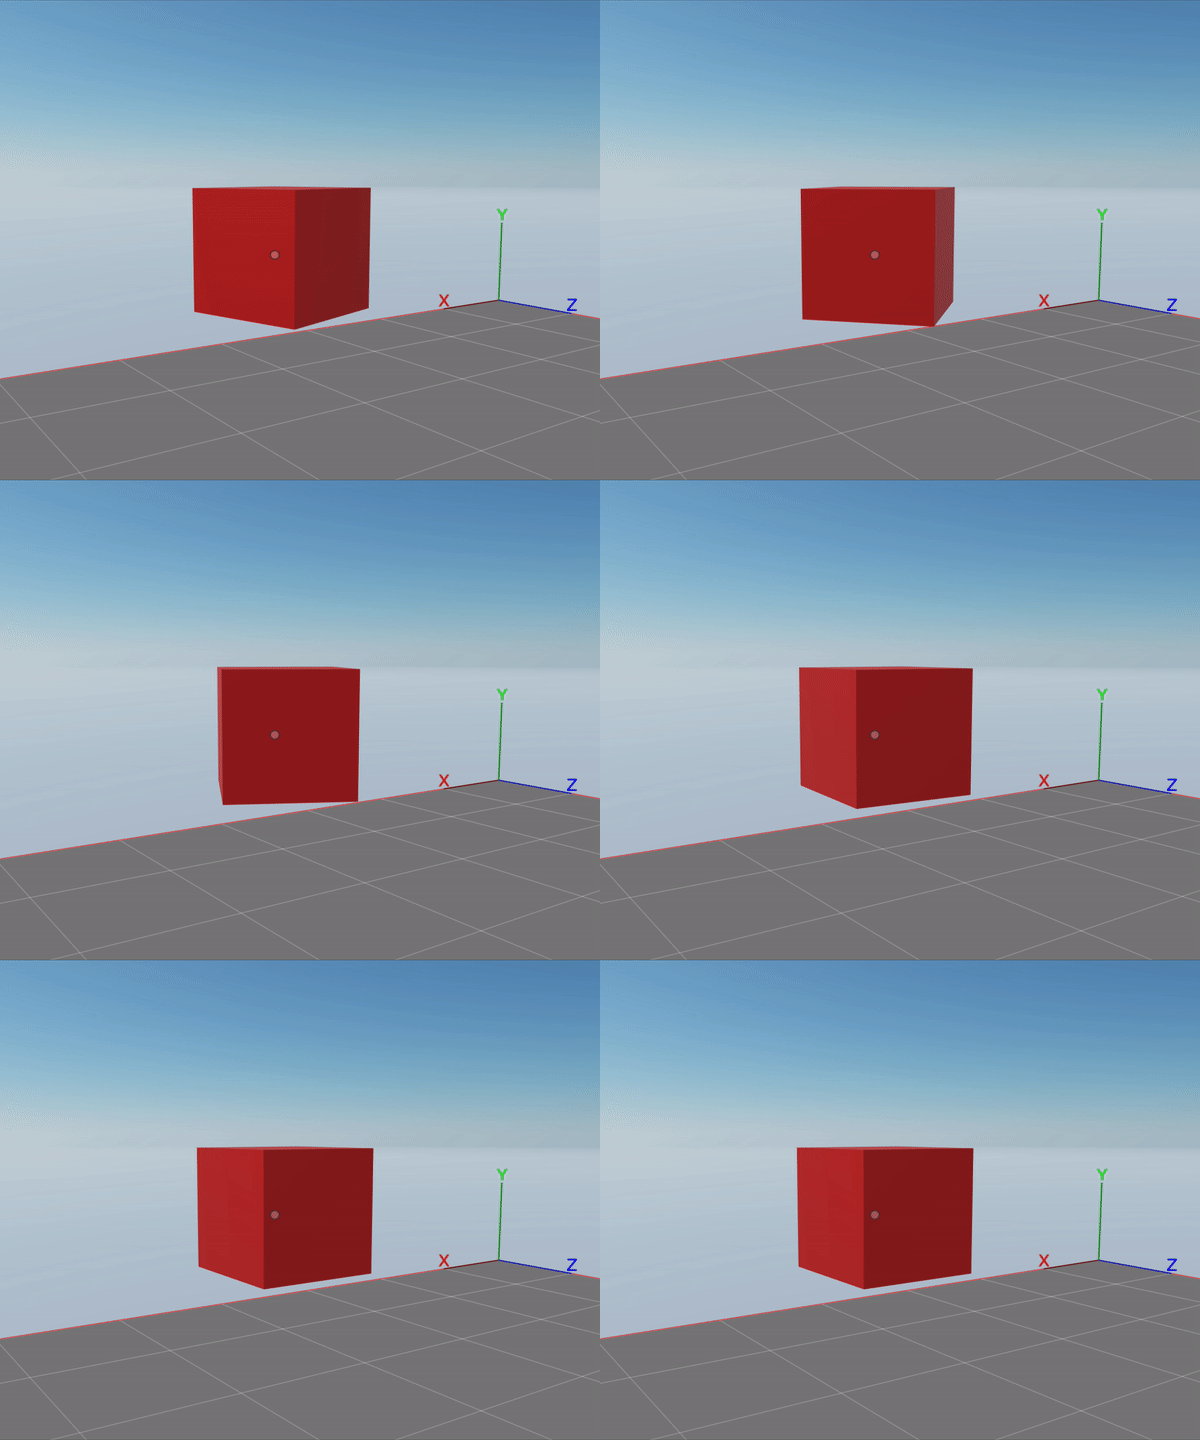
Change scale between two sizes #
If you want an entity to change size smoothly and without changing its proportions, use the lerp (linear interpolation) algorithm of the Scalar object.
Otherwise, if you want to change the axis in different proportions, use Vector3 to represent the origin scale and the target scale, and then use the lerp function of the Vector3.
The lerp() function of the Scalar object takes three parameters:
- A number for the origin scale
- A number for the target scale
- The amount, a value from 0 to 1 that represents what fraction of the scaling to do.
const originScale = 1
const targetScale = 10

let newScale = Scalar.Lerp(originScale, targetScale, 0.6)
To implement this lerp in your scene, we recommend creating a custom component to store the necessary information. You also need to define a system that implements the gradual scaling in each frame.
@Component('lerpData')
export class LerpSizeData {
	origin: number = 0.1
	target: number = 2
	fraction: number = 0
}

// a system to carry out the movement
export class LerpSize implements ISystem {
	update(dt: number) {
		let transform = myEntity.getComponent(Transform)
		let lerp = myEntity.getComponent(LerpSizeData)
		if (lerp.fraction < 1) {
			let newScale = Scalar.Lerp(lerp.origin, lerp.target, lerp.fraction)
			transform.scale.setAll(newScale)
			lerp.fraction += dt / 6
		}
	}
}

// Add system to engine
engine.addSystem(new LerpSize())

const myEntity = new Entity()
myEntity.addComponent(new Transform())
myEntity.addComponent(new BoxShape())

myEntity.addComponent(new LerpSizeData())
myEntity.getComponent(LerpSizeData).origin = 0.1
myEntity.getComponent(LerpSizeData).target = 2

engine.addEntity(myEntity)
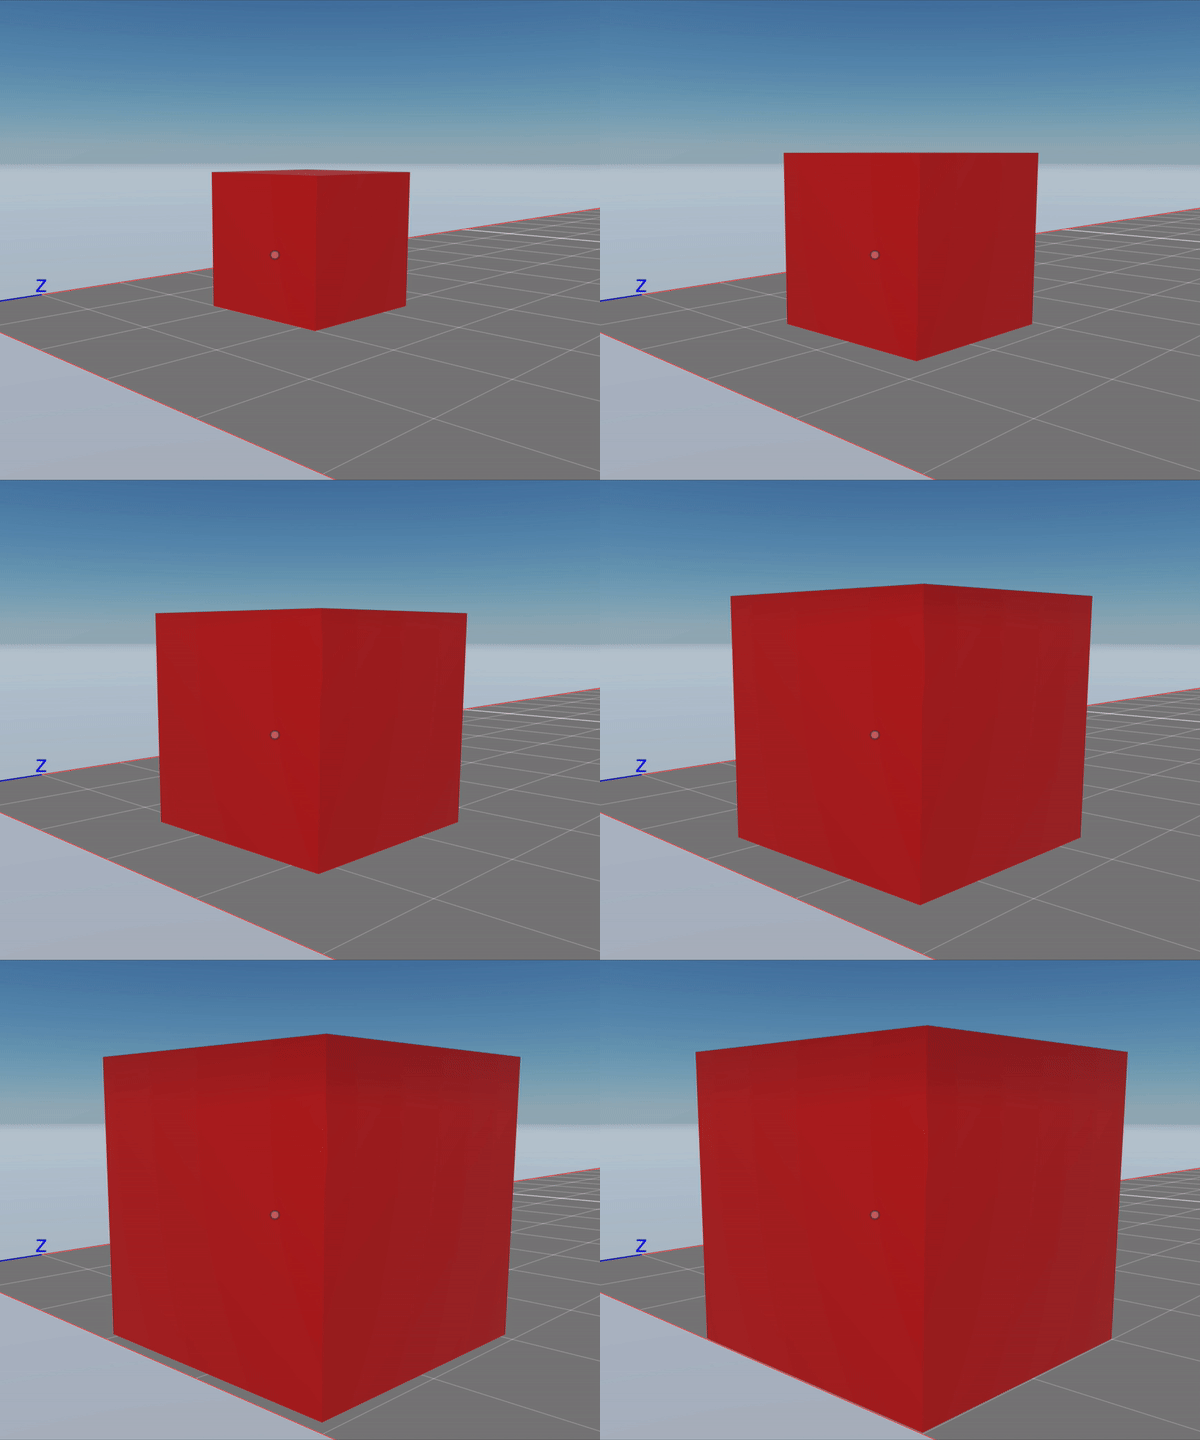
Move at irregular speeds between two points #
While using the lerp method, you can make the movement speed non-linear. In the previous example we increment the lerp amount by a given amount each frame, but we could also use a mathematical function to increase the number exponentially or in other measures that give you a different movement pace.
You could also use a function that gives recurring results, like a sine function, to describe a movement that comes and goes.
@Component('lerpData')
export class LerpData {
	origin: Vector3 = Vector3.Zero()
	target: Vector3 = Vector3.Zero()
	fraction: number = 0
}

export class LerpMove implements ISystem {
	update(dt: number) {
		let transform = myEntity.getComponent(Transform)
		let lerp = myEntity.getComponent(LerpData)
		lerp.fraction += (dt + lerp.fraction) / 10
		transform.position = Vector3.Lerp(lerp.origin, lerp.target, lerp.fraction)
	}
}

// Add system to engine
engine.addSystem(new LerpMove())
The example above is just like the linear lerp example we’ve shown before, but the fraction field is increased in a non-linear way, resulting in a curve moves the entity by greater increments on each frame.
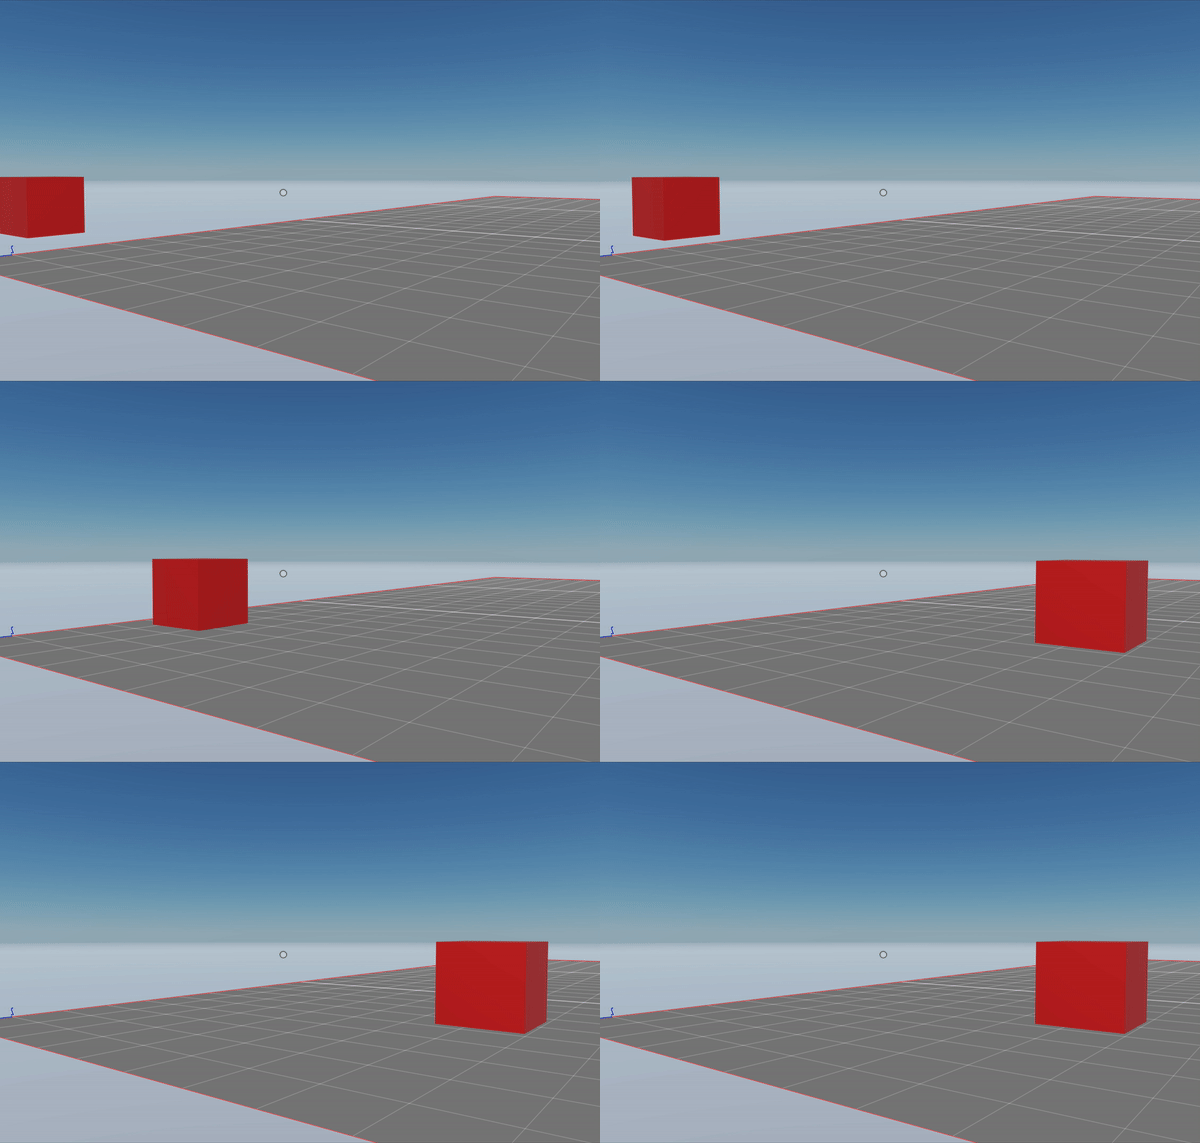
Follow a path #
A Path3 object stores a series of vectors that describe a path. You can have an entity loop over the list of vectors, performing a lerp movement between each.
const point1 = new Vector3(1, 1, 1)
const point2 = new Vector3(8, 1, 3)
const point3 = new Vector3(8, 4, 7)
const point4 = new Vector3(1, 1, 7)

const myPath = new Path3D([point1, point2, point3, point4])

@Component('pathData')
export class PathData {
	origin: Vector3 = myPath.path[0]
	target: Vector3 = myPath.path[1]
	fraction: number = 0
	nextPathIndex: number = 1
}

export class PatrolPath implements ISystem {
	update(dt: number) {
		let transform = myEntity.getComponent(Transform)
		let path = myEntity.getComponent(PathData)
		if (path.fraction < 1) {
			transform.position = Vector3.Lerp(path.origin, path.target, path.fraction)
			path.fraction += dt / 6
		} else {
			path.nextPathIndex += 1
			if (path.nextPathIndex >= myPath.path.length) {
				path.nextPathIndex = 0
			}
			path.origin = path.target
			path.target = myPath.path[path.nextPathIndex]
			path.fraction = 0
		}
	}
}

engine.addSystem(new PatrolPath())

const myEntity = new Entity()
myEntity.addComponent(new Transform())
myEntity.addComponent(new BoxShape())
myEntity.addComponent(new PathData())

engine.addEntity(myEntity)
The example above defines a 3D path that’s made up of four 3D vectors. We also define a custom PathData component, that includes the same data used by the custom component in the lerp example above, but adds a nextPathIndex field to keep track of what vector to use next from the path.
The system is very similar to the system in the lerp example, but when a lerp action is completed, it sets the target and origin fields to new values. If we reach the end of the path, we return to the first value in the path.
