
Editing Scenes
The Creator Hub includes a powerful Scene Editor that combines a simple no-code interface with the ability to write code to customize your scenes further.
See Creator Hub Installation to get started.
Create a scene #
To create a new scene, open the Creator Hub and press the Create scene button.

You can then select what template to use as a starting point. You can pick a blank scene or a project with some initial content.
Then you’ll be asked to name your scene, and choose a location to save it.
See Manage scenes for more details.
Moving around #
To find your way around the Scene Editor:
- Use A and W to move close or far. You can also use the mouse scroll wheel, or + and - keys
- Use S and D to move sideways.
- Use Q and E to move up and down.
- Use the Left Mouse Button to click and select items and to move them around.
- Use the Right Mouse Button and drag to rotate the camera.
💡 Tip: You can also rotate the camera by pressing Alt on Windows, or Option on Mac while dragging. This is especially handy when using a trackpad instead of a mouse.
- Press Space bar to reset the camera back to the default position
Add items #
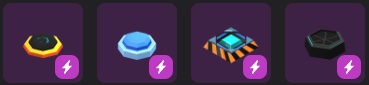
Navigate the themed asset pack categories on the menu on the bottom to find different items that you can place on your scene.

To place an item, click and drag it in from the asset pack menu into a location on your scene in the canvas.
Click and drag a selected item to move it freely around the scene at ground level. See Scene editor essentials for more details.
💡 Tip: Some items are Smart items, these come with built-in interactive behaviors. See Smart items for more details.
Preview #
To test your scene and experience it like a player, click the Preview button on the top-right corner. This will open a new window with the Decentraland Desktop Explorer, running just your scene. There you can move around the scene and interact with interactive items.
📔 Note: If you don’t have it installed on your machine, download the Decentraland Launcher from Decentraland.org .
Configure different preview options from the dropdown menu next to the Preview button:
- Open Console Window During Preview: Opens a new window with the console output of the scene. This is useful to debug errors in the scene.
- Skip Auth Screen: Skips the account selection screen and automatically logs you in with your currently logged in account. This is disabled by default, enable it if you want to test multiple accounts.
- Landscape Terrain Enabled: Toggles the landscape around the scene. This is enabled by default, disable it to lower the scene’s memory footprint.
Scene settings #
Click the Pencil icon on the top-right of the screen. This opens a series of scene-level properties to edit, including name, thumbnail, scene size, and more.
See Scene Settings for more details.
Publish your scene #
Once you’re happy with your scene, press Publish scene.
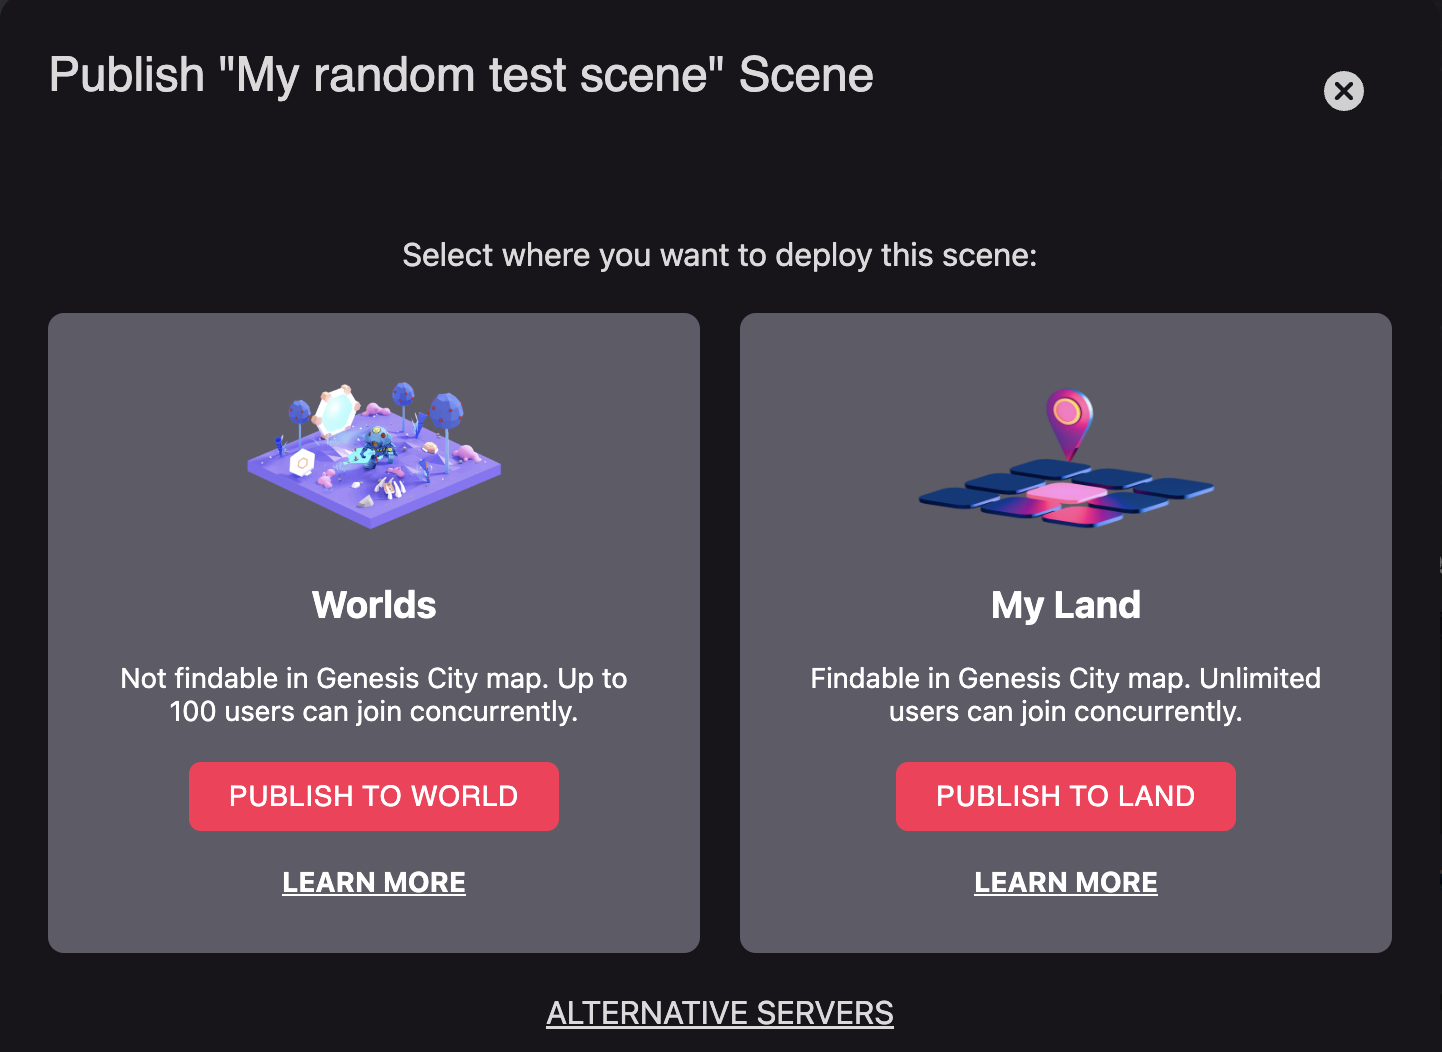
See Publish scene for more details.
See also #
- See Scene Editor Essentials for more details about the Scene Editor’s interface.
- See Smart items for how to add simple interactivity to your scene.
- See Combine with code for how to edit the code of your scene.
- See Publish scene for how to publish your scene to Decentraland.