
Import custom assets
You can import your own 3D models into the Scene Editor. Pick models from a wide selection of free or paid sources on the internet, or to create your own custom models. You can also import other assets like images, sound files, and videos.
Import an asset #
To import a 3D model, an image, a sound file, or a video into your scene from your local disk:
- Drag files directly onto the bottom panel. You can also click the + Import Assets button on the top-left of the bottom panel and select from your local drive.

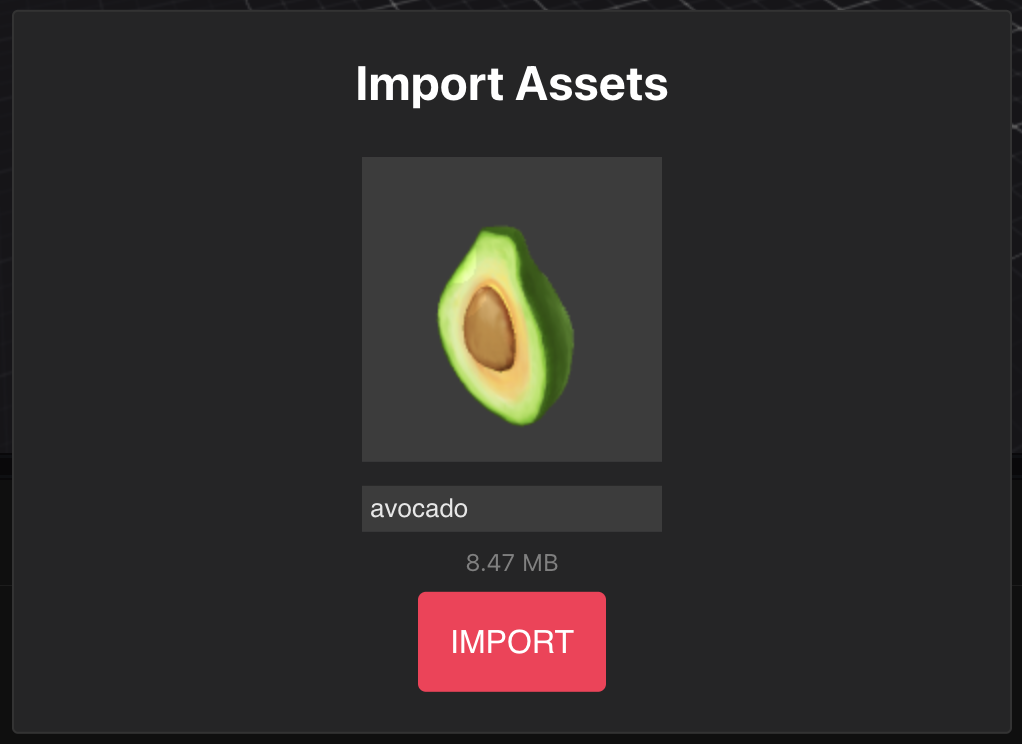
- Check the model thumbnail and click Import. When importing multiple assets, use the arrow buttons to cycle over each asset.
You can now find your asset in the Local Assets tab, under the scene folder. 3D models appear under the scene/3D Model folder, images under scene/Image
-
For 3D models, drag the
.glbor.gltffiles onto the canvas to add them as items on your scene. -
Other kinds of assets like images and sound files can be dragged onto the fields of an item. For example you can drag an
.mp3file onto the Path field of an Audio Source component.
💡 Tip: You can also paste files directly into the project folder. After doing this, press the Refresh button next to the Import Assets button to see the new files.
Supported formats #
Audio #
The following Audio formats are supported:
- .mp3
- .wav
- .ogg
Image #
The following image formats are supported:
- .png
- .jpg
- .jpeg
Video #
The following video formats are supported:
- .mp4
3D Models #
The following 3D model formats are supported:
- .glTF
- .glb
Both can include external texture image files, or external binary (.bin) files.
You can convert other formats into these formats with various different editors and tools. See 3D modeling for recommendations and tips.
All materials in the models need to be either basic material or PBR, and all textures need to be in sizes that are powers of two (ex: 256, 512). See Scene limitations for details.
All 3D model files must each occupy less than 50 MB to be usable in a scene. Larger files aren’t supported.
Free libraries for 3D models #
Instead of building your own 3D models, you can also download them from several free or paid libraries.
To get you started, below is a list of libraries that have free or relatively inexpensive content:
- IWB Catalog
- SketchFab
- Clara.io
- Archive3D
- SketchUp 3D Warehouse
- Thingiverse (3D models made primarily for 3D printing, but adaptable to Virtual Worlds)
- ShareCG
📔 Note: Pay attention to the license restrictions that the content you download has.
You can also use Generative AI tools to generate your own 3D models. Check out:
Note that in several of these sites, you can choose what format to download the model in. Always choose .glTF or .glb format if available. If not available, you must convert them to .glTF or .glb before you can use them in a scene. For that, we recommend importing them into Blender and exporting them with one of the available .glTF export add-ons.
Colliders #
You might find that when running a preview the player can walk through your imported 3D models. This is likely because the models are missing a collider mesh to define a collision geometry. See colliders for more details and instructions.
💡 Tip: Instead of editing the model to add a collider mesh, a simpler alternative is to add an Invisible wall smart item with approximately the same shape to stand in its place.
Animations #
If an imported model includes animations, the first animation that’s packed into the model will be played in a loop.
Note that you don’t have any control over when the animation starts or stops, or which one is played in case of several animations.
If there are multiple players in the scene, they may be seeing the animation out of sync from each other.
To change this behavior, you can include an Animator component. See Make any item smart for no-code tools to make your item interactive.