Scene Settings
Click the Pencil icon on the top-right of the screen. This opens a series of scene-level properties to edit.
Here you can configure multiple properties including title and thumbnail, scene size, scene category and age rating, player spawn locations, and feature toggles.
See Scene Metadata .
Scene details #
The Details tab lets you configure several fields about your scene. These fields are shown to players that might visit your scene, for example when expanding the location on the map, when being prompted to teleport, or when sharing a link to the scene on social media. Make sure you make the information here attractive and accurate to drive more traffic to your scene!
The following fields are available:
-
Name
-
Description
-
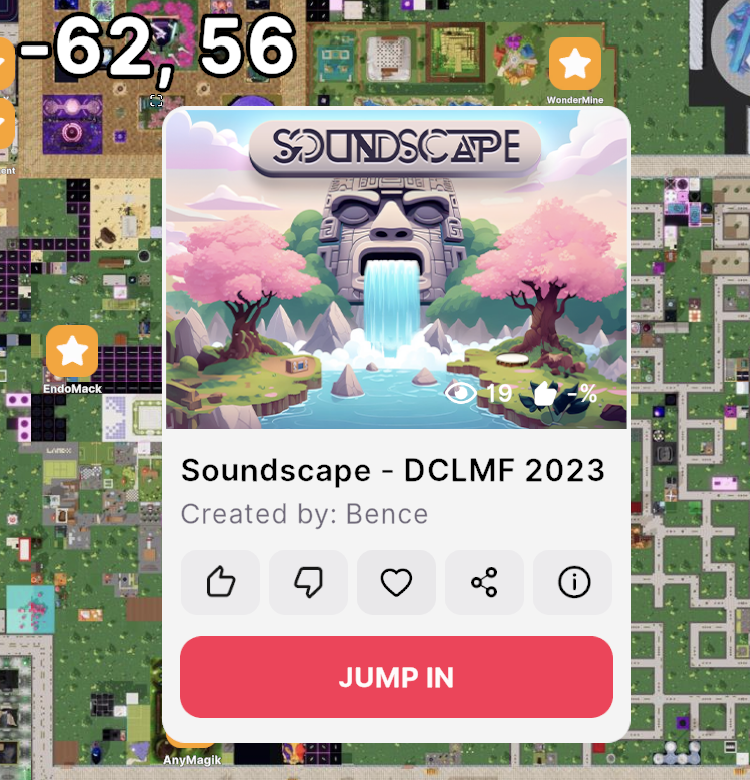
Thumbnail
💡 Tip: If no thumbnail is provided, it uses the automatic capture you see on the scene’s card. We recommend uploading a more attractive image
-
Age rating
-
Categories
-
Author
-
Email
The thumbnail should be a .png image of a recommended size of 228x160 pixels. The minimum supported size is 196x143 pixels. The image may be stretched if the width-to-height proportions don’t match 228x160.
See scene metadata for more details on these fields.
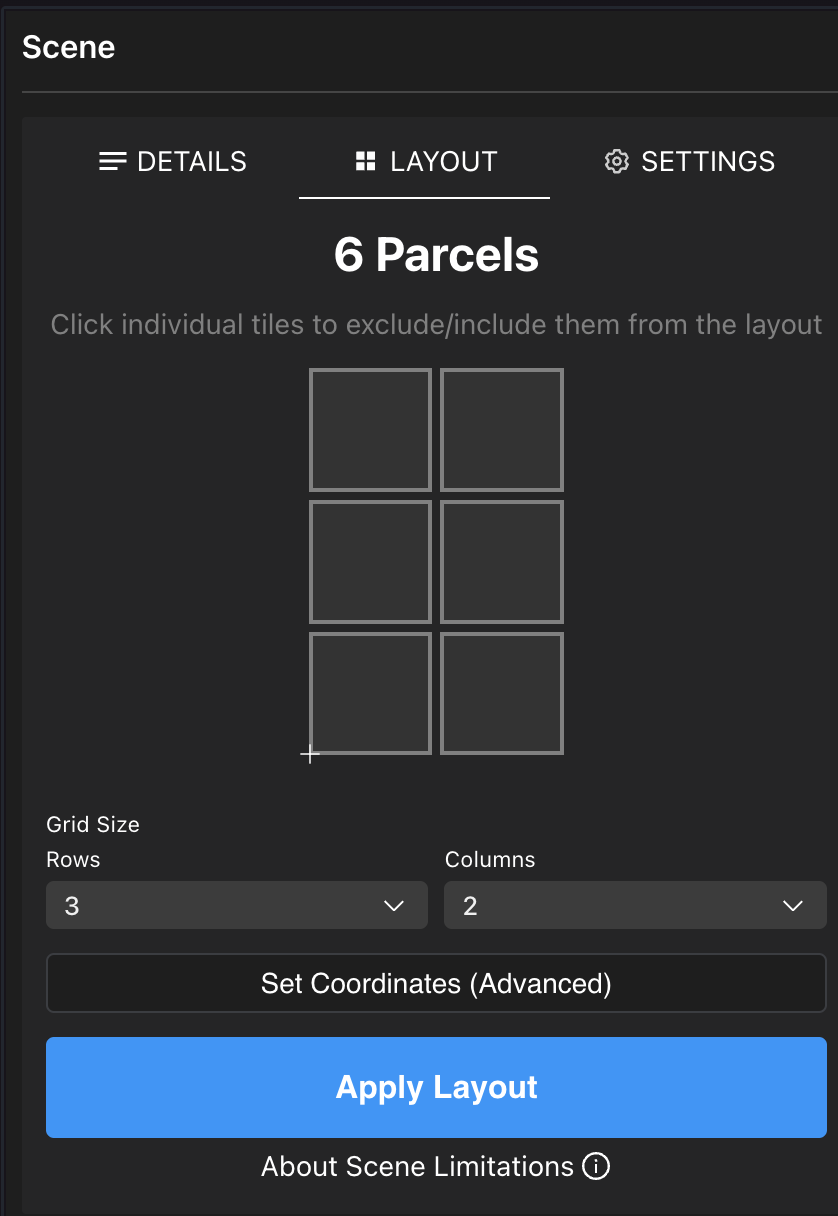
Layout #
You can edit the size of your scene by clicking the pencil icon and then changing the number or rows and columns.
Scenes in Decentraland occupy one or several adjacent LAND parcels. Each LAND parcel measures 16x16 meters.
Set the number of parcels for the rows and columns and click Apply layout for it to affect how your scene looks on the Scene Editor canvas.
To build something to deploy to LAND parcels you own, make sure the shape of the scene matches the shape of where you want it deployed.
💡 Tip: You can toggle each tile on the grid off by clicking on it. This allows you to draw non-rectangular shapes for your scene layout.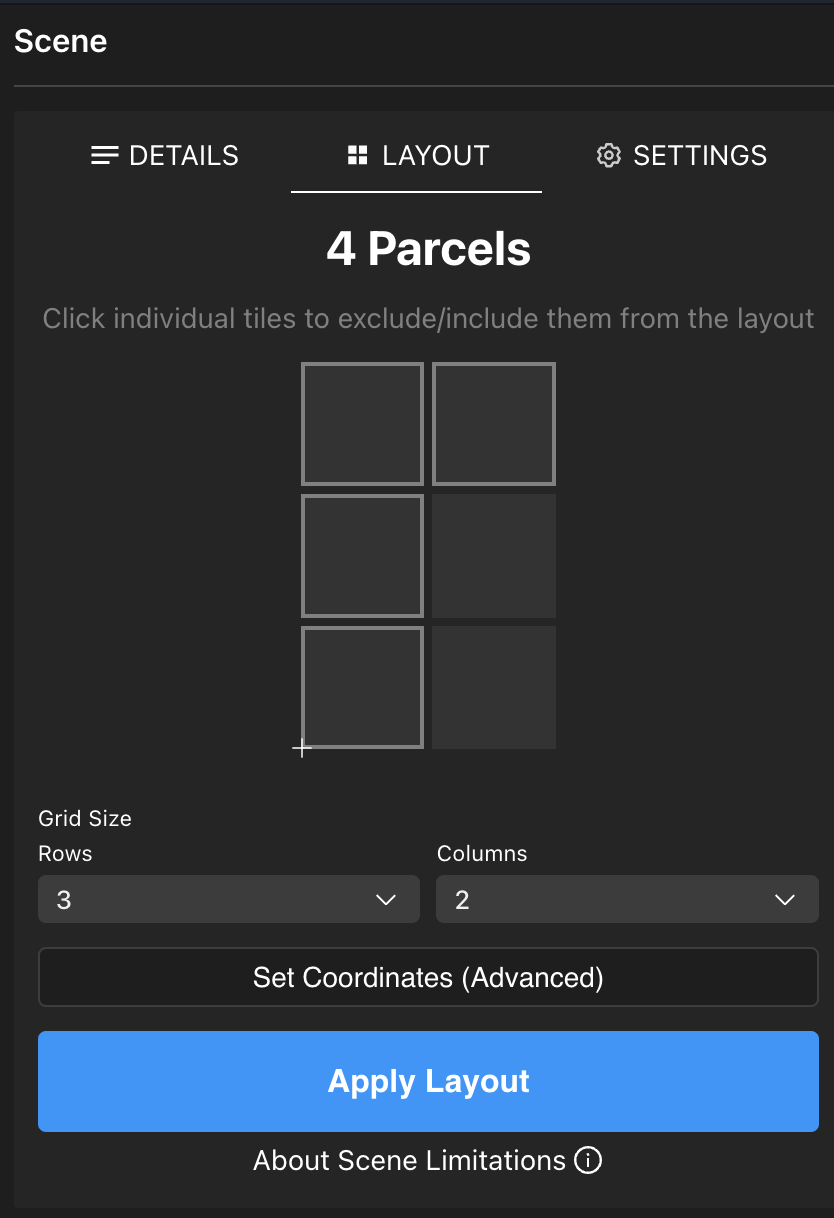
If you own a Decentraland NAME, you can also deploy your scene to a Decentraland World . In that case, you’ll have an unlimited number of parcels, but you will have a size limit in MB.
See Kinds of project to better understand the different options.
Advanced view #
You can also click the Set Coordinates (Advanced) button to manually list the coordinates of your scene.
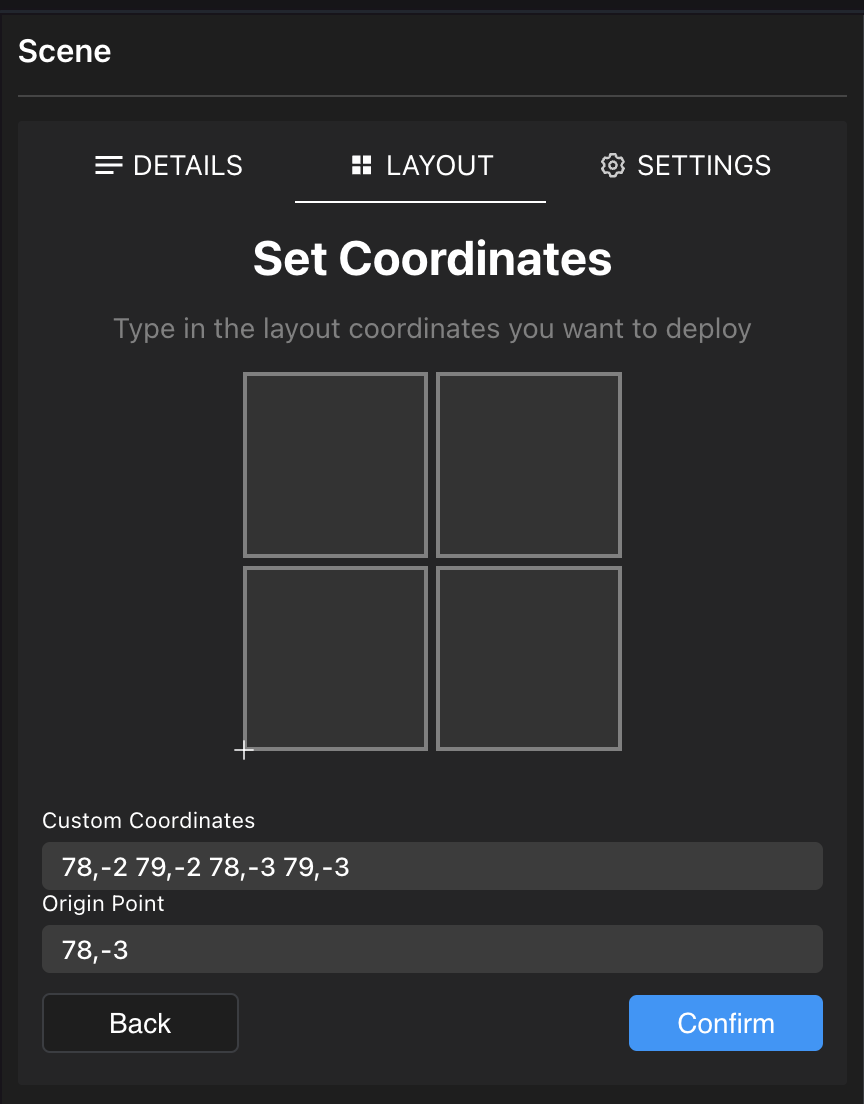
In Custom Coordinates, write the coordinates of each of the parcels where you wish to publish. Separate the x and y coordinate with a comma, and each set of coordinates separated by spaces. Remember that these coordinates must all be adjacent to be valid. For example:
78,-2 79,-2 78,-3 79,-3
In the Origin Point field, define which of the coordinates in the scene should be treated as the point of origin. This has to be one of the coordinates you listed in the Custom Coordinates field. It’s recommended to set the parcel on the bottom-left of the scene.
Scene restrictions #
You can disable certain functionalities on your scene if you chose, in case they might be abused or clash with the kind of experience you want to create.
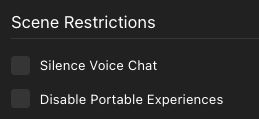
- Silence voice chat: Prevent players on your scene from using voice chat.
- Disable portable experiences: Prevent players from using Smart Wearables or Portable Experiences .
Spawn points #
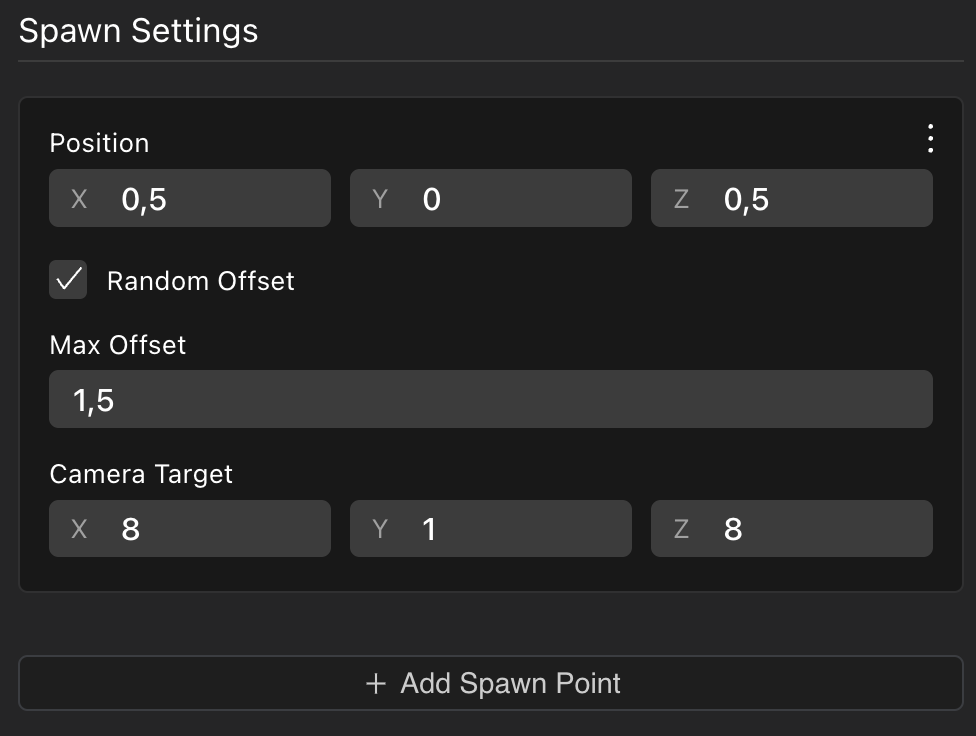
The Spawn Settings in the Settings tab define where players spawn when they access your scene directly, either by directly typing in the coordinates into the browser or teleporting.
Your scene might have objects that can block players from moving if they happen to spawn right over them, like trees or stairs, or your scene might have an elevated terrain. It would be a bad experience for players if they spawned over something that doesn’t let them move. That’s why you have the option to set multiple spawn positions in ad-hoc locations.
The position is comprised of coordinates inside the scene. These numbers refer to a position within the parcel, similar to what you’d use in a Transform component.
📔 Note: All spawn points must be within the parcels that make up the scene. You can’t spawn a player outside the space of these parcels.
Check the Random Offset box to randomly offset the spawning players around the spawn point, with a maximum value. This prevents all players from appearing overlapping each other when they spawn, which looks especially bad in crowded scenes. The Max Offset value is the maximum possible distance from the original spawn point, in both the X or Z axis.
Set the Camera Target to set the direction in which players start looking when they jump into your scene. This allows you to have better control over their first impression.
Click Add Spawn Point to include as many spawn points as you want. Players will randomly appear in one of those.
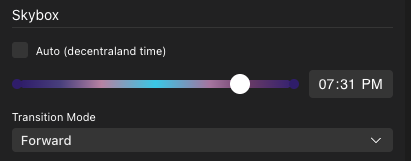
Skybox Control #
You can control the skybox time of day in the Settings tab. You can set a fixed time of day for your scene. All players will see the scene with this time of day, and the skybox will not follow the day/night cycle.
In the Creator Hub, open the scene settings and click on the Settings tab to find the Skybox section. Uncheck the Auto option to avoid using the day/night cycle and set the time of day you want.