SDK Quick start
The Decentraland SDK is a powerful tool that lets you create or enhance your scenes by writing code in Typescript (Javascript + Types).
💡 Tip: If you prefer to create your scenes with only no-code tools, see Scene Editor .
This tutorial walks you through how to get set up, and shows you the basic concepts for writing code in a Decentraland scene.
Install the Creator Hub #
The Creator Hub allows you to build, preview and deploy Decentraland scenes. Download the Creator Hub here .
To edit your scene’s code, you must also install Visual Studio Code , if you don’t have it already.
Read Installation guide for more details about installing the Creator Hub.
Create your first scene #
To create your first scene, follow these steps.
-
Open the Creator Hub.
-
Select the Scenes tab, and click Create Scene.

-
You can then pick between different starting templates. For this exercise, pick the Empty Scene.
This step may take a couple of minutes. It populates your folder with the default set of files for a basic scene.
Once that’s done, you’ll see the empty grid of your scene.
Add items from the asset packs #
Explore the Asset packs on the bottom section of the Scene Editor, drop in a couple of items and adjust their positions. For the sake of this tutorial, any items will do for now.

To place an item, click and drag it in from the asset pack menu into a location on your scene in the canvas.
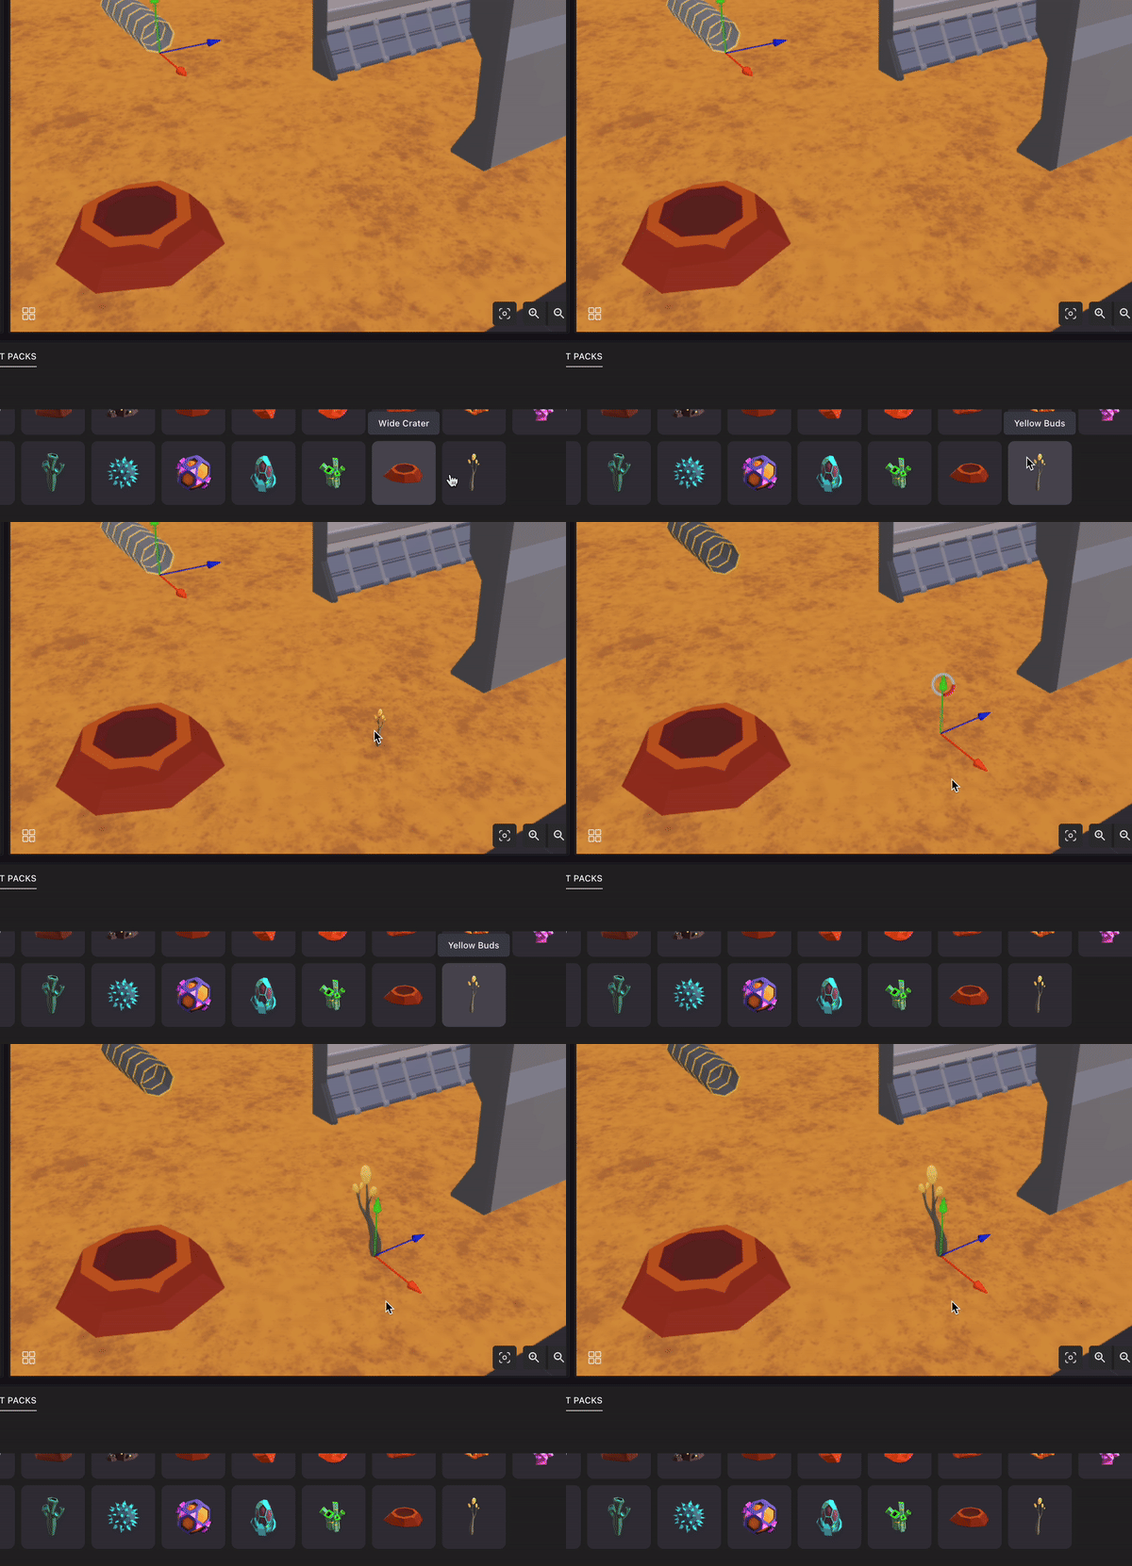
Already placed item can be clicked and dragged to reposition them freely. See Scene editor essentials for more details.
💡 Tip: Cover the entire scene with a ground item. Items of type Ground have a paint bucket icon on them. If you drag one of these into your scene, it covers all of your scene’s ground with copies of this item.
Run a preview #
Click the Preview button on the top menu to load your scene inside Decentraland. You can now explore the scene as a Decentraland avatar.
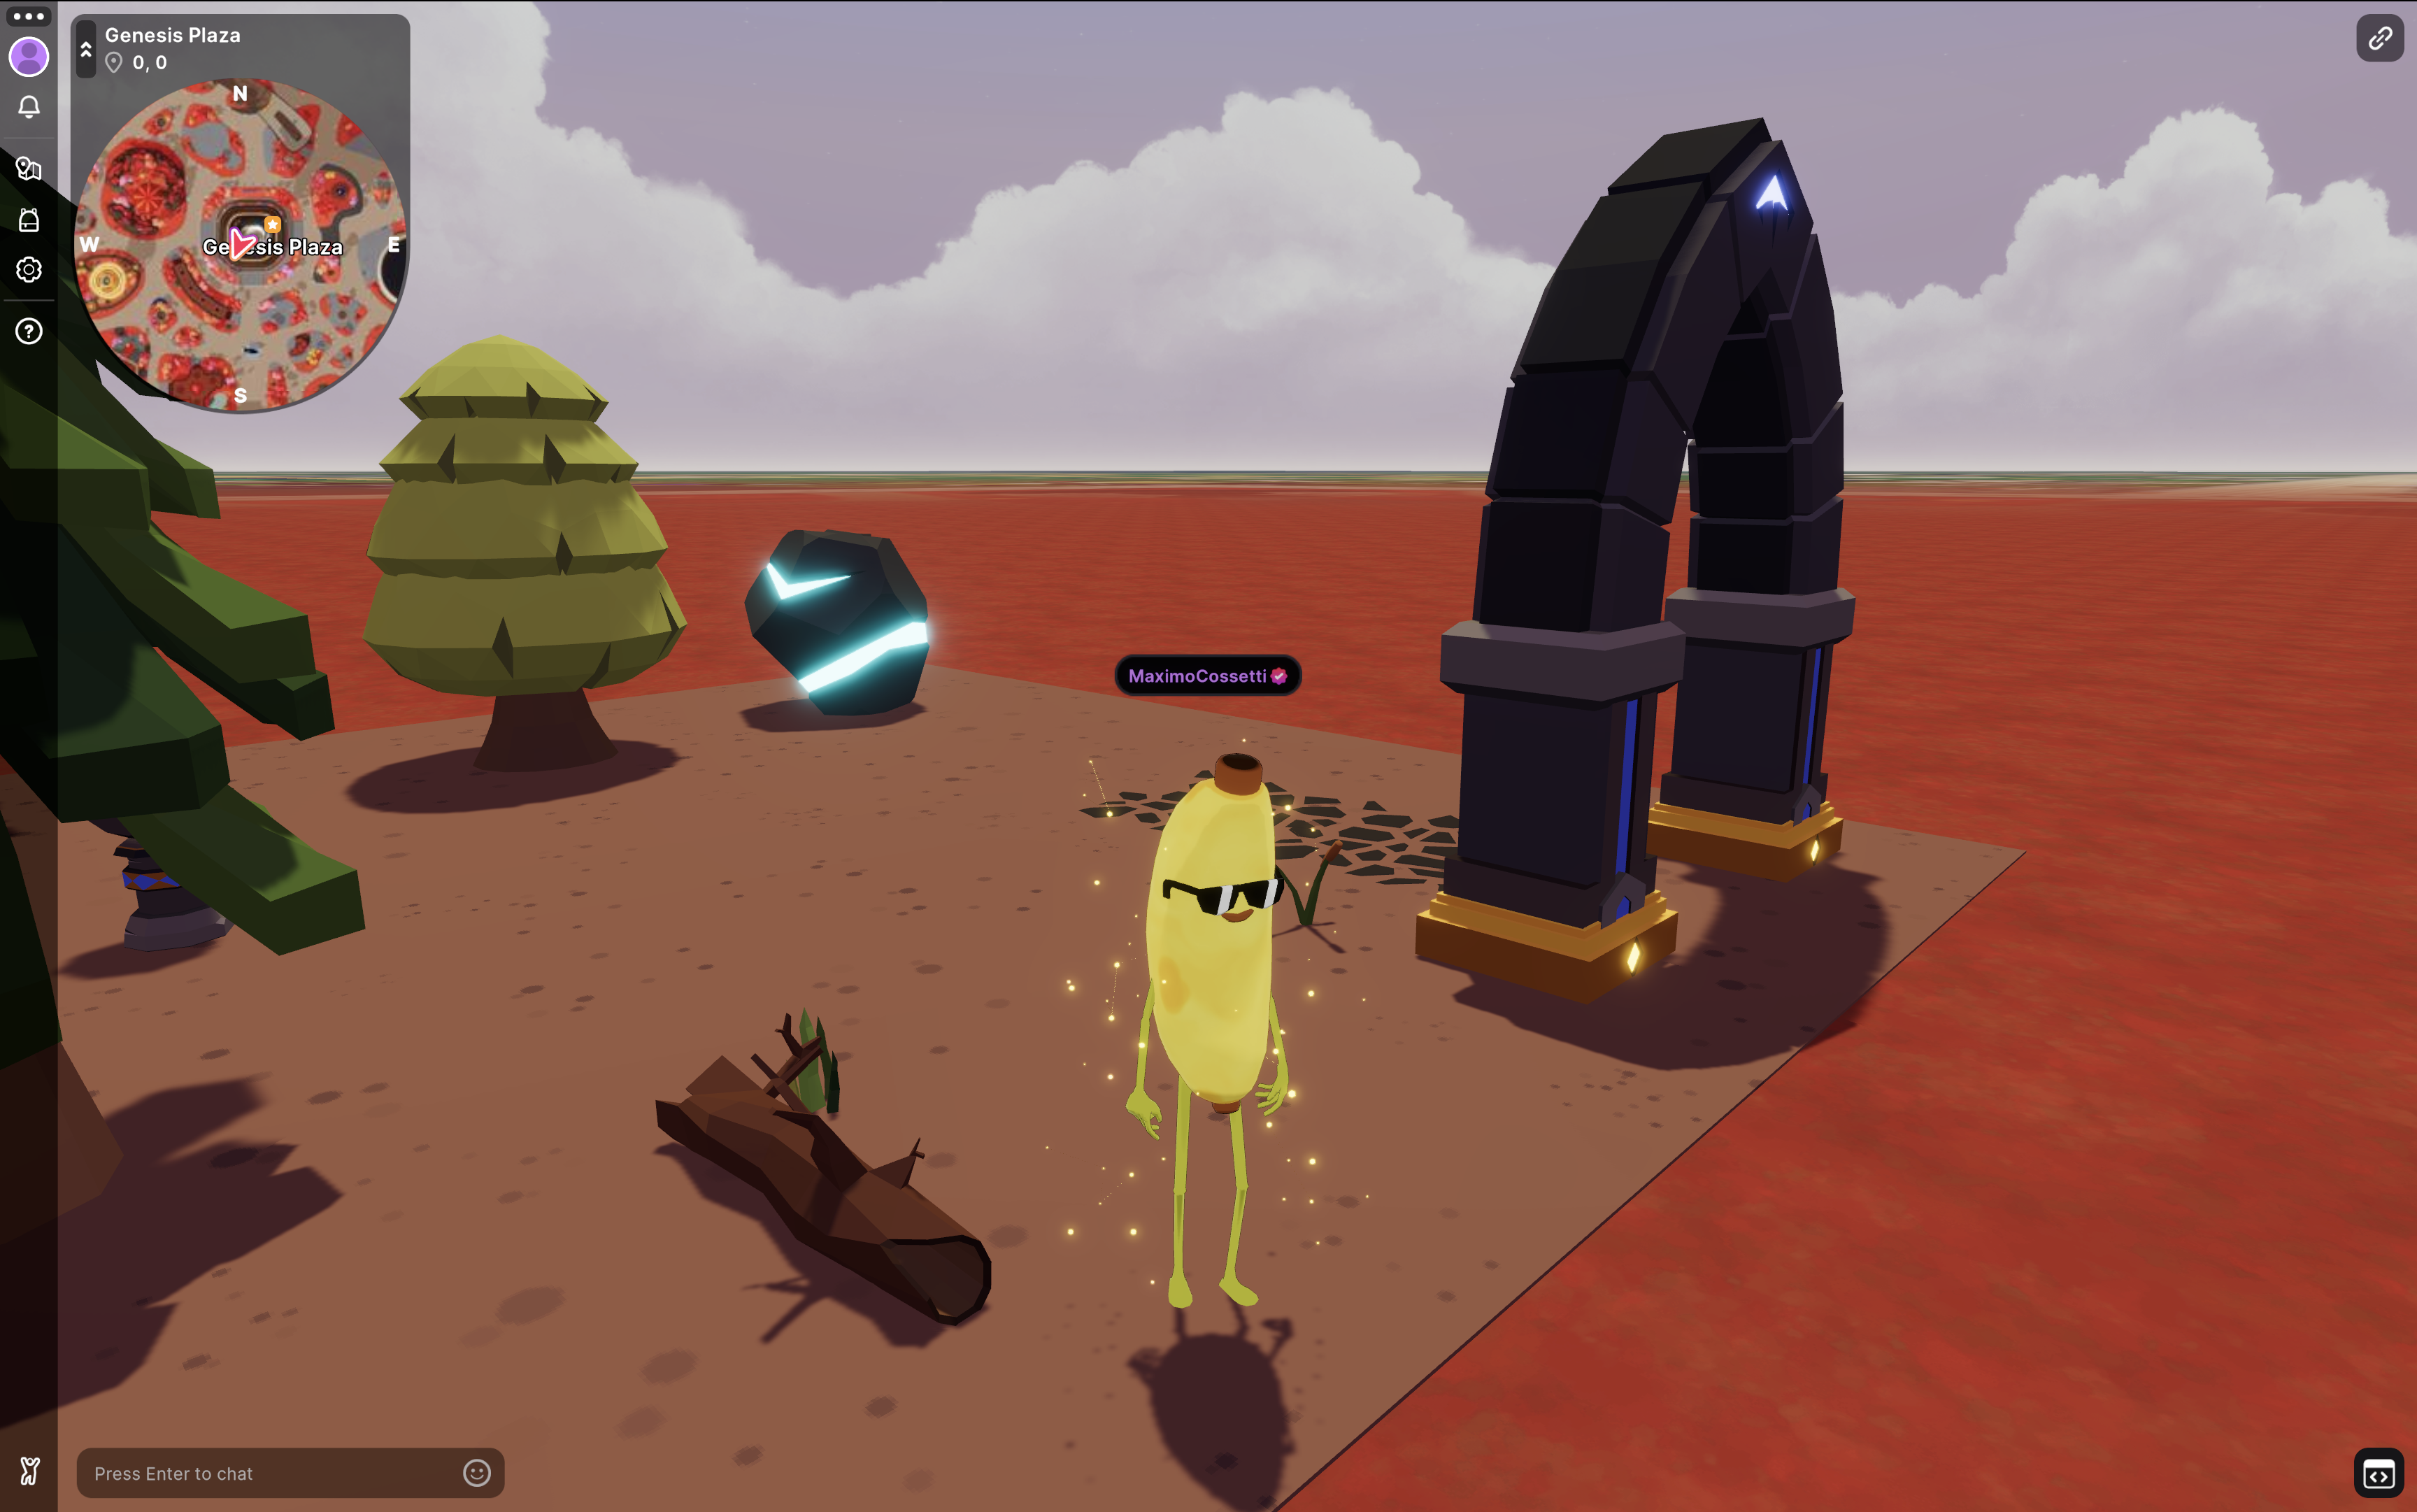
Read more about the scene preview in preview a scene .
💡 Tip: You can keep the preview window open while you keep working on your scene, and it will update every time you make a change on the Scene Editor.
Custom 3D assets #
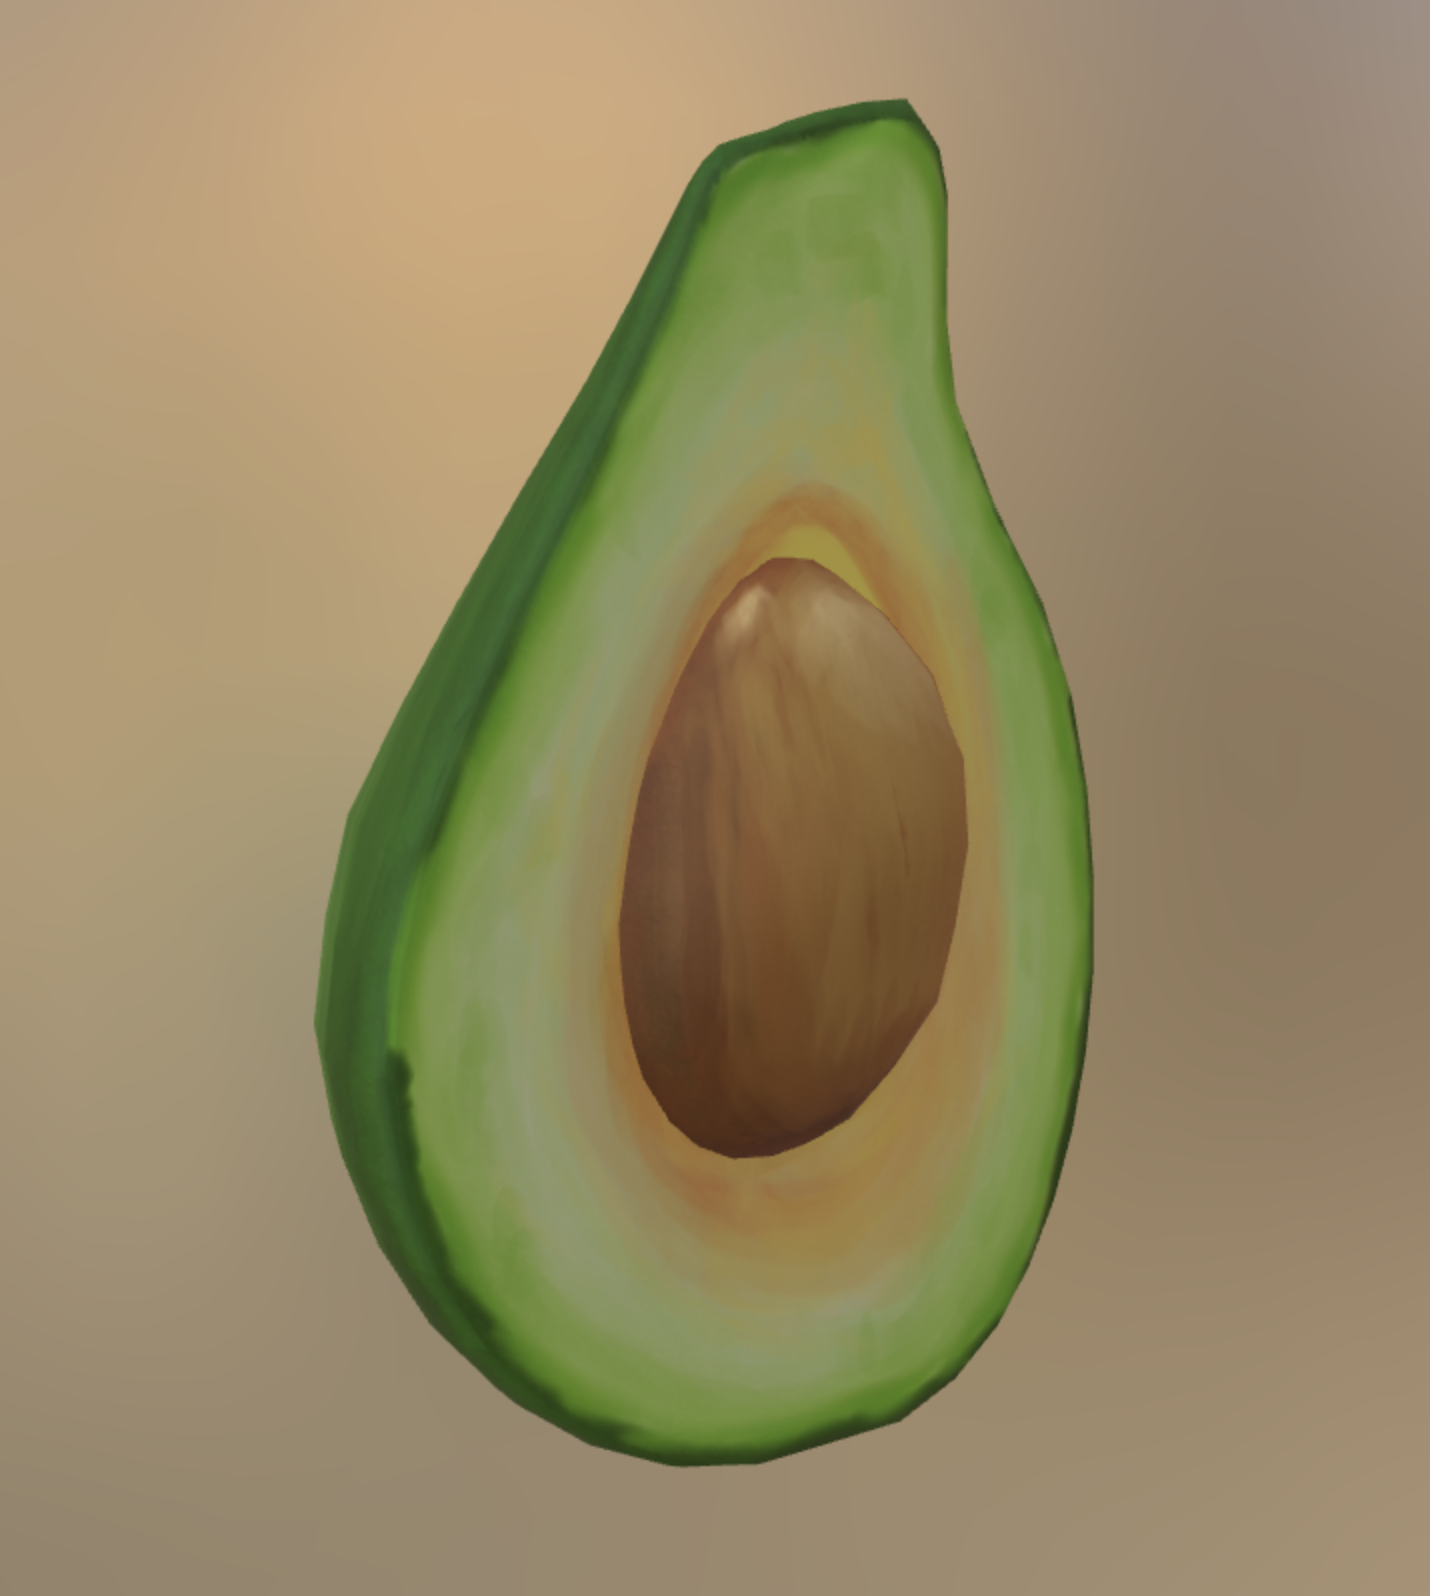
Download this 3D model of an avocado in glb format from the following link and unzip it.
-
Click the plus sign on the top-right corner of the Asset Packs section of the Scene Editor UI.
-
Drag the avocado.glb file onto the region on the Scene Editor UI and click Import.
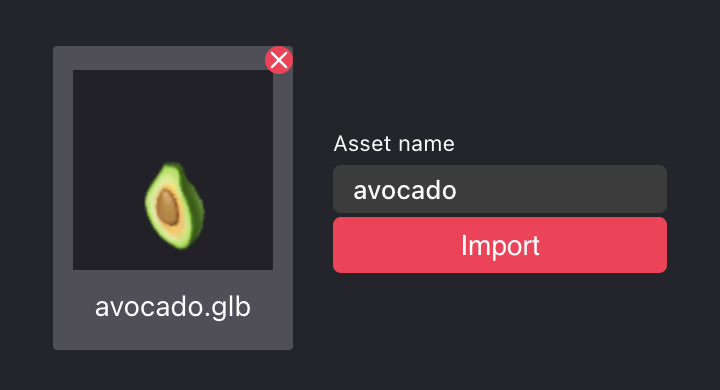
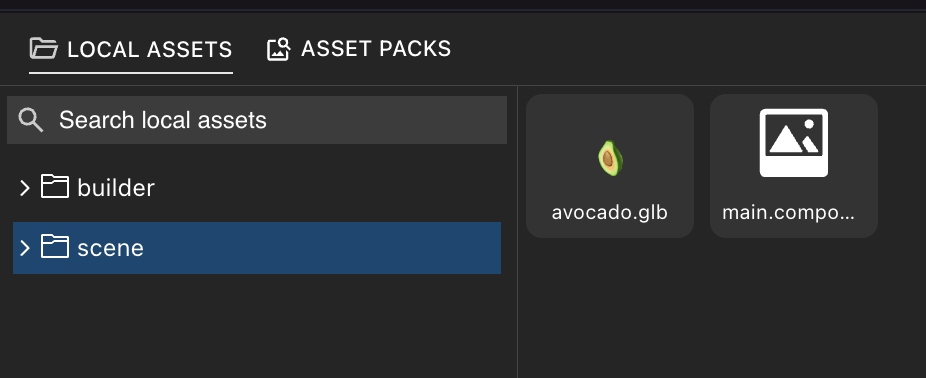
You can now find the avocado.glb model in the Local Assets tab, inside the Scene folder. Drag it onto your scene, like with any item from the Asset Packs.
Edit the scene code #
The next sections describe how you can edit your scene’s code, giving you far more freedom as a creator.
Click the <> Code button on the top menu to open your scene project on Visual Studio Code.

📔 Note: Install Visual Studio Code , if you don’t have it already.
This opens a separate window with Visual Studio Code. On the left margin you can navigate the files and folder structure of your project.
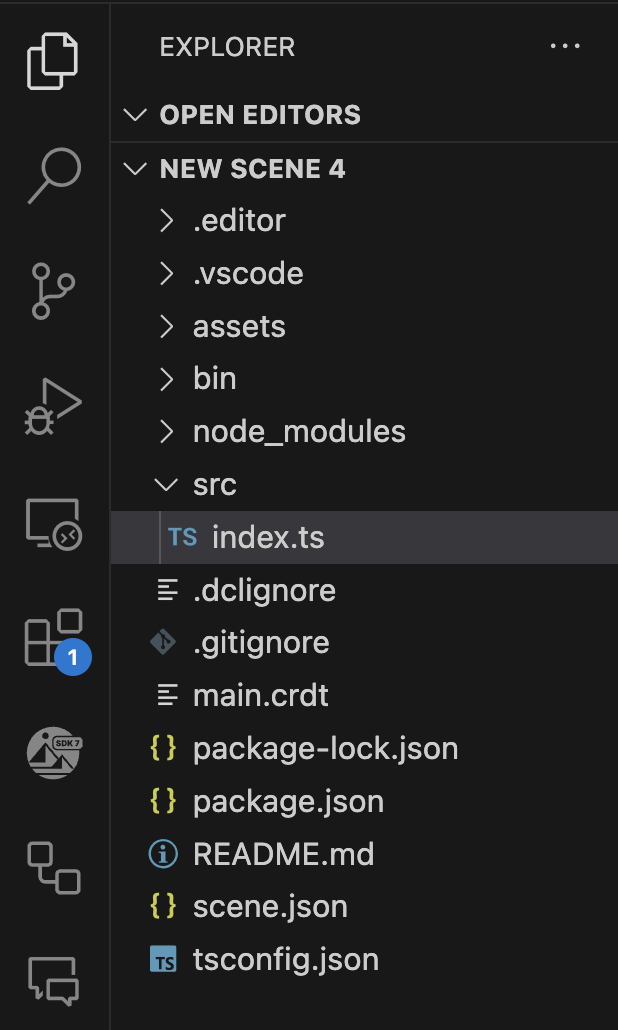
Open the index.ts file from inside the src folder in your scene. Its content should look like this:
import {} from '@dcl/sdk/math'
import { engine } from '@dcl/sdk/ecs'

export function main() {}
The first two lines deal with import statements. These fetch references to things that are defined on other files, so they can be used in this file. You won’t need to deal with these lines directly in this tutorial, but notice that the list of things being fetched will grow as you write your code.
Notice that this file defines a function called main(). This function is the entry point to the scene, any code you put there will run when the scene first loads. If you write lines of code outside this function, they will never be executed.
In the previous section we showed how you can easily drag the custom avocado 3D model into your scene in a no-code way. Now we’ll add a second avocado, to see how to achieve the same by writing code.
Replace the full contents of your index.ts file with the following. These lines expand the main() function and add a couple of imports:
import { Vector3 } from '@dcl/sdk/math'
import { engine, Transform, GltfContainer } from '@dcl/sdk/ecs'

export function main() {
	// create a fresh new Entity
	let avocado2 = engine.addEntity()

	// give it a Transform
	Transform.create(avocado2, {
		position: Vector3.create(8, 0, 8),
	})

	// give it a GLTF
	GltfContainer.create(avocado2, {
		src: 'assets/scene/avocado.glb',
	})
}
If you open the scene preview again, you should now see two avocados: the one you added in the Scene Editor and the one you added via code.
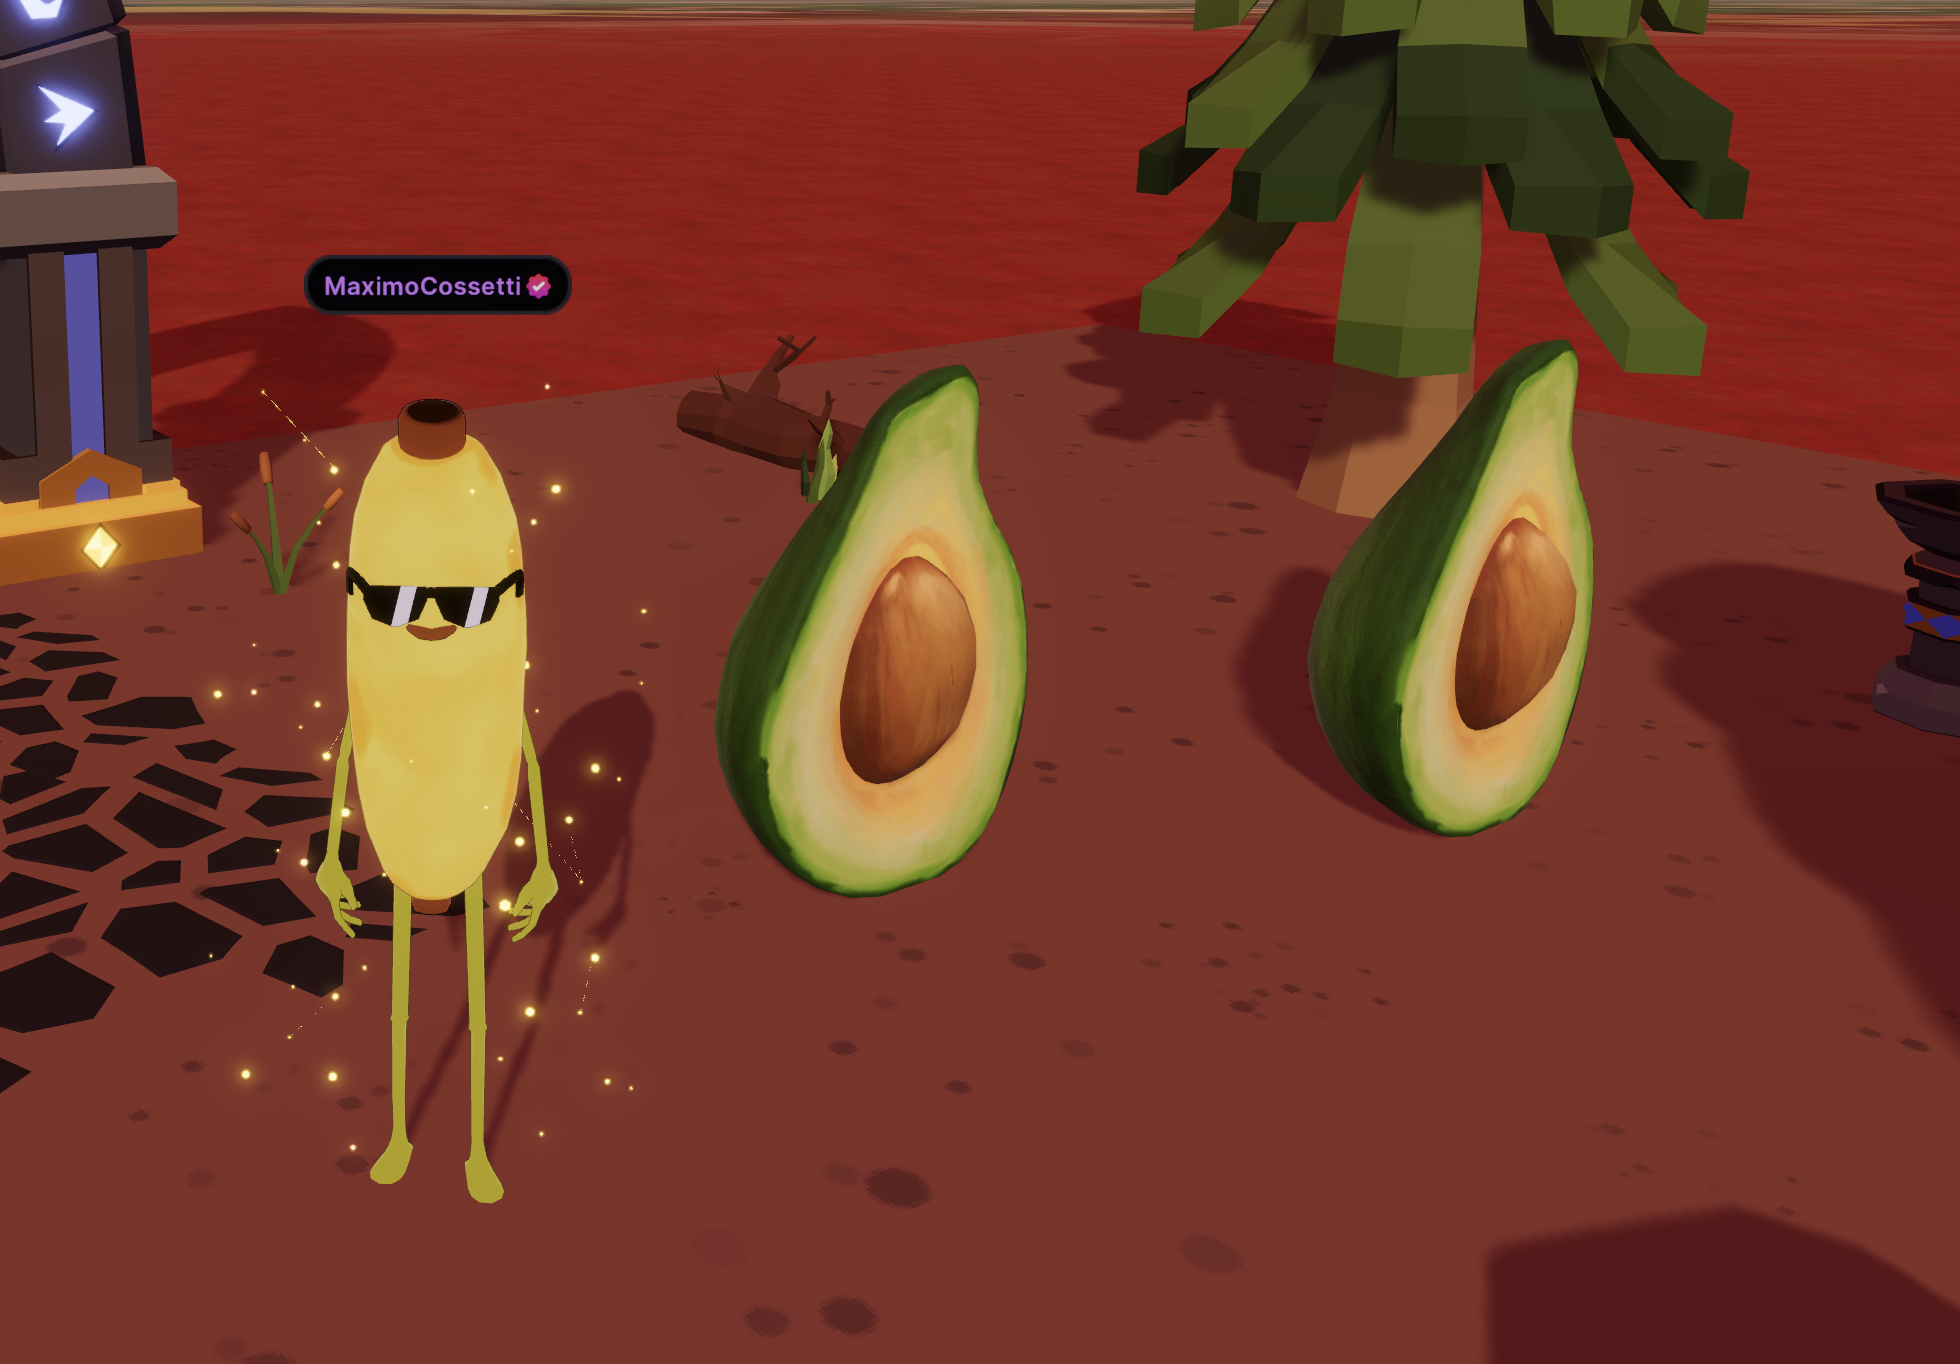
The lines you just added create a new entity , give it a shape based on the 3D model you downloaded, and set its position and scale via the Transform.
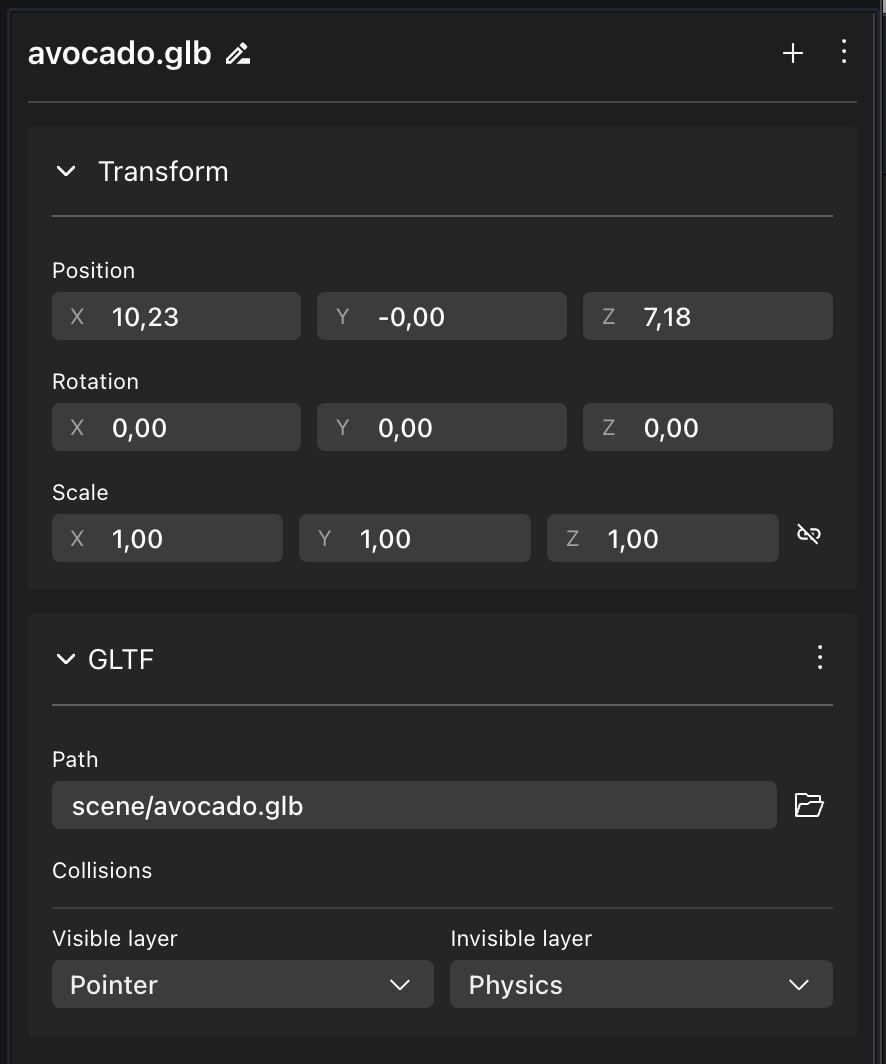
Now go back to the Scene Editor and select the first avocado you added. In the properties panel for this item you’ll see that the UI for the Transform and the GLTF components shows the same information as in the code you just wrote.
Add interactivity #
To make your scene more engaging, let’s make the entities in the scene respond to the player’s interactions.
At the end of the main() function (before it’s closed by the last }), add a pointer event handler to the avocado entity. This executes a custom function every time that the player clicks on the avocado.
pointerEventsSystem.onPointerDown(
	{
		entity: avocado2,
		opts: { button: InputAction.IA_POINTER, hoverText: 'Collect' },
	},
	function () {
		console.log('CLICKED AVOCADO')
	}
)
💡 Tip: Visual Studio Code helps you by marking syntax errors, autocompleting while you write and even showing smart suggestions that depend on context. You can also click on an object to see the full definition of its class.
If any of the words you pasted are underlined in red, hover over them to see if VS Studio offers an easy solution. You’ll likely have to do this for pointerEventsSystem, and InputAction.
Clicking the lightbulb will suggest
Update import from @dcl/sdk/ecs. Select this option to add imports to the start of yourindex.tsfile.
The pointerEventsSystem.onPointerDown() statement defines three things:
- What
entitythe pointer events work on. - An
optsobject with optional additional parameters. In this case we include what button to use and what hint text to display. - A function, that will run every time that the entity is clicked.
In this case, the function we’re running is very simple. It’s just one line long and simply prints some text to the console.
console.log('CLICKED AVOCADO')
In the opts section, we’re setting the button field so that it listens to the pointer button (the left-mouse button on a PC). We’re also setting the hoverText parameter to display custom text. That way players will read the text “collect” when they hover their cursor over the avocado, and they’ll know what will happen if they click on it. The avocado doesn’t do much just yet, but we’ll get there in the next steps.
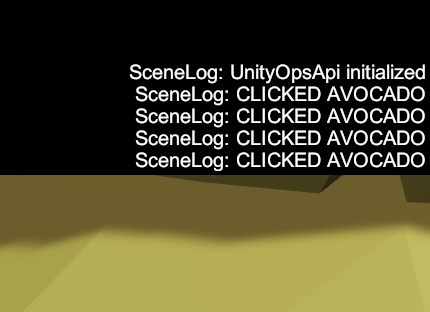
To see that message that the click event is logging, you’ll need to open the console. To do this, open the scene preview again if you don’t already have it running, and press the ` key to toggle displaying the console. Now each time you click on the avocado that you added via code, you’ll see
📔 Note: For an entity to be clickable, it must have a collider geometry. The model used here already includes one. See the Colliders section for workarounds for models that don’t include a collider geometry.
Now let’s make that click function do something more interesting, let’s make the avocado vanish. Use engine.removeEntity() to get rid of the avocado once it’s clicked. Let’s add an extra line to our snippet:
pointerEventsSystem.onPointerDown(
	{
		entity: avocado2,
		opts: { button: InputAction.IA_POINTER, hoverText: 'Collect' },
	},
	function () {
		console.log('CLICKED AVOCADO')
		engine.removeEntity(avocado2)
	}
)
Now when clicked, the avocado vanishes from your scene.
Tweens #
Tweens describe a gradual transition from one position/rotation/scale to another, over a period of time.
Let’s start by adding a scale tween to our avocado, just to try out the feature. Add the following lines inside the main() function, at the end, without changing anything of what you already added:
export function main() {
	// Code from previous snippets (do not change)
	// (...)

	// New code:
	Tween.create(avocado2, {
		mode: Tween.Mode.Move({
			start: Vector3.create(3, 0, 3),
			end: Vector3.create(8, 0, 8),
		}),
		duration: 5000,
		easingFunction: EasingFunction.EF_LINEAR,
	})
}
💡 Tip: When pasting this, you may find more words underlined in red because of missing imports.
Hover over each and click the lightbulb, it will suggest
Update import from @dcl/sdk/ecs. Select this option to add imports to the start of yourindex.tsfile.
The Tween component we created has arguments that make it change position, from a position on the coordinates 3,0,3 of the scene, to the coordinates 8,0,8, over a period of 5000 milliseconds (5 seconds). This movement will start as soon as the scene starts.
A Tween component requires the following information:
entity: What entity to work onstart: Starting position.end: Ending position.duration: Duration (in milliseconds) of start to end scaling.easingFunction: What kind of curve to use to control the rate of change over time. In this case we use linear, which results in a smooth constant change.
We can play around with the easingFunction parameter to get some interesting effects. For example we can instead use EF_EASEINBOUNCE to perform the transition using an ease-in bounce interpolation, which starts with a bouncy effect and then goes from slow to fast.
💡 Tip: You can also use the Tween component to scale or rotate an entity over a period of time, this is a really useful tool! Learn more here
Using your own functions #
In this section we’ll add another tween on the Avocado’s scale, to make the vanishing effect look more appealing. But we’ll take a slightly less direct approach to introduce some other concepts.
The simplest way to have our avocado shrink when we click on it is to add a tween inside the pointer events function, instead of the line engine.removeEntity(avocado2). But instead, let’s create this tween on a separate function that we can then reuse for other items. That way we won’t need to write the same code twice! Our new function will be separate from main(), so it won’t do anything on its own, but we’ll soon be calling it.
function collect(myEntity: Entity) {
	Tween.createOrReplace(myEntity, {
		mode: Tween.Mode.Scale({
			start: Vector3.One(),
			end: Vector3.Zero(),
		}),
		duration: 500,
		easingFunction: EasingFunction.EF_EASEINBOUNCE,
	})
}
Notice that the tween is added to an entity named myEntity, instead of avocado2. myEntity is really a placeholder, there is no entity called like that in the scene. It comes from a parameter defined in the function. When you call the collect() function, you can pass any entity in the scene, and it will apply a Tween to it. More on that later.
💡 Tip: Whenever there’s code you might be using multiple times in your scene, it’s a good practice to put it inside a function. That way you only have to write it once, and it’s easier to maintain.
Here we created a Tween that affects the Scale, so now start and end refer to the size of the avocado, not the position. It goes from a size of one to zero, over a duration of 500 milliseconds (half a second), and uses an EASEINBOUNCE easing function, that gives it a fun bouncy effect.
Also notice that this time we add the Tween component using Tween.createOrReplace(), instead of just Tween.create(). This is because the entity might already have a tween on it. For example, the player might click the avocado while it’s still moving from the Tween that we first wrote.
Now let’s modify the function we wrote for when we click on the avocado. Let’s change the line that says engine.removeEntity(avocado), and instead let’s call the collect() function we just defined, passing a reference to our avocado entity:
pointerEventsSystem.onPointerDown(
	{
		entity: avocado2,
		opts: { button: InputAction.IA_POINTER, hoverText: 'Collect' },
	},
	function () {
		console.log('CLICKED AVOCADO')

		collect(avocado2)
	}
)
If you now open the scene preview and click on the avocado, you should see it go away with style, performing a fun jumpy movement.
📔 Note: You may have figured out that now the avocado shrinks to a size of 0, but still exists. We won’t cover this in this first tutorial, but in an ideal scenario you should make sure you delete the entity after the tween is over, to optimize your scene’s performance. See [On tween finished] here .
Reference an item from the Scene Editor #
Your code can also do things with the items you added visually in the Scene Editor. You can fetch these items by name in your code, using the function engine.getEntityOrNullByName(). Use the name for the item that you see written on the
entity tree
.
In this example, we have an entity named Yellow Crate. You can use any item you want, just make sure you write its name exactly as on the entity tree.
💡 Tip: You can rename entities by doing right-click and selecting Rename on the entity on the entity tree.

export function main() {
	// Avocado stuff

	const crate = engine.getEntityOrNullByName('Yellow Crate')

	if (crate) {
		console.log('The crate exists')
	}
}
In the snippet above, we use engine.getEntityOrNullByName() to fetch a reference to an entity named Yellow Crate. In the next line, we do if (crate) to ensure that there really is an entity by this name in the scene. If there isn’t one, then the value of crate will be null. See
Combine with code
for more info.
💡 Tip: All entities added via the Scene Editor will already be loaded into your scene by the time the code in the main() function is called. It should be safe to reference them in this function, or on other functions that are called indirectly by it.
Now let’s add a pointer behavior to our Yellow Crate entity, just like we did with the avocado.
export function main() {
	// Avocado stuff

	const crate = engine.getEntityOrNullByName('Yellow Crate')

	if (crate) {
		console.log('The crate exists')

		pointerEventsSystem.onPointerDown(
			{
				entity: crate,
				opts: { button: InputAction.IA_POINTER, hoverText: 'Collect' },
			},
			function () {
				console.log('CLICKED CRATE')
				collect(crate)
			}
		)
	}
}
Notice how we’re calling the collect() function that we defined before. Since the function is defined separately, we only needed to write that one line to call it!
💡 Tip: You can also fetch Smart Items from your scene in the same way, and do whatever you want with them via code. See Combine with code for more info.
More Tutorials #
Read coding-scenes for a high-level understanding of how Decentraland scenes function.
For examples that are built with SDK7, check out the Examples page that contains several small scenes, all written with SDK7.
See the Development guide section for more instructions about adding content to your scene.
Engage with other developers #
Visit The Decentraland Discord and the Decentraland DAO Discord , to join a lively discussion about what’s possible and how!
To debug any issues, we encourage that you to check the Troubleshooting and debug sections in the documentation. If you don’t find a solution there, you can post issues to the SDK Support category Decentraland Forum.
You can also post to
Stack Overflow
, using the tags decentraland or decentraland-ecs.
You can also ask in the Decentralnad Discord . In the Support section, the #sdk channel is for questions regarding code, the #builder-and-3d channel is for questions regarding 3D models and art. #code-contribution is for discussing PRs to the SDK codebase.
In the Decentraland DAO Discord you can also get help in the sdk-support channel.
3D Art Assets #
A good experience will have great 3D art to go with it. If you’re keen on creating those 3D models yourself, you’re encouraged to, see the 3D Modeling section of our docs for more info. But if you prefer to focus on the coding or game design side of things, you don’t need to create your own assets!
Here are a few sources to get great 3D models that you can use in a Decentraland scene:
- IWB Catalog
- Asset Ovi
- SketchFab
- Clara.io
- Archive3D
- SketchUp 3D Warehouse
- Thingiverse (3D models made primarily for 3D printing, but adaptable to Virtual Worlds)
- ShareCG
- CGTrader
You can also use Generative AI tools to generate your own 3D models. Check out:
📔 Note: Models must be in the supported.gltfor.glbformats, and must have a number of triangles, textures and materials that adhere to the scene limitations . If getting models from a third party site, pay attention to the license restrictions that the content you download has.
Publish your scene #
If you own LAND, a Decentraland NAME, or an ETH ENS name, or have permissions given by someone that does, you can upload your scene to Decentraland. See publishing .